Three sink styles, one countertop decision
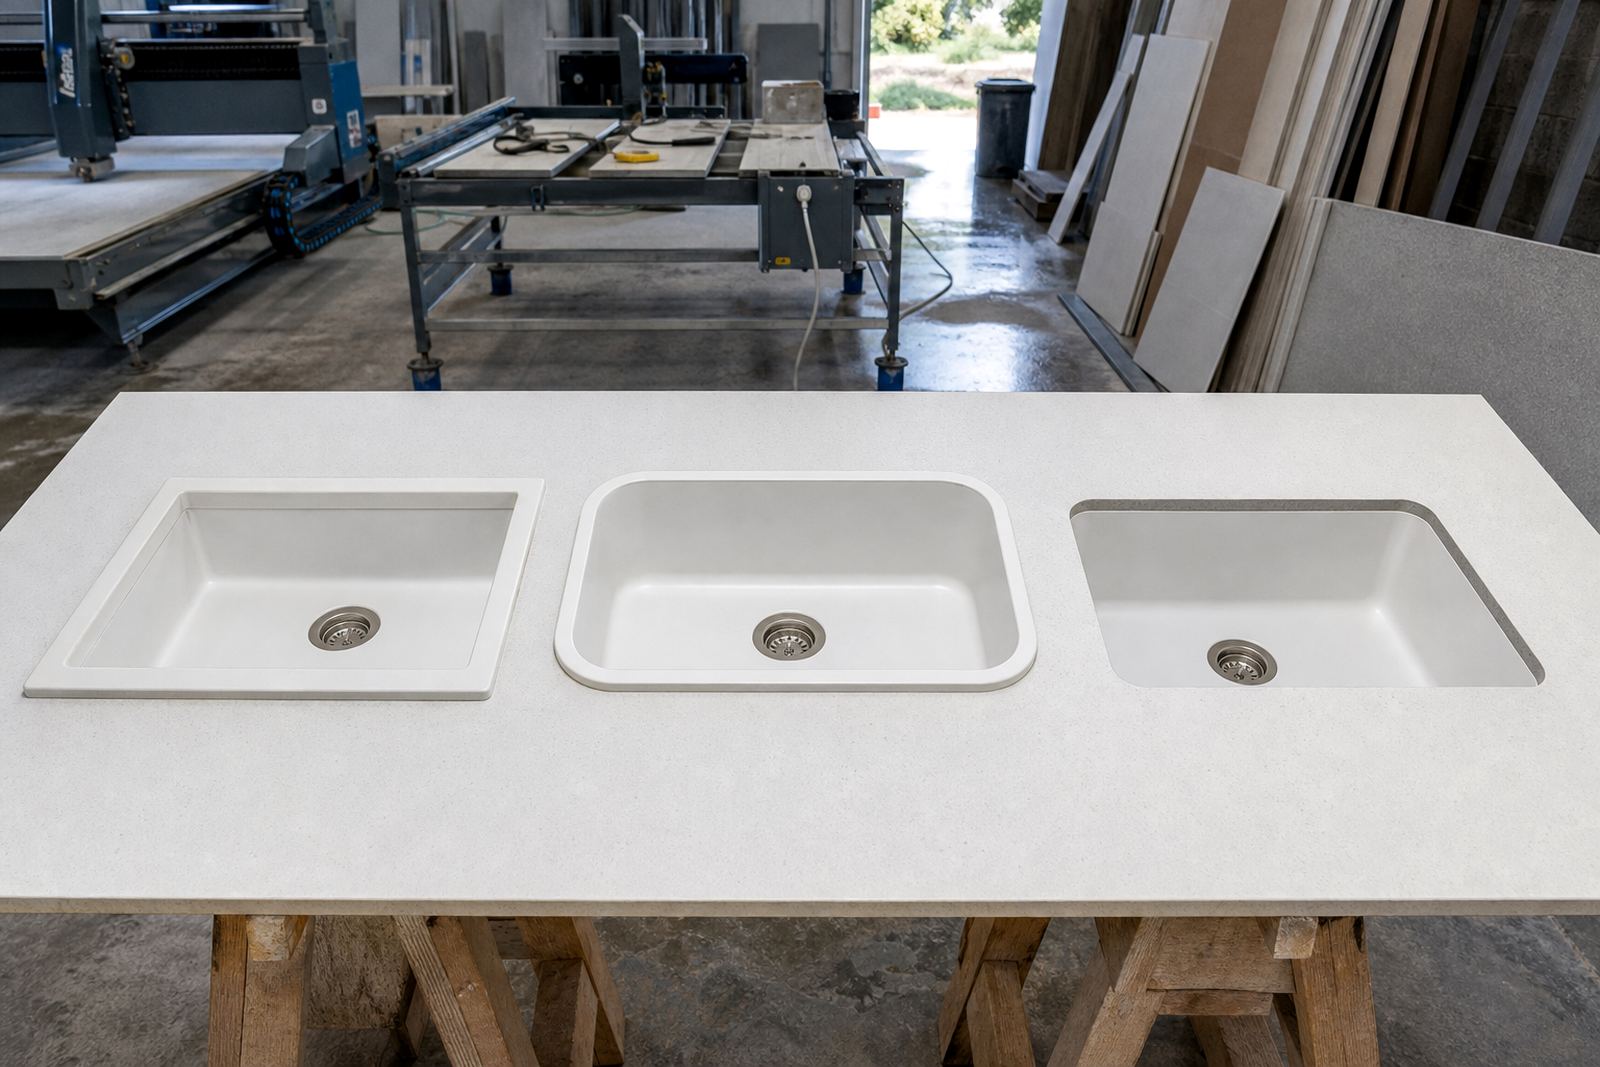
Undermount, top-mounted and integrated sinks each ask for a different method of templating and fabrication. With engineered quartz and solid-surface tops, the slab thickness, edge profile and cut-out size need to work together before cutting starts.
An undermount sink leaves the rim below the surface, so the cut-out must be accurate and the underside finish needs proper support. A top-mounted sink sits on the counter opening with a visible lip. An integrated sink is formed as one continuous line with the worktop, which gives a clean look and is common on solid-surface vanity tops and selected counter runs.
- Undermount: neat rim line, careful support under the bowl
- Top-mounted: easier to replace later, visible flange stays above the counter
- Integrated: smooth transition, best planned early in the job
What templating must capture before the first cut
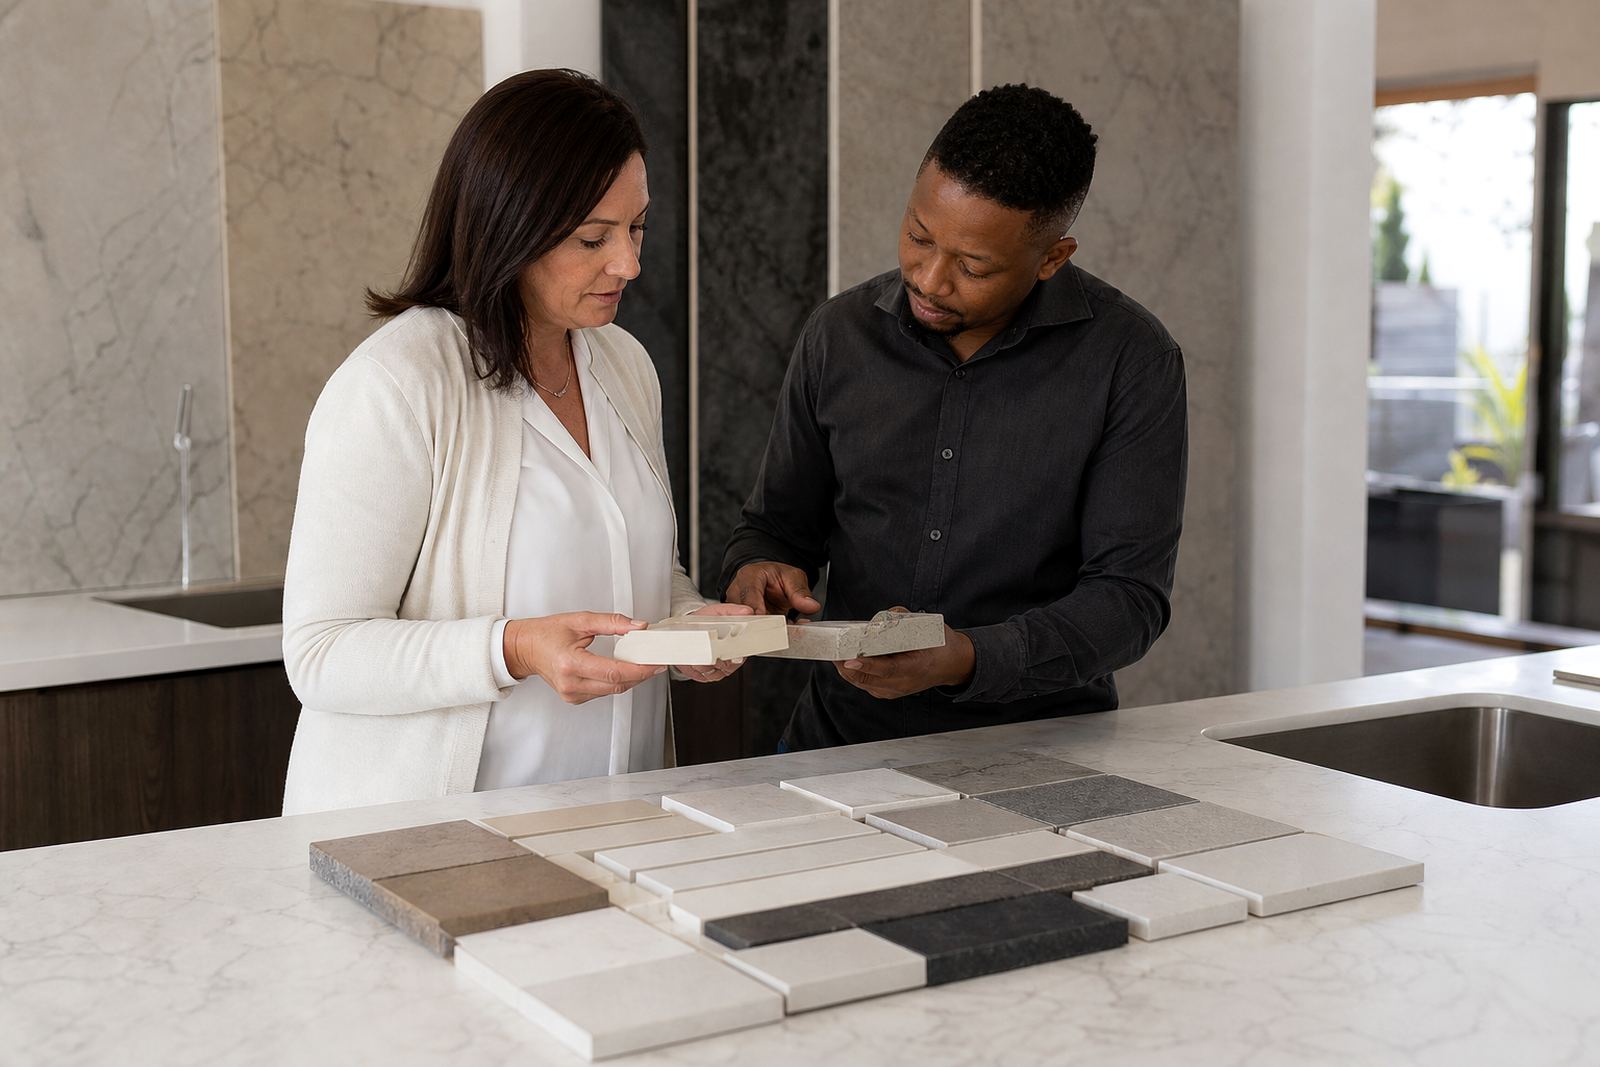
On-site templating is where sink choice becomes practical. The templater measures the cabinet run, bowl position, tap set-out and any nearby wall edge, then notes where seams can sit without clashing with the sink opening. On site, a sink that looks right on paper can become awkward if the cabinet frame is slightly out of square or the plumbing position is tighter than expected.
For kitchens in Johannesburg, Sandton and Midrand, we often find that a small change in bowl position improves landing space beside the sink. In vanity areas, the basin centreline needs to work with mirror lights, wall tiles and drawer clearances. The templating sheet should show the sink type, bowl size, drainer side and any hob cut-out nearby.
- Measure cabinet width, depth and wall squareness
- Mark tap holes and soap dispenser holes early
- Record bowl depth, flange width and drain position
- Note seam lines away from corners and cut-outs where possible
Undermount sinks in quartz and solid-surface tops
Undermount sinks suit a clean countertop line and make wiping crumbs straight into the bowl easier. They work well with engineered quartz kitchen counters where the slab has enough thickness and the cabinet support is level. The edge profile around the cut-out needs enough material to stay strong, especially near corners and sink clips.
In solid-surface tops, the undermount look can be paired with a warmer, softer edge profile and a smooth splashback. The installer still checks the underside support, adhesive line and bowl position before final fixing. Heat and stain care remain important, because hot pans left near the sink area can mark the counter even when the bowl is sound.
- Best for a neat, low-profile finish
- Needs accurate cut-out sizing and clean underside support
- Works well with straight or lightly eased edge profiles
- Keep a drying mat for hot pots and kettles nearby
Top-mounted sinks when service matters most
Top-mounted sinks are practical when the household wants a simple replacement path later, or when the cabinet opening is not ideal for an undermount fix. The rim covers the cut edge, which can help in busy kitchens and shopfitters’ tea points where the counter sees heavy daily use. The seal around the rim still needs careful finishing so moisture does not creep under the lip.
This approach suits many laminated, quartz and solid-surface jobs where function matters more than a fully flush look. It also helps where the bowl size needs a small shift to suit existing plumbing. In Randburg and Roodepoort, we often see this option chosen for utility rooms, rental units and compact kitchen runs.
- Visible rim helps cover minor cut-out variation
- Useful where future replacement may be required
- Works with a wide range of bowl shapes and sizes
- Sealant must be neat, continuous and easy to clean
Integrated sinks and where they make sense
Integrated sinks belong in projects where the finished line needs to feel continuous from counter to basin. Solid-surface material is especially suited to this approach because the bowl and top can be joined with fewer visible breaks. The result works well in modern vanities, reception counters and some shopfront wash areas, provided the templating is exact and the fall to the drain is planned properly.
These sinks need more coordination at the planning stage. Tap hole positions, splashback height, waste fittings and cleaning access all need to be mapped before fabrication. On site, the installer also checks how the bowl will be serviced later. A smooth finish is useful only if the basin can still be kept hygienic and dry at the edges.
- Good for a clean continuous appearance
- Common on solid-surface vanity tops
- Needs careful planning for waste and tap set-out
- Works best where regular wiping and gentle cleaning are expected
A short fitting checklist for kitchens, vanities and office points
Before fabrication starts, the sink choice should match the room use, the cabinet layout and the cleaning routine. A family kitchen in Fourways may need a deeper bowl and more landing space, while a small office kitchenette may work better with a compact bowl and a sturdy top-mounted rim. Splashback height, seam placement and edge detail all change once the sink type is confirmed.
Our team handles digital measuring, slab layout planning, cutting and fabrication, edge profiling, sink cut-outs, seam joining, splashback fitting and installation across Gauteng. That means the sink style is included from the first site note.
- Confirm sink type before templating day
- Choose edge profile that suits the bowl opening
- Check for taps, mixers and accessories that need holes
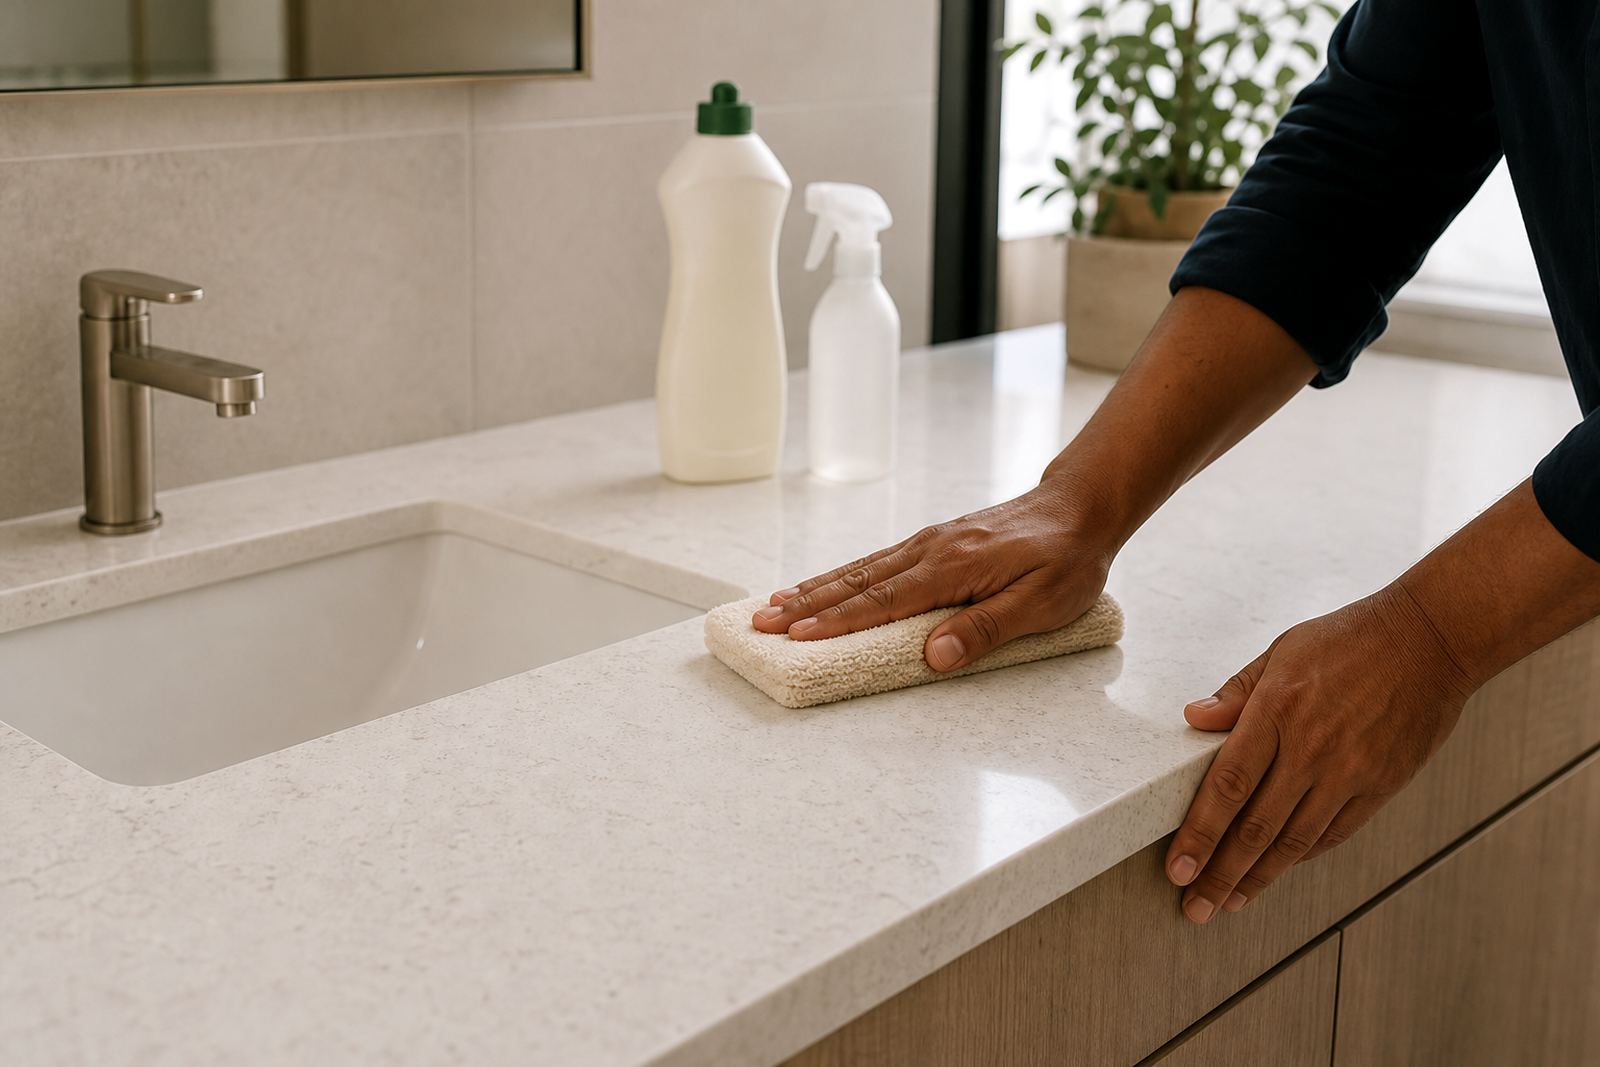
- Keep heat pads and gentle cleaners ready for daily use
- Ask for aftercare advice on stains, chips and seal care