Clear the room before the first template is taken
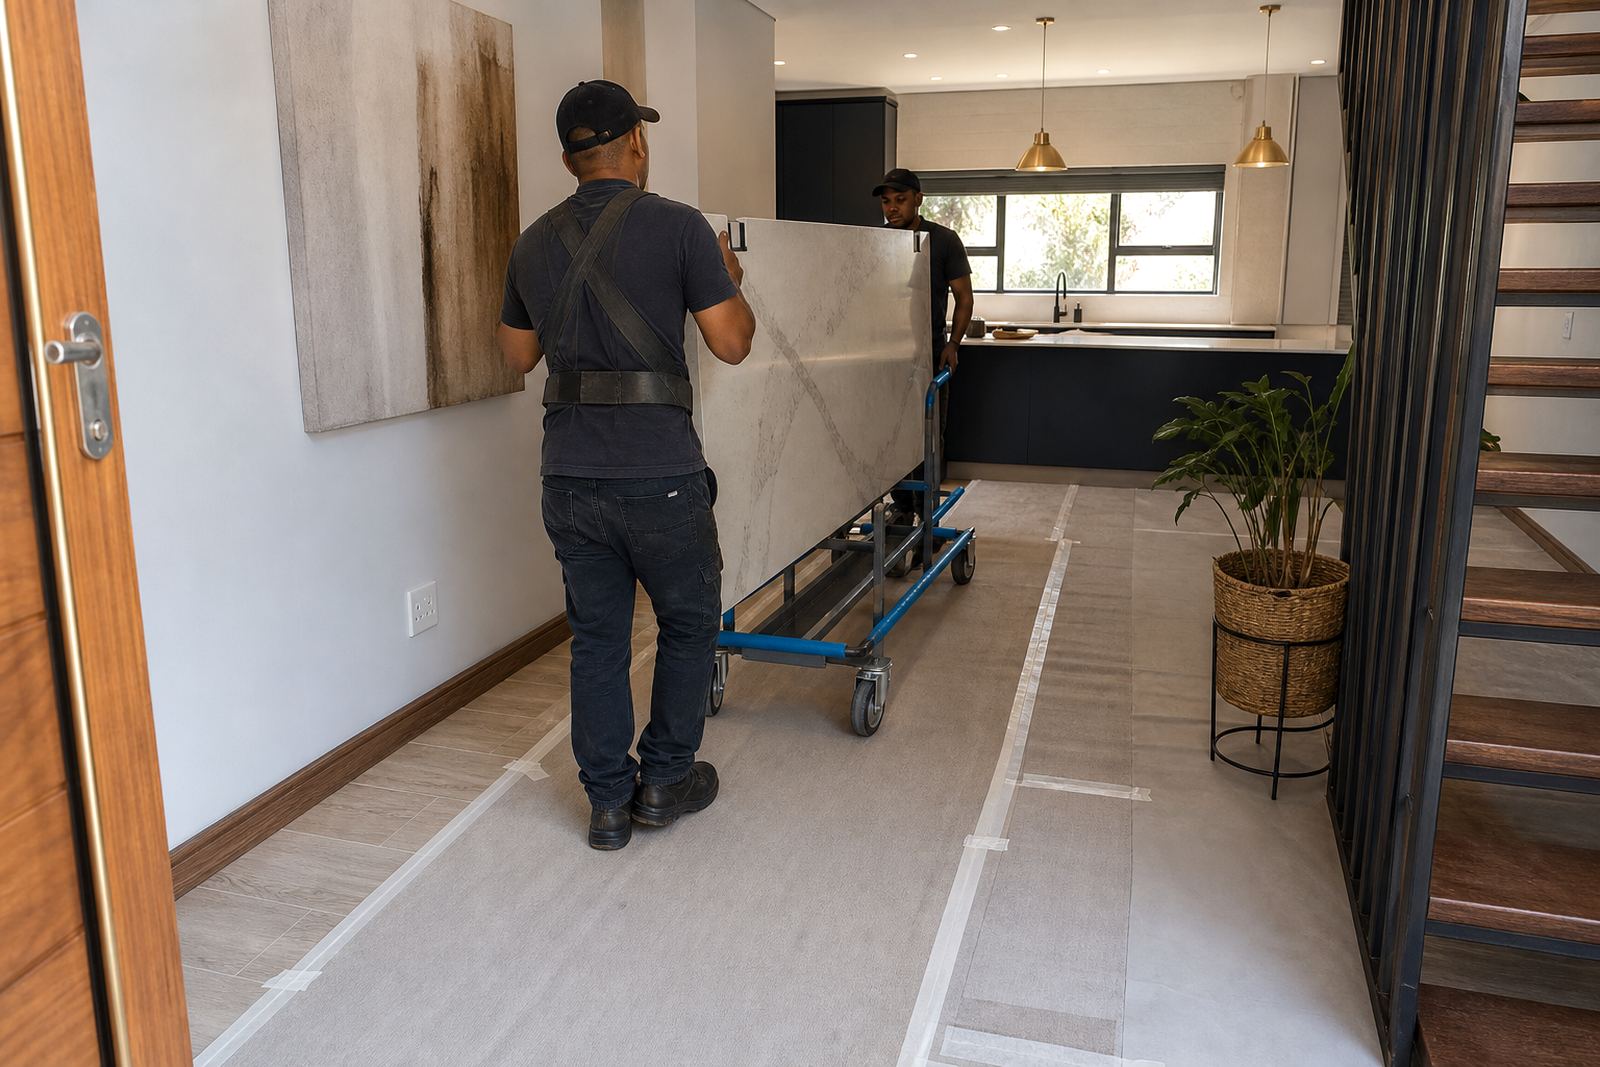
Before templating or fitting starts, give the team an open path from the entrance to the work area. Countertops in engineered quartz and solid-surface are moved as finished pieces, so doors, passages and stairs need enough width for safe handling. Remove loose furniture, rugs, stacked boxes and anything that blocks corners or turns. If the job is in a flat, office or shop fitout, make sure lifts, loading bays and security counters are kept open for the agreed access window.
Where a kitchen or vanity is still in use, clear the base units under the working run. An open cabinet line helps with sink cut-outs, hob cut-outs and support checks. If old tops need to be removed, the space around plumbing and fixed appliances should be clear enough for strip-out and removal. In Randburg and across Gauteng, many site problems start with narrow access or a last-minute move of stored stock.
- Keep the path open from the gate, parking bay or loading point to where we fit the countertop.
- Move fragile items off window sills, shelves and ledges near the work zone.
- Unlock gates, lifts and site doors that the installers will need.
- Keep pets, children and anyone not involved in the job clear of the countertop fitting area.
Protect paint, tiles, floors and nearby joinery
Quartz and solid-surface slabs are durable once fitted, but surrounding finishes need care before any cutting or seam work begins. Cover painted walls, finished cabinetry, tiled floors and stone thresholds where tools or offcuts may pass. Cardboard, masking film, felt pads or clean drop sheets work well if they stay flat and do not shift underfoot. On polished floors or light timber, extra protection at doorways and corners prevents scuffs during carry-in and carry-out.
Sink areas, vanity fronts and splashback lines should be kept clean and dry. Dust from cutting and profiling can settle into open drawers or on exposed taps, so remove toiletries, paper goods and small appliances from the room. If the installation includes a mitered edge, waterfall return or a visible seam, leave the front face of cabinets uncovered so final alignment can be checked without delay. Coastal humidity is not a problem for the stone itself, but wet surfaces and damp packaging can make handling untidy and harder to control.
- Cover floors from the entrance to the work zone.
- Mask nearby corners, trims and splashback edges.
- Remove items from drawers under sinks and hobs.
- Keep cleaned surfaces dry for sealing and final wipe-down.
Make room for measuring, cut-outs and seam planning
Accurate templating starts with a room that is settled, level enough and free of temporary clutter. If walls are still being painted or tiled, the final finishes should be in place before templates are taken. Even a few millimetres matter when slabs are cut for straight runs, returns, sink apertures or hob openings. That is especially important for engineered quartz, where thicker slab profiles, edge details and joins need to be planned before fabrication.
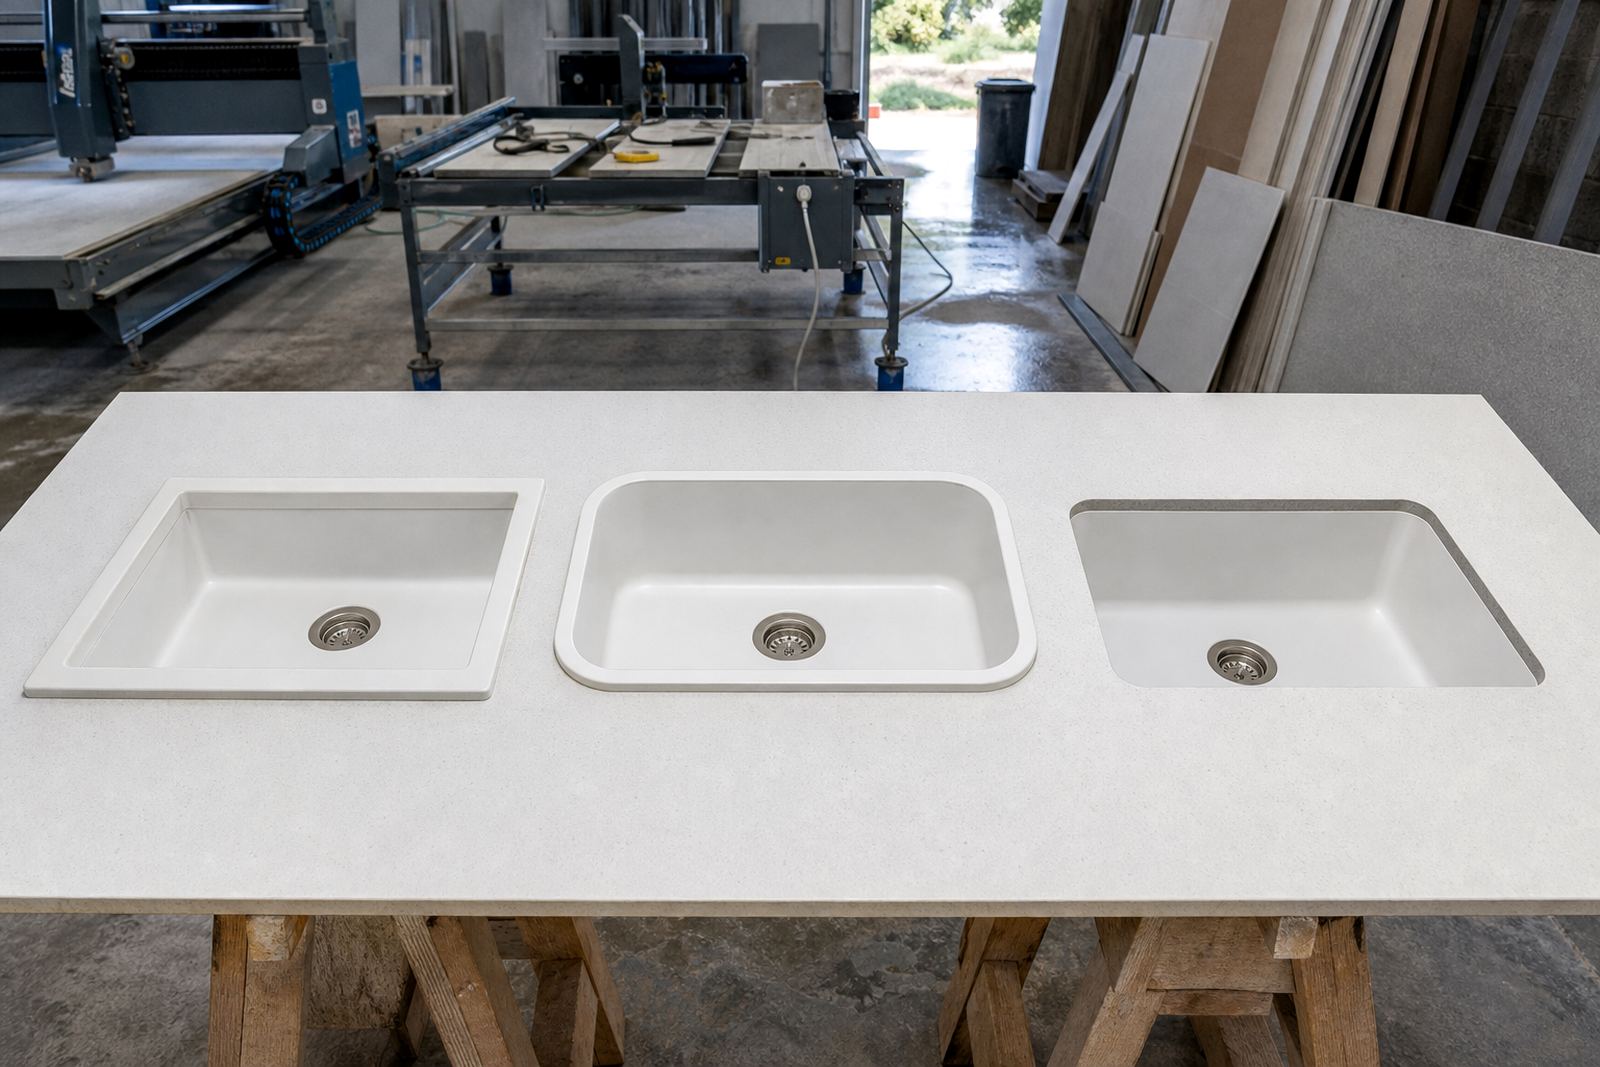
Check that sinks, taps, hobs and any undercounter units are on site and ready for measurement. If a basin, undermount sink or appliance will be supplied by another trade, keep the exact piece available for sizing or confirm the cut-out dimensions in advance. The templater also needs to know where joints can sit without fighting a corner or a front rail. On longer runs, seam placement is easier when cabinet lines are already fixed and the room is not still changing.
For vanity work, the basin waste position and wall finish behind the cabinet should be final. For kitchen runs, leave enough space around dishwashers, fridges and ovens so the slab can be checked against the finished line not the rough opening. Getting the measure right on site gives the workshop a far better chance of setting the edge profile, sink cut-out and seam positions to the room instead of making the room fit the slab.
- Complete tiling, painting and cabinet fixing first.
- Keep sinks, hobs and basins on site for checking.
- Confirm any left hand or right hand returns.
- Tell the team about uneven walls, pipes or boxed columns.
Coordinate plumbers, electricians and cabinet makers
Installation day works best when the other trades have already finished their rough-in work. Plumbers should have waste positions, isolators and tap points set. Electricians should have hob feeds, sockets and any undercounter points in place. Cabinet makers need carcasses fixed, level and ready to take the top without last minute movement. If a trade is still working in the same room, the fitters may have to pause while dust, fittings or wet trades interfere with the slab.
For shopfitting projects in Johannesburg, Sandton or Pretoria, it helps to appoint one person who can answer site questions and approve any small field changes. That person should know which wall is the true line, where the plumbing sits and whether the splashback height has changed from the drawing. Without that, the team can lose time chasing a decision about a socket cut-out or a seam position that should have been settled before arrival.
Final cleaning also matters. The room does not need to be polished, but it should be free of loose dust, building rubble and wet adhesive. Clean cabinets are easier to check for level, and clean floors make it easier to position slabs safely. If the fitting includes aftercare advice, keep the site free until the installers have finished sealing, wiping and explaining the care points for heat, stains and daily cleaning.
What to have ready on fitting day
A practical fitting day starts with the basics close to hand. If the room is ready, the team can move from carry-in to placing, aligning and fixing without hunting for missing parts. That matters on vanity jobs, kitchens and reception counters where a small item can hold up the whole sequence. A neat site also helps avoid damage to fresh paint, new tiles and completed joinery.
Use this short check before the team arrives:
- Access gates, lift controls and security permissions are sorted.
- Cabinets, sink units and support frames are fixed in position.
- Plumbing and tap positions remain easy to reach.
- Electrical points are ready where a hob or appliance needs them.
- Loose items, packaging and trade waste have been removed.
- Pets, children and unrelated staff are kept clear of the work zone.
If the project includes a splashback, leave enough clear wall space above the countertop for the fit. If there is a mirror, timber trim or tiled section nearby, mention it early so the finished height can be checked against the room. Small site notes are useful too, such as a narrow passage, a flight of stairs, a loading bay with a height limit or a reception area that must stay clear during office hours.
After the slab is down, keep the care straightforward
Once the countertop, vanity or splashback has been fitted, the care routine should stay simple. Engineered quartz prefers normal cleaning with a soft cloth, mild soap and water. Solid-surface also benefits from gentle cleaning and prompt attention to spills. Harsh abrasives, strong solvents and metal scourers can mark the finish, so keep those away from the surface. Hot pots and pans should not go straight onto the top, and cutting boards are still worth using even on a hard-wearing surface.
If a seam, sink edge or joint line was just sealed, leave it alone until the installer has finished the handover and cleaning. Do not lift a newly fitted sink, remove support props or add weight to the slab before the fit is fully settled. For households and busy offices in Gauteng, the best routine is the one people can follow without thinking about it: wipe spills, use heat protection and treat the top like a finished work surface not a chopping block.
Thabo and the aftercare side of the job may also point out where a joint line is meant to sit or how to treat a small repair mark if one appears later. Those notes are worth keeping with the room records, especially when the project includes a vanity, splashback and matching countertop on the same property.
A final walk-through before the installers leave
The last check should be plain and hands-on. Look at the slab edges, the sink opening, the hob cut-out and the seam lines under good light. Open nearby doors and drawers to make sure nothing binds against the new top. Check that taps, wastes and appliances still clear the finished surface. If the project included a return panel or splashback, confirm the line sits clean against the wall and that the joints are neat.
One short walk-through can save a second visit for a minor snag, so it helps to do it before the site is handed back to normal use. Keep the care note, the maintenance points and any field adjustments where the household or site manager can find them later. When the room has been prepared well, quartz and solid-surface installations usually settle in neatly and the finish looks like it belongs there from the start.