Start With the island footprint, not the dream size
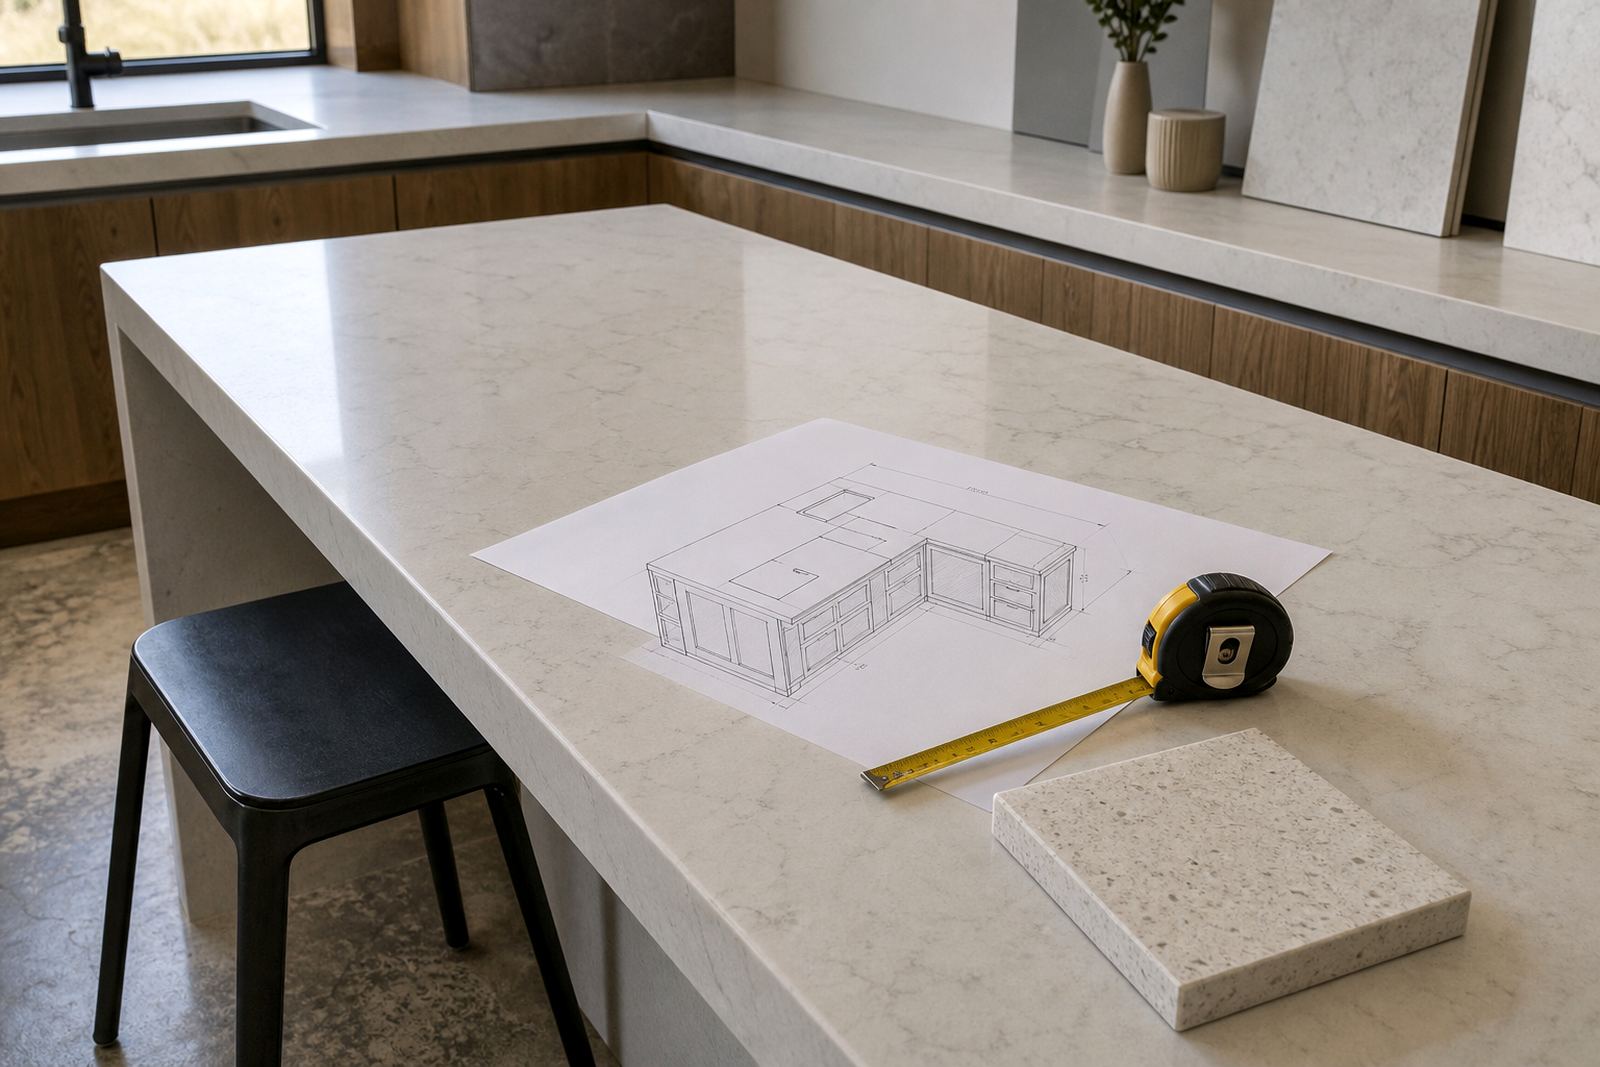
An island works best when the room can carry it without choking the walkways around it. In most kitchens, the clear space between the island and the nearest run or wall should allow two people to pass without turning sideways, and doors or drawers need room to open fully. If the layout includes stools, the seating side needs extra depth for knees, feet and comfortable movement.
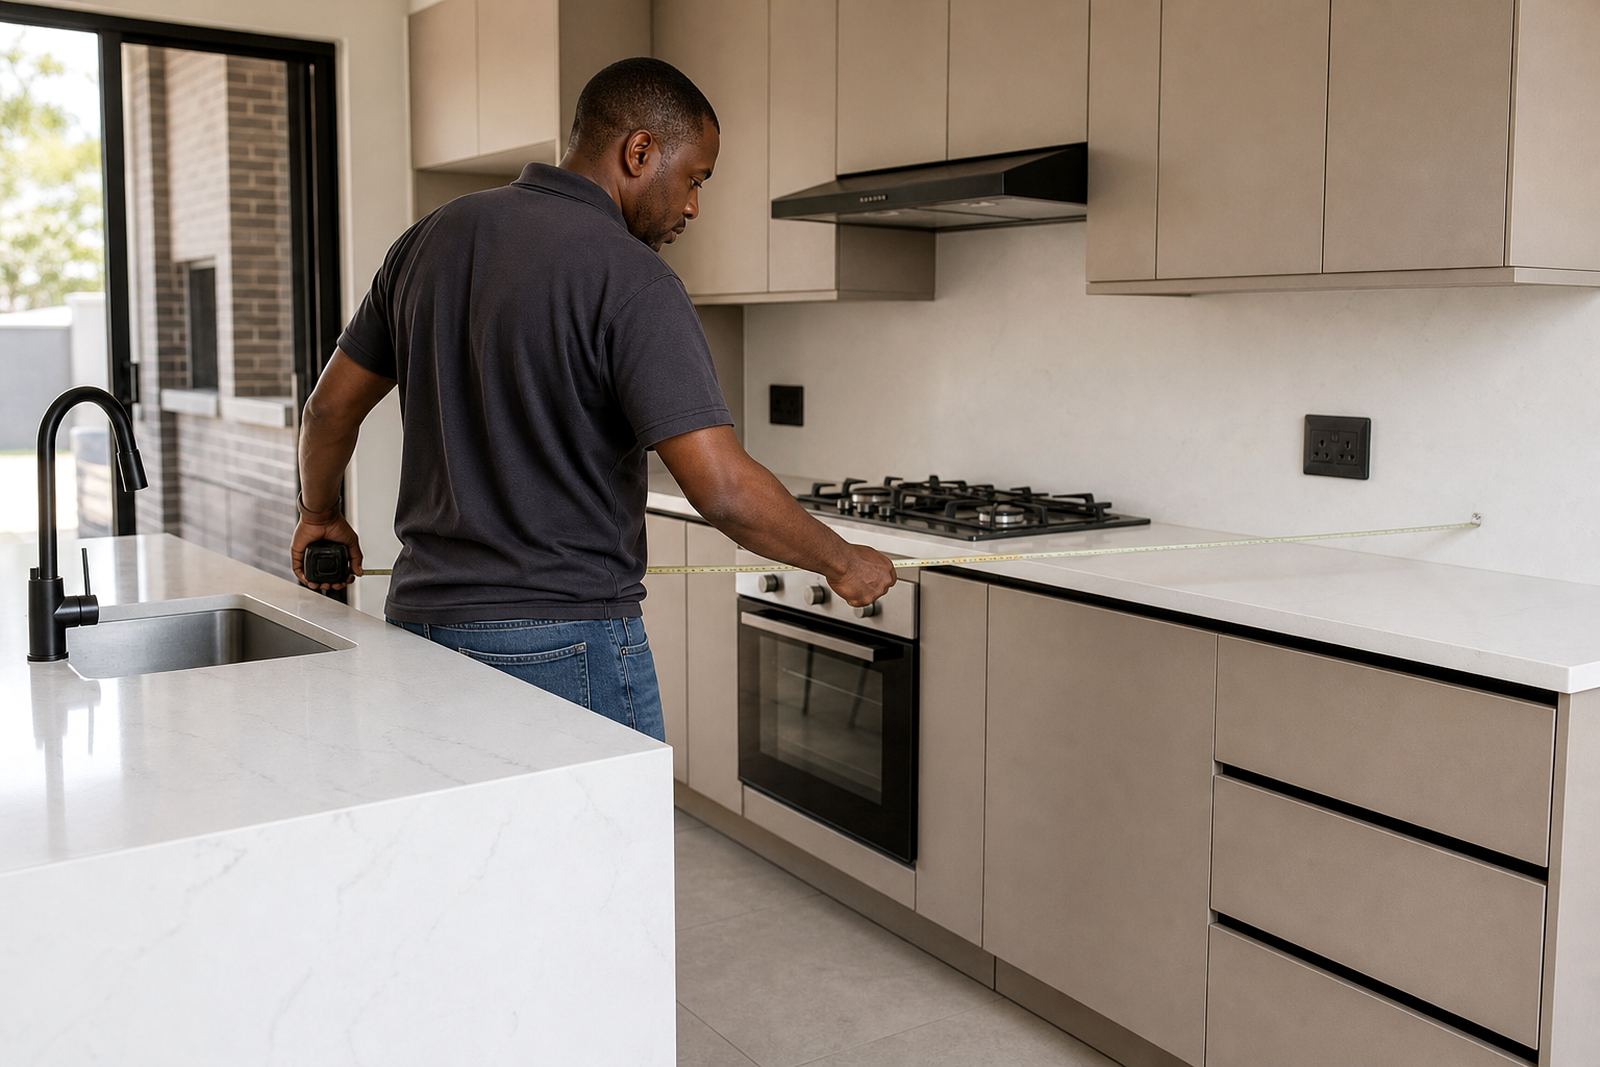
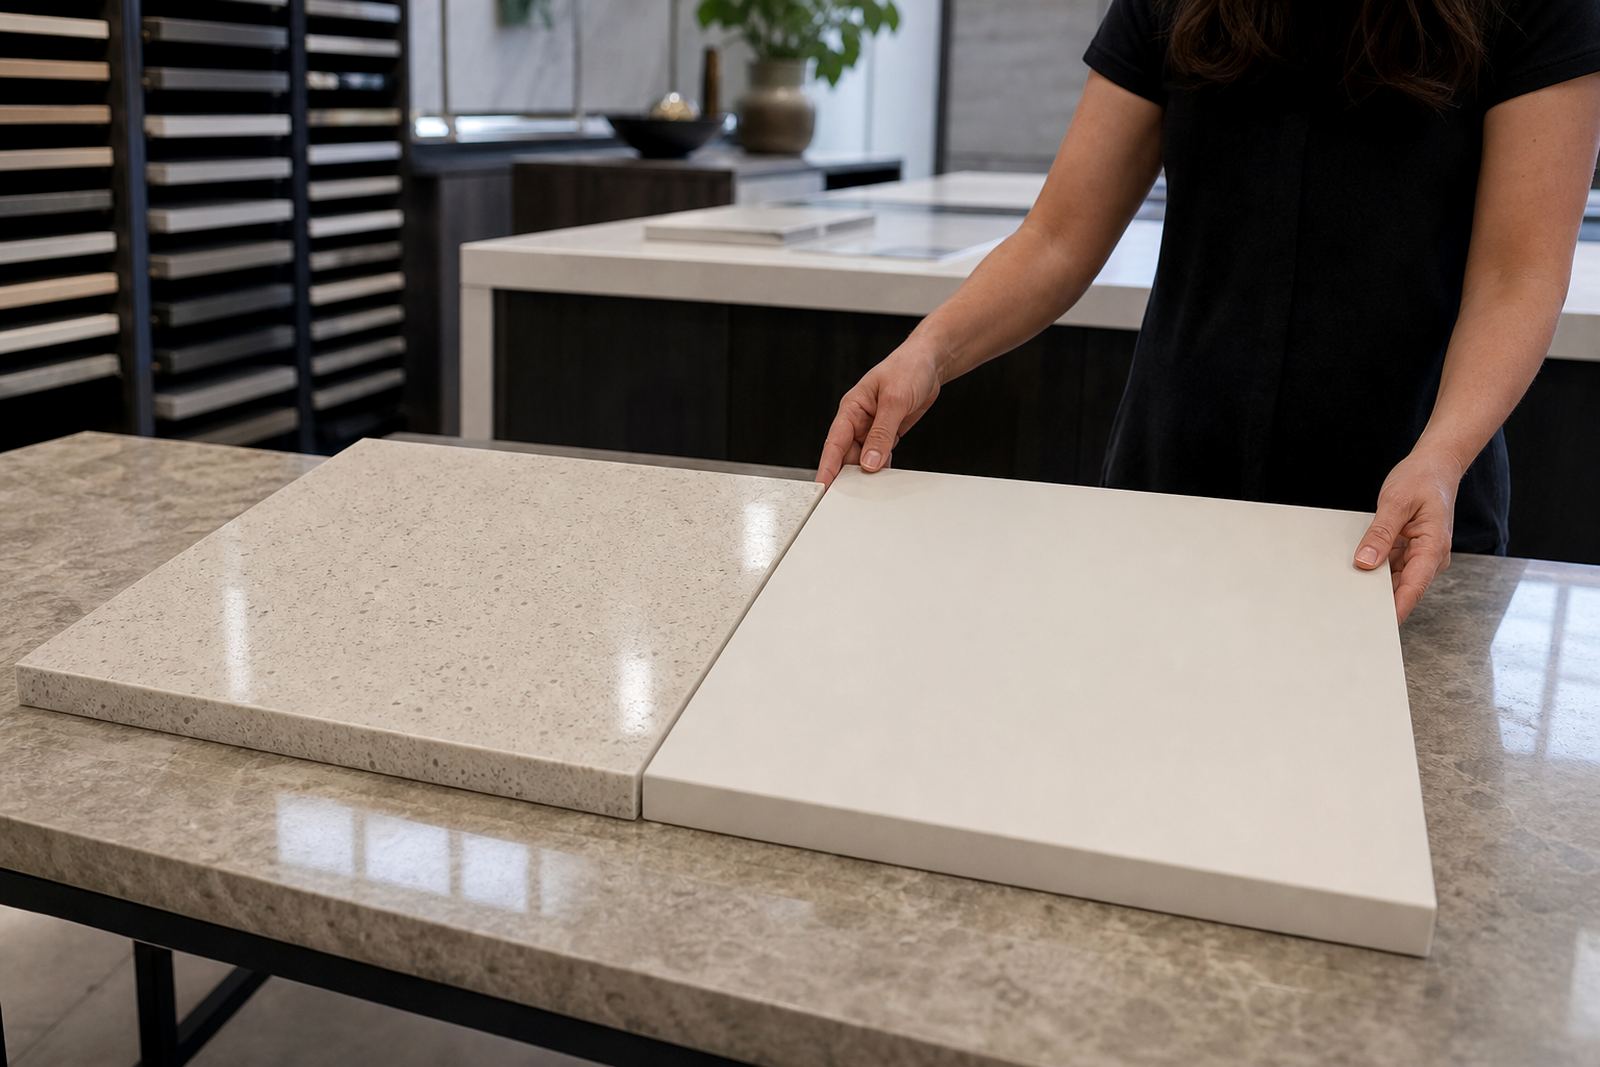
For engineered quartz and solid-surface tops, the footprint also has to suit the slab size and the cut plan. A long island may need a joined section, while a compact island can often be cut from one piece with cleaner lines. Our site templating checks the actual wall positions, the floor levels and the appliance points before the workshop starts cutting.
- Measure the room opening, not only the island area.
- Allow for drawer fronts, appliance doors and seating clearance.
- Check whether the floor falls out of level, especially in older homes.
- Confirm where power, water or waste points sit before finalising the shape.
Overhangs that feel right at the bar stool side
The overhang is where islands often go wrong. Too little and the seating side feels tight, too much and the top can look heavy or need extra support. The right depth depends on the slab thickness, the edge profile and how the island will be used day to day. A crisp square edge gives a modern look, while a shaped edge can soften the front line on a family kitchen.
For a seated island, the support beneath the overhang must be planned before fabrication. Quartz is strong, but it still needs proper bearing on wider spans. Solid-surface can take more shaping on the edge, yet it still needs a sensible structure under the top. We also check the overhang at corners, because a corner return can catch knees if it is drawn too tight.
- Decide early if the island is for eating, prep work or both.
- Choose an edge profile that suits the room and the support available.
- Keep corner returns clear enough for moving around the island.
- Ask for a support plan where the overhang is generous.
Where seams belong on a long island
Seams should sit where the eye reads them least, not where the first cut happens to land. On a long island, the best seam position depends on slab layout, grain direction if the surface has movement, and the visible front edge. A seam across the main working face can be obvious, while a seam closer to a sink cut-out, appliance break or cabinet line often sits more naturally.
Good seam joining also depends on how the island is used. Heavy prep work, standing water and cleaning routines all matter. When we plan the cut list, we look at the full slab layout so that joins are not forced into awkward spots. A careful seam, colour-matched and aligned properly, is part of the finished surface not a correction after the fact.
- Keep seams away from the most visible centre line where possible.
- Plan joins around cabinet breaks, sinks or hob positions.
- Check slab direction before deciding the cut order.
- Leave room for a neat joint, not a rushed one.
Cut-outs for sinks, hobs and tapware without drama
Sink cut-outs and hob cut-outs need exact templating. A few millimetres out can affect the rim fit, the undermount support or the clearances around taps and baskets. With quartz, the cut edges are precise and the underside needs careful support. With solid-surface, the finish can be scribed and shaped smoothly, which helps in tighter spaces and unusual bowl sizes.
Before fabrication, the appliance specs and the final cabinet positions need to match the template on site. The countertop should also allow for splashback lines, tap holes and any upstand details. Where the sink sits near a seam, the layout has to be checked twice so the joint does not weaken the most worked section of the top.
- Confirm bowl size, rim style and tap positions before templating.
- Leave clearance around cut-outs for clips and support pieces.
- Do not place a seam too close to a large sink opening.
- Check that splashback lines and tap holes still read neatly from the front.
Access into the room matters as much as the island itself
An island can be perfectly drawn and still fail at the final turn into the house. The route from the workshop delivery point to the kitchen should be checked for narrow passages, stair turns, door widths and tight corners. In homes across Randburg, Sandton and Pretoria, access often decides whether a top can move in as one piece or needs a more careful sectional plan.
Cabinet carcasses, finished walls, tile edges and newly painted corners all need protection during installation. Where the island is large, the team may stage the fit in sections and complete the seam, edge finishing and final positioning on site. A clear path saves time and protects the surface from chips and scuffs.
- Measure the narrowest doorway, passage and turn in the route.
- Check stair landings and lift dimensions where relevant.
- Protect fresh paint, tiles and floor finishes before the top moves in.
- Allow enough room for installers to set, level and align the island.
Aftercare that keeps the surface clean and steady
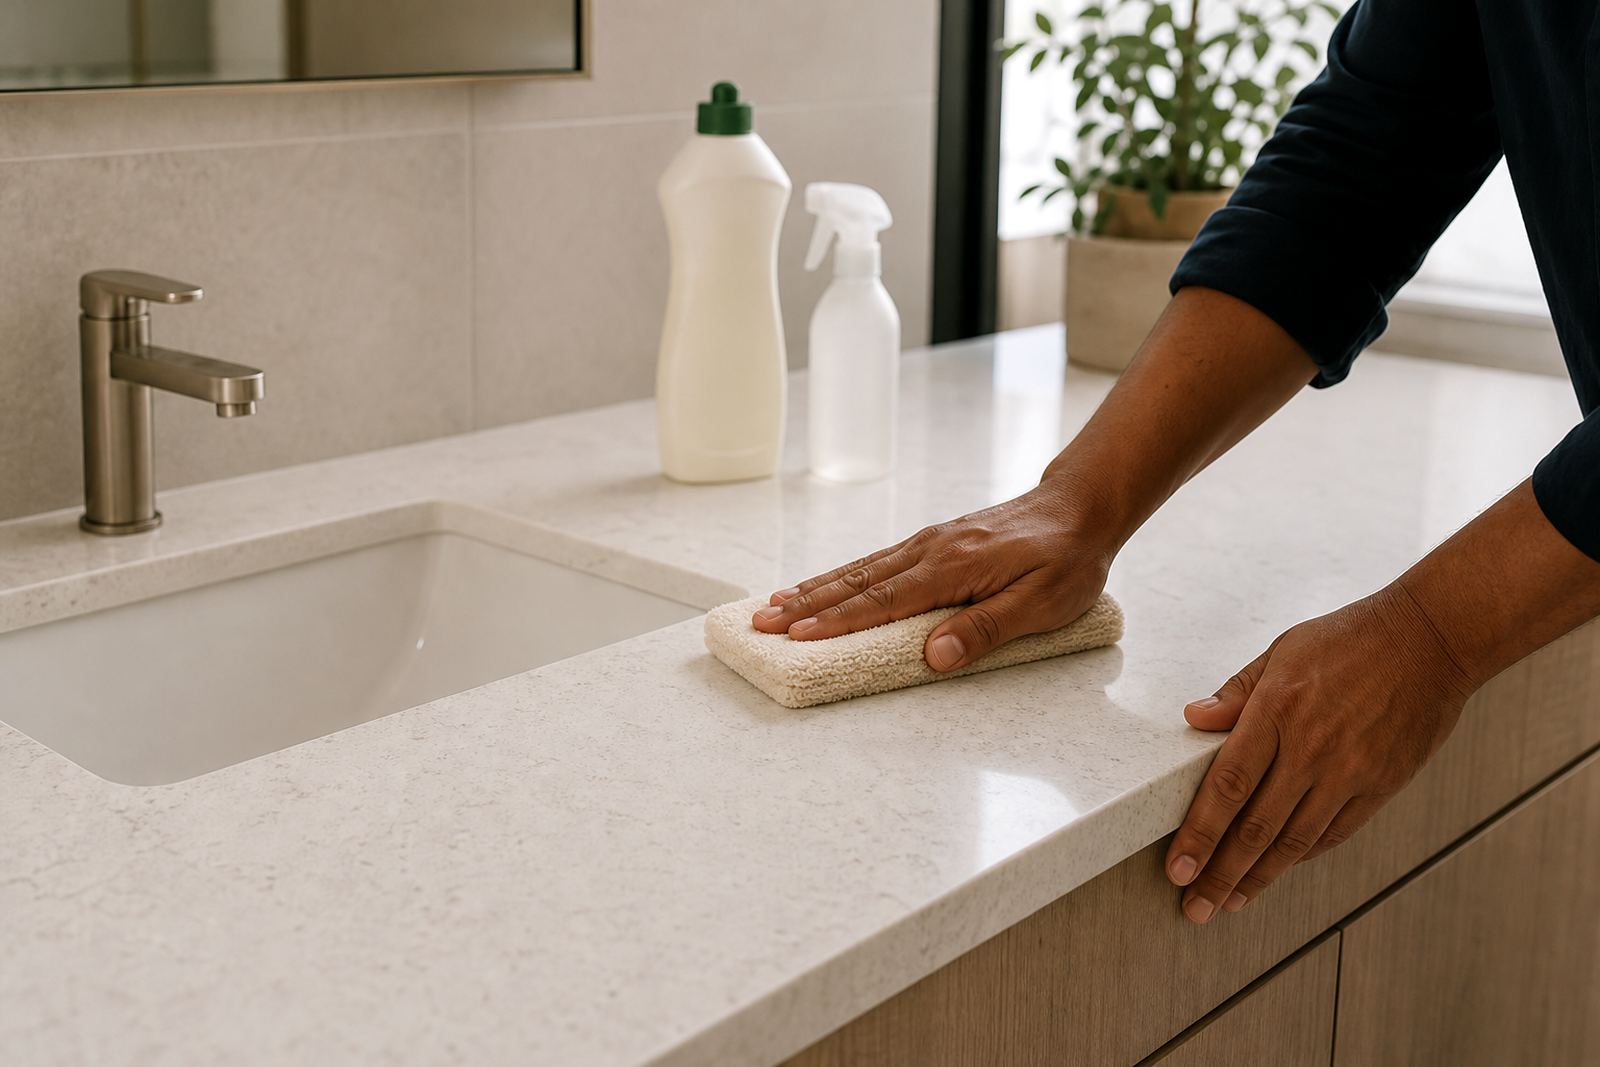
Quartz and solid-surface tops both need ordinary but careful handling. Hot pots should not sit directly on the surface, and spills should be cleaned before they dry out, especially coffee, wine and cooking oils. For island tops with heavy use, soft cloths and mild cleaners are usually enough. Harsh pads, strong bleach mixes and abrasive powders can dull the finish or mark the edge profile.
The island also needs simple daily habits. Use chopping boards, wipe standing water near the sink and check that stools do not knock repeatedly into the same corner. If a joint needs attention or a surface mark appears, aftercare advice should match the material and the exact finish used on the job.
- Use trivets for hot pans and trays.
- Wipe spills before they sit on the surface.
- Choose mild cleaners and soft cloths over abrasives.
- Protect corners from repeated knocks from stools or trolleys.