Where a seam usually enters the plan
Most straight kitchen runs can be made with one slab length, but longer walls, island returns and tight access into the house often change that. A seam may be needed where the run exceeds slab size, where the layout turns a corner, or where a lift into the room would be awkward. In homes and shopfit-outs around Randburg and Sandton, seams are also common at appliance breaks, at joins between sections of an island, and where a vanity or splashback has to be made from more than one piece.
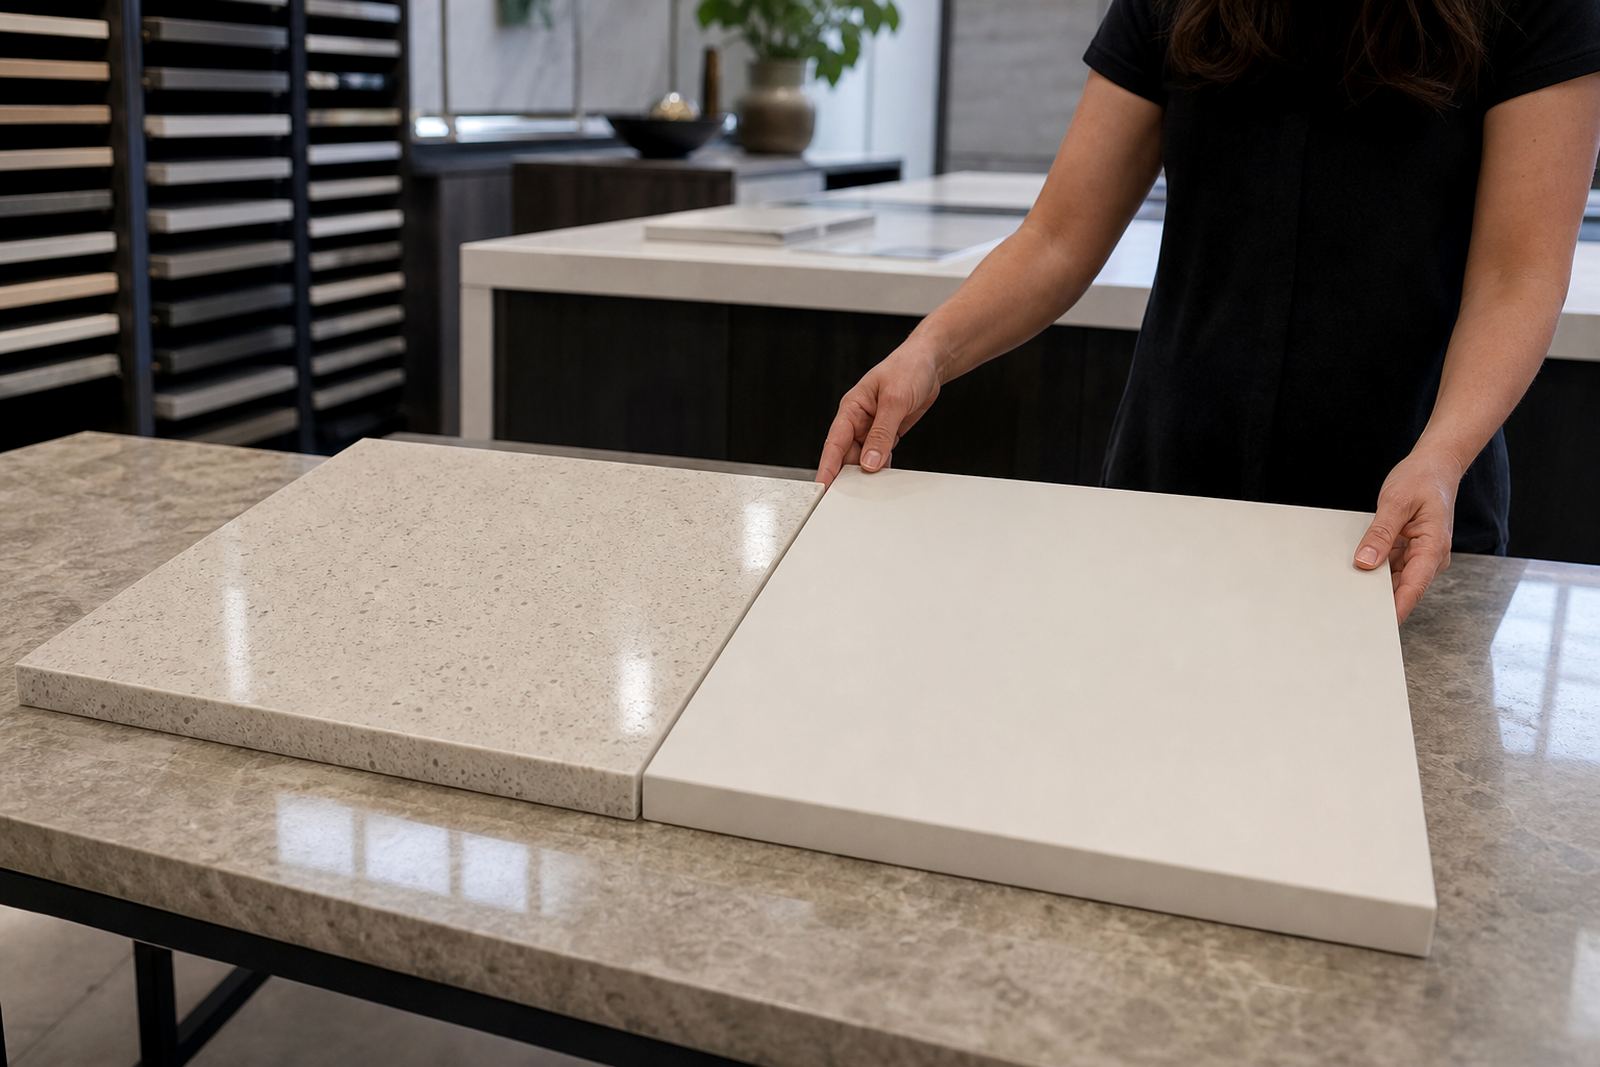
Engineered quartz and solid-surface both allow neat joining, but the planning is different. Quartz has natural-looking pattern flow and a harder face, so seam position has to respect the grain or fleck movement. Solid-surface can be joined and dressed with less visual interruption, yet it still needs accurate templating and clean edges for the joint to sit flat.
- Long wall runs with no natural break
- L-shaped counters and island returns
- Large vanities with basins or tap cut-outs
- Splashbacks that wrap corners or windows
- Access routes that limit slab movement
What makes one seam stand out more than another
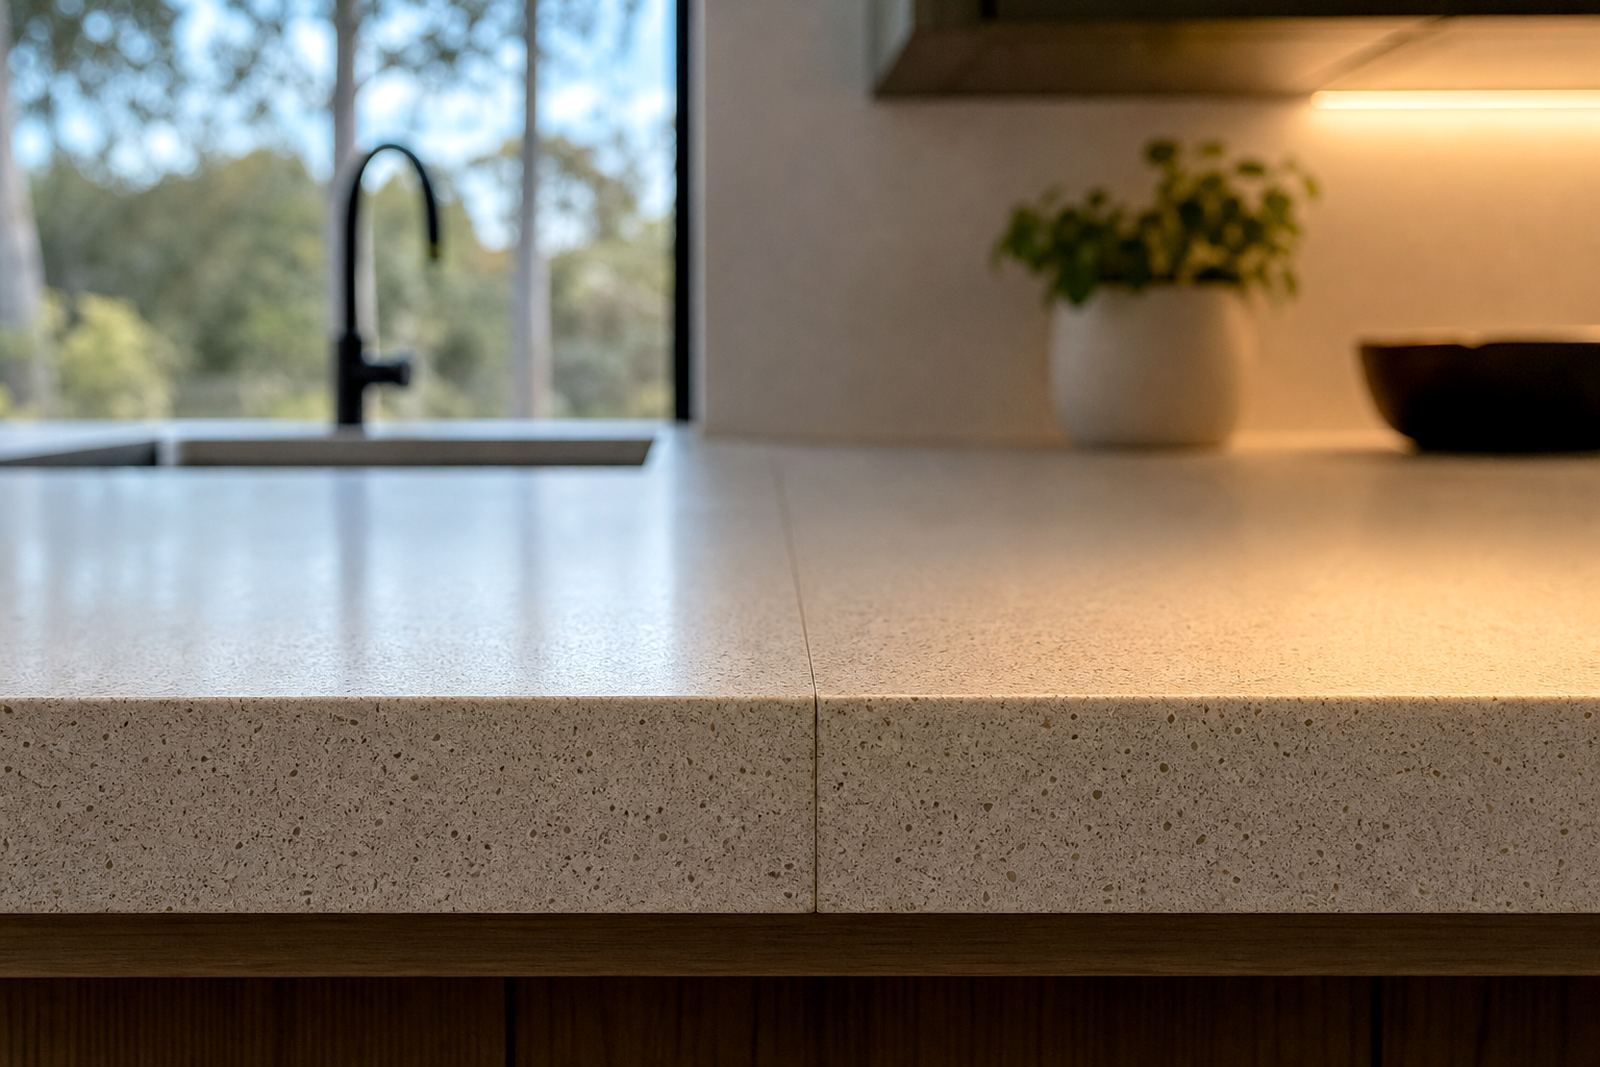
A seam is most visible when the eye catches line, colour change or uneven reflection. On a pale quartz top with a soft pattern, the joint can sit quietly if the slabs are matched well. On darker material, a slight shift in adhesive line or height may show more clearly under strong light, especially near windows in Johannesburg or Pretoria where the sun reaches the worktop at a sharp angle.
Heat, moisture and daily cleaning also matter. A seam close to a hob or sink needs accurate cut-outs and sound support, because movement around those openings can stress the join. The edge profile matters too. A pencil round or square edge reads differently from a heavier bullnose or stepped edge, and the seam has to be finished to the same profile so the line does not interrupt the shape.
- Pattern movement across the slab
- Colour contrast between joined pieces
- Light from windows, pendants or skylights
- Edge profile and polish level
- Accuracy of substrate and support underneath
Templating before cutting makes the difference
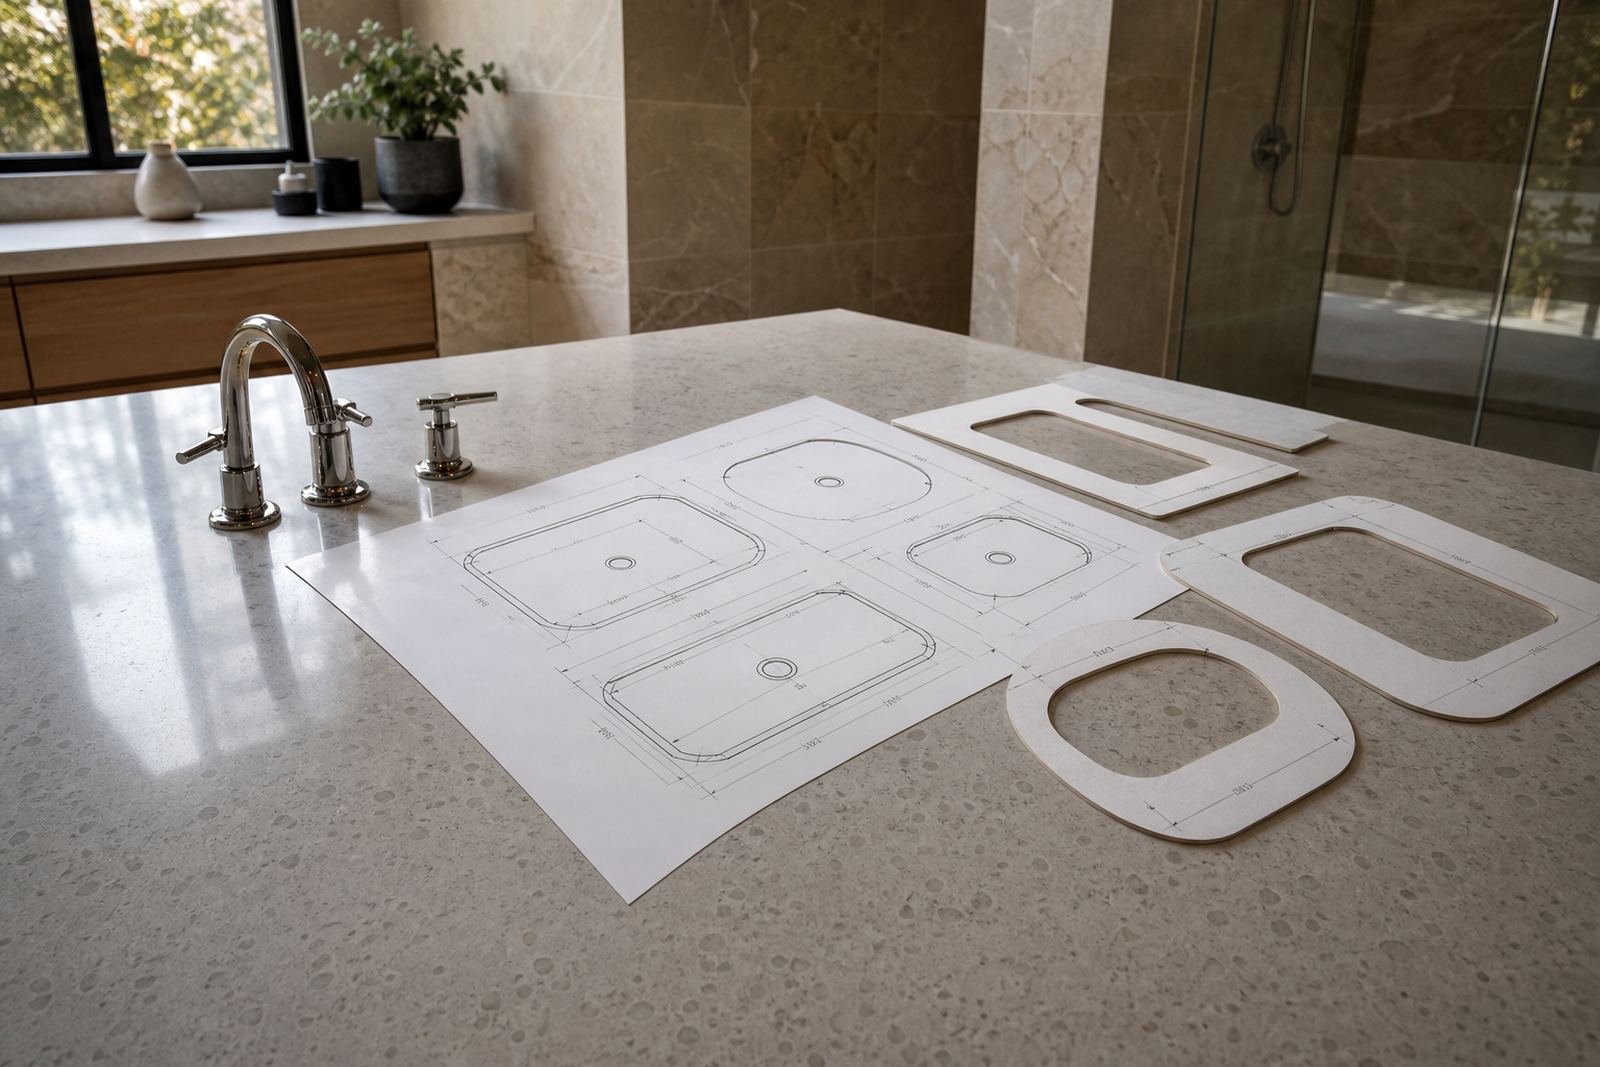
Good seam placement starts at site templating. A templater checks wall line, corner angles, sink position, hob clearance and any out-of-square points that a tape measure would miss. In older homes and busy shop counters, walls are often not perfectly straight. If that is ignored, the seam may be forced into an awkward position or the joint may open slightly along the front edge.
Digital measuring and slab layout planning help the workshop decide where the seam will sit before cutting begins. The aim is to keep the joint away from the most visible sightline where possible. On a vanity, that may mean placing the join away from the basin centreline. On a kitchen, it may mean shifting it away from the main prep zone or the end of an island where guests stand and look across the surface.
- Confirm wall lengths and corner angles
- Mark sink, hob and tap positions
- Check slab direction and pattern flow
- Look for support points under overhangs
- Plan where the seam will be least noticed
How the workshop joins quartz and solid-surface cleanly
Once cut, the pieces need a flat, stable bed and careful alignment. The join line should close evenly from front to back, with no lip that can catch a cloth or collect dirt. On quartz, seam colour and adhesive choice are matched as closely as possible to the slab tone. On solid-surface, the joint can be sanded and blended more fully, which is useful on reception counters and vanity tops where the finish needs to feel continuous.
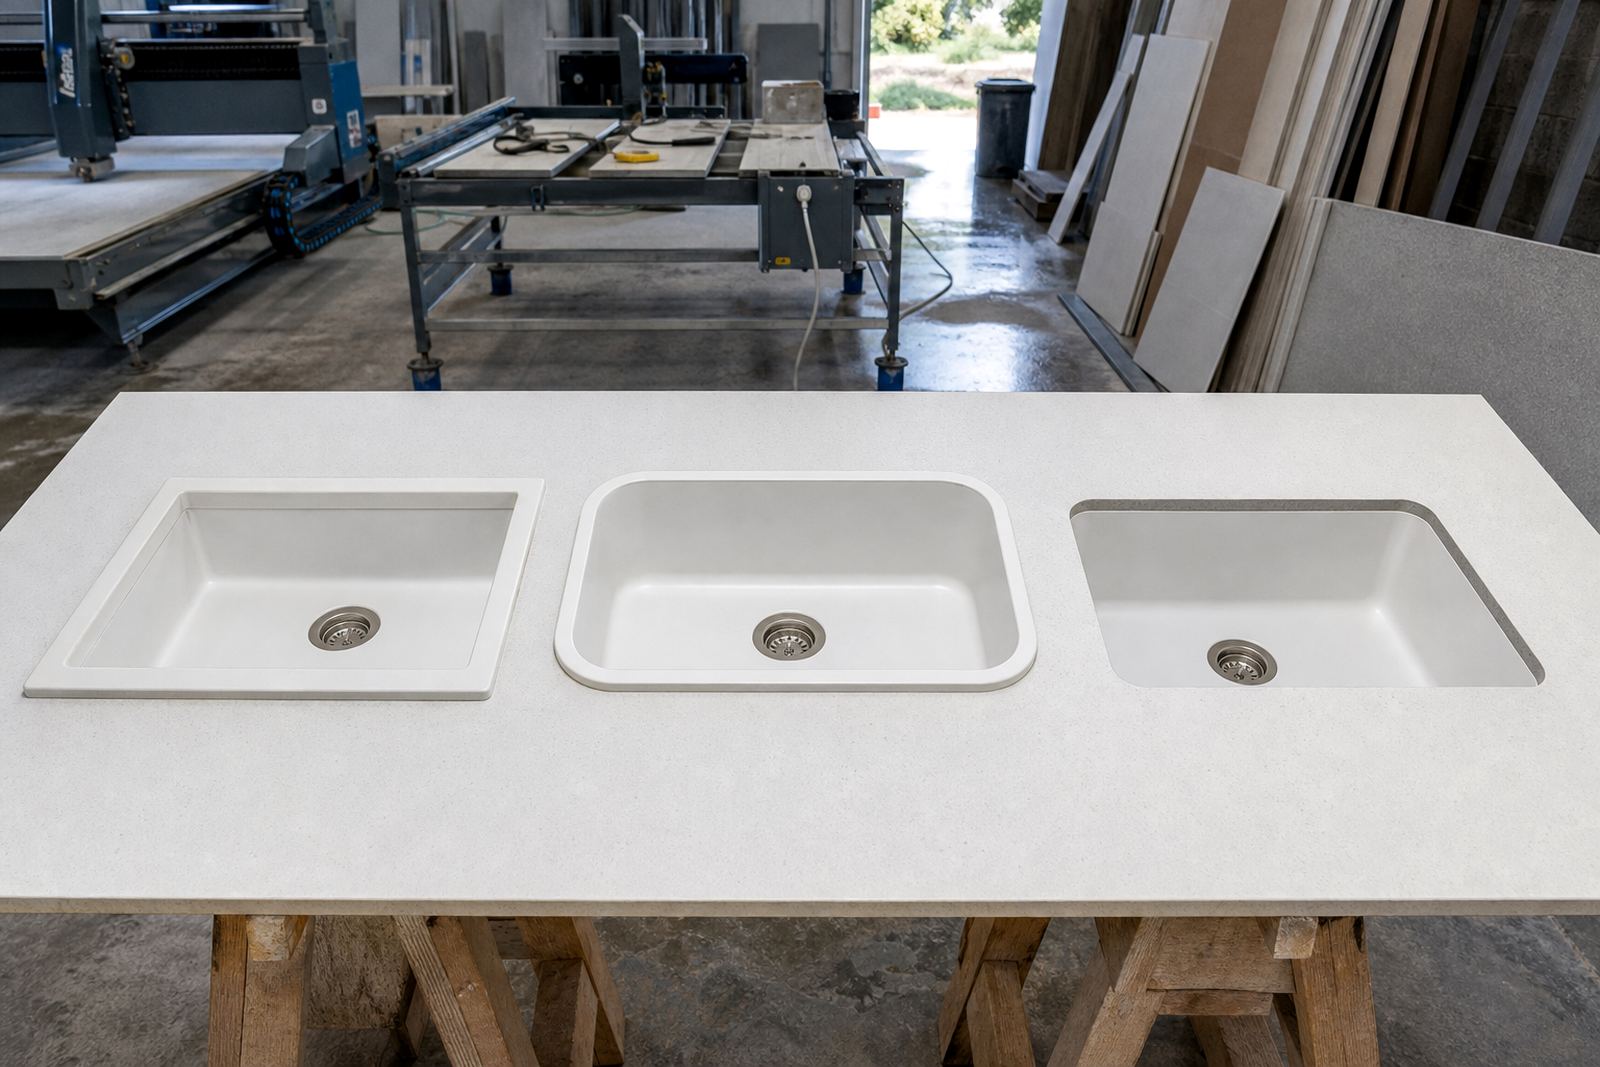
Sink cut-outs and hob cut-outs have to be finished before the joint is closed, because the corners around those openings are stress points. A seam too close to a cut-out can weaken the area if the layout is rushed. For that reason the workshop supervisor and lead templater often work together on the slab map before any cutting starts. It saves waste and keeps the final line sensible rather than forced.
- Dry-fit both pieces before final bonding
- Check level across the full joint
- Keep adhesive lines thin and even
- Finish cut-out corners with proper radius points
- Polish the joint to match the surrounding surface
Seam care after installation in real homes and offices
After installation, the seam does not need special treatment every week, but it does benefit from sensible care. Avoid dragging heavy pots, boxed stock or sharp tools across the joint line. Warm pans should not be set directly on quartz, and strong stains should be wiped rather than left to sit, especially near the sink where water and soap residue can gather. In coastal humidity or in a busy office pantry, that habit helps the join stay clean and dry.
For solid-surface tops, small marks can often be dressed out by hand with the right maintenance approach. Quartz is harder and more stain resistant, but it still prefers a mild cleaner and a soft cloth. If a seam ever starts to look dull or collects grime at the edge, aftercare advice can usually sort out whether it needs a deeper clean or a service visit.
- Use a soft cloth and mild cleaner
- Keep knives and metal tools off the seam
- Lift heavy items instead of sliding them
- Wipe spills near sinks and hobs promptly
- Ask for aftercare advice if a joint changes appearance
A quick seam checklist before fabrication starts
Before cutting begins, the layout should be checked with the full room in mind. That means more than measuring the wall. It means looking at delivery access, slab direction, edge profile, appliance positions and where the eye lands first when someone walks into the room. A good seam is planned, not hidden by luck.
Plastone handles site templating, cutting and fabrication from Strijdom Park, Randburg, with installation across Gauteng including Johannesburg, Sandton, Midrand, Fourways, Pretoria and Centurion. Our contact form is the right place for project details, drawings or photos, especially when the job needs a seam near a sink, island return or splashback corner.
- Room measurements and wall angles checked
- Sink, hob and basin positions marked
- Slab direction and colour movement reviewed
- Joint line placed away from the main sightline where possible
- Support, access and installation route confirmed