Start with the basin, not the stone
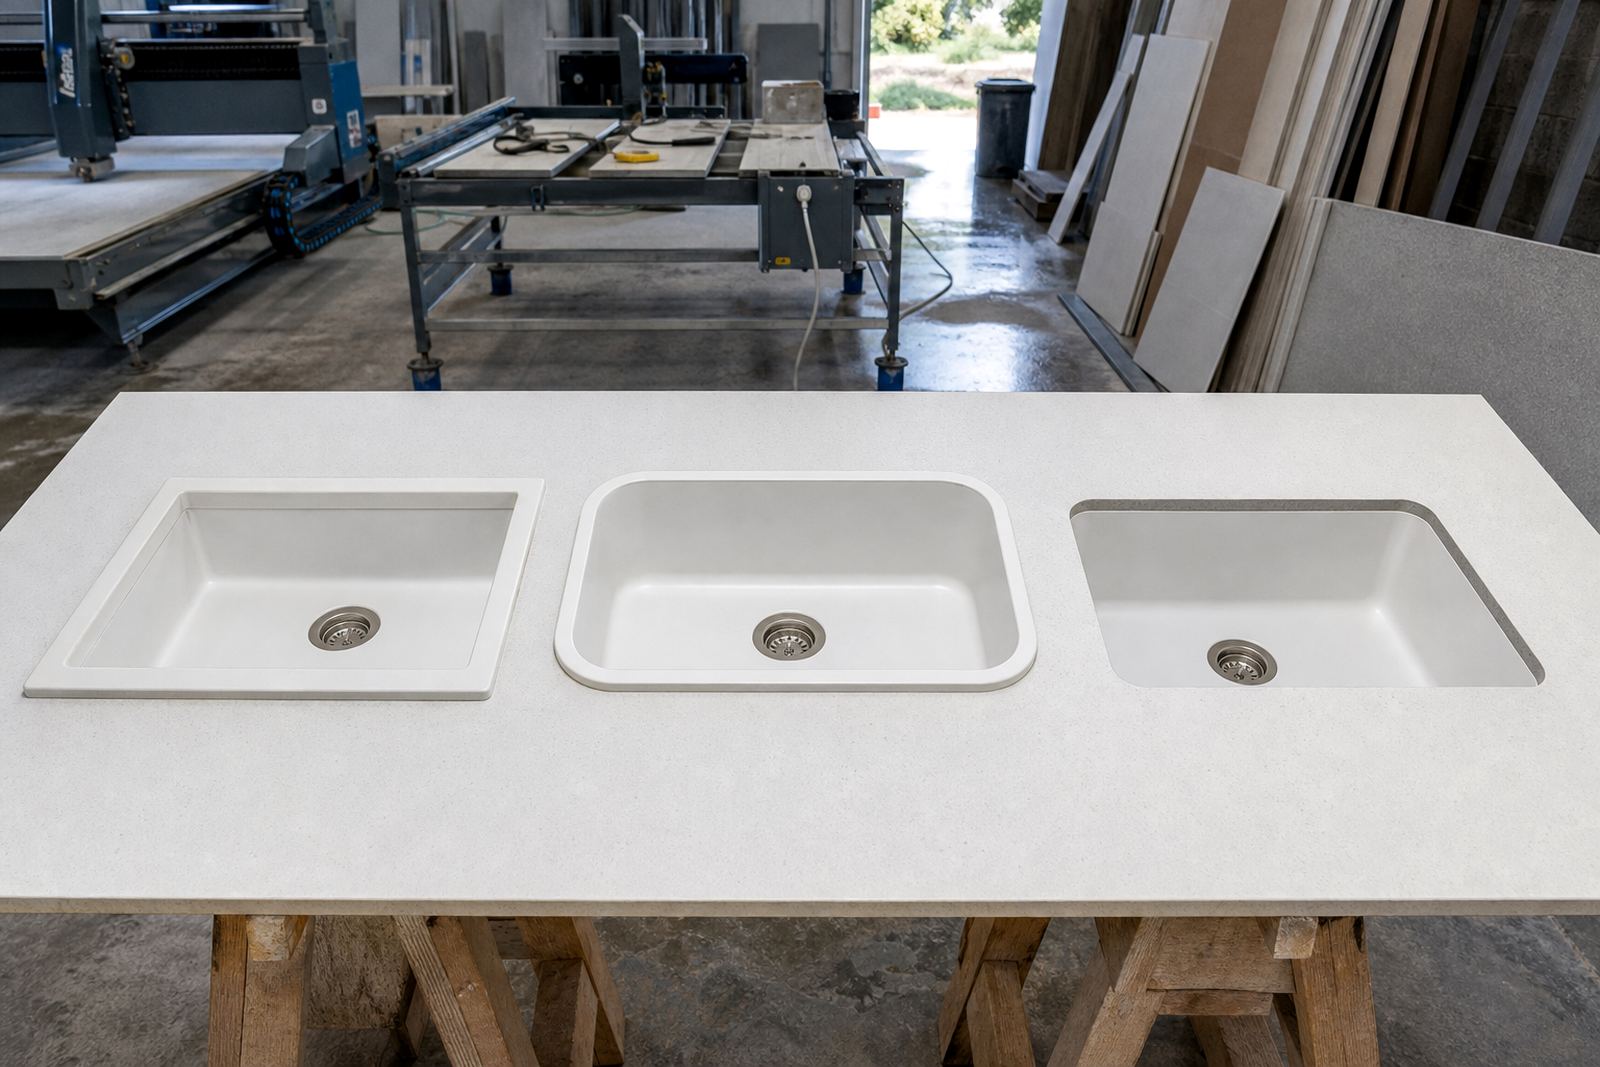
The basin size sets the working layout long before fabrication starts. A top-mounted basin, under-mounted basin or moulded solid-surface basin each needs different clearances, cut-out sizes and support around the opening.
We check where the basin sits in relation to the vanity carcass, drawer runs and wall returns, because a few millimetres can change the look of the whole unit. On smaller vanities in Randburg or Fourways, centring the basin is not always the best answer if the plumbing or drawer layout would feel cramped.
- Measure the cabinet width at front and back.
- Note basin outer size, inner bowl size and rim detail.
- Check if drawers, doors or traps conflict below the cut-out.
- Allow for basin overhang on both sides, if needed.
Tap holes need a proper setting out
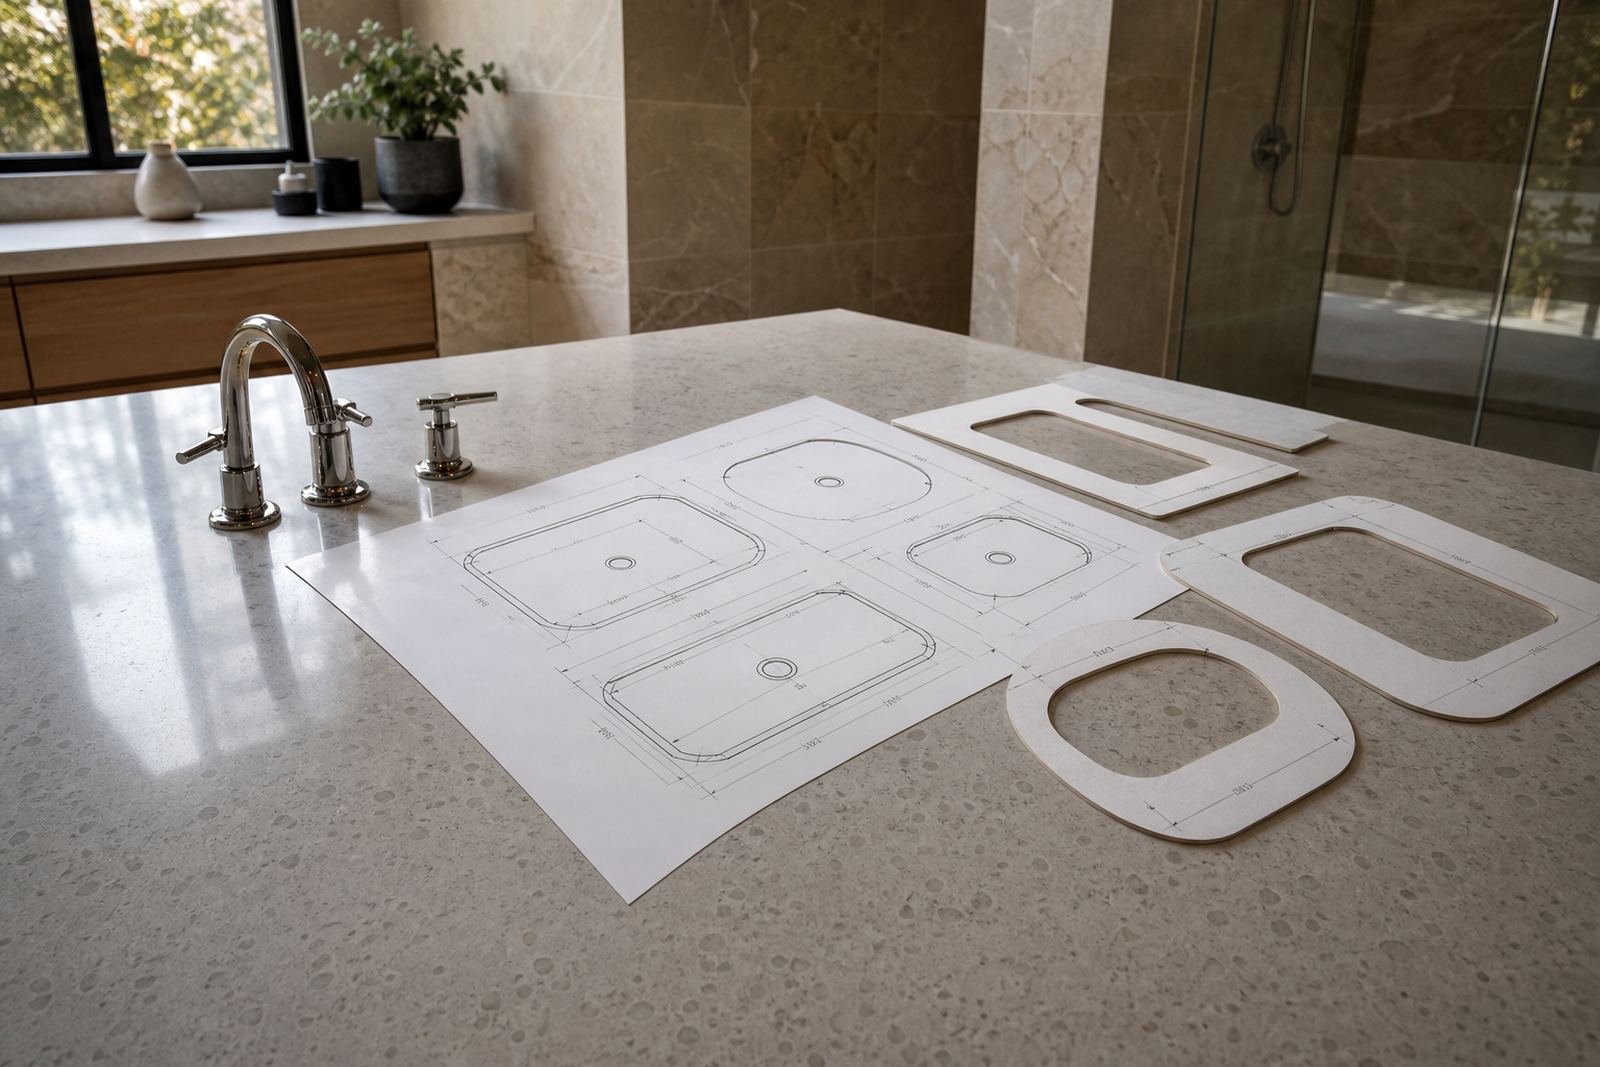
Tap hole positions are best marked during templating. Single-hole mixers, three-piece tap sets and wall-fed spouts all ask for different spacing, and the basin lip or upstand can change the usable area.
For engineered quartz tops, the hole edge must be clean and accurately drilled so fittings sit flat. Solid-surface tops allow a little more flexibility, but the final location still has to work with splashback height, mirror lines and the hand basin reach. If the spout lands too close to the bowl edge water splashes forward and the counter stays wet.
- Confirm the tap style before cutting starts.
- Check the back edge for valve handles and wall finishes.
- Keep enough distance from basin edges and mitre joins.
- Plan the hole positions with the plumber if required.
Splash protection at the wall line
Splash protection is not just about height, it is about fit. A vanity top against painted plaster, tiled walls or a mirror panel needs a neat junction so water does not work behind the top. In humid parts of Gauteng, rough wall finishes can make a poor seal look worse over time.
We usually look at the wall straightness, the skirting detail and any tile lip before deciding on the back edge treatment. A small upstand can help on some tops, while a separate splashback gives a cleaner finish where the basin sits close to the wall. Sealant lines should stay tidy and accessible for future maintenance, not buried in a messy corner.
Support under engineered quartz and solid surface
Vanity tops need proper support under the full span, especially where a basin cut-out removes material from the middle. Engineered quartz is dense and rigid, so cabinet tops must be level and strong enough to carry the slab without twist. Solid-surface material is more forgiving, but it still needs even bearing and correct fixing.
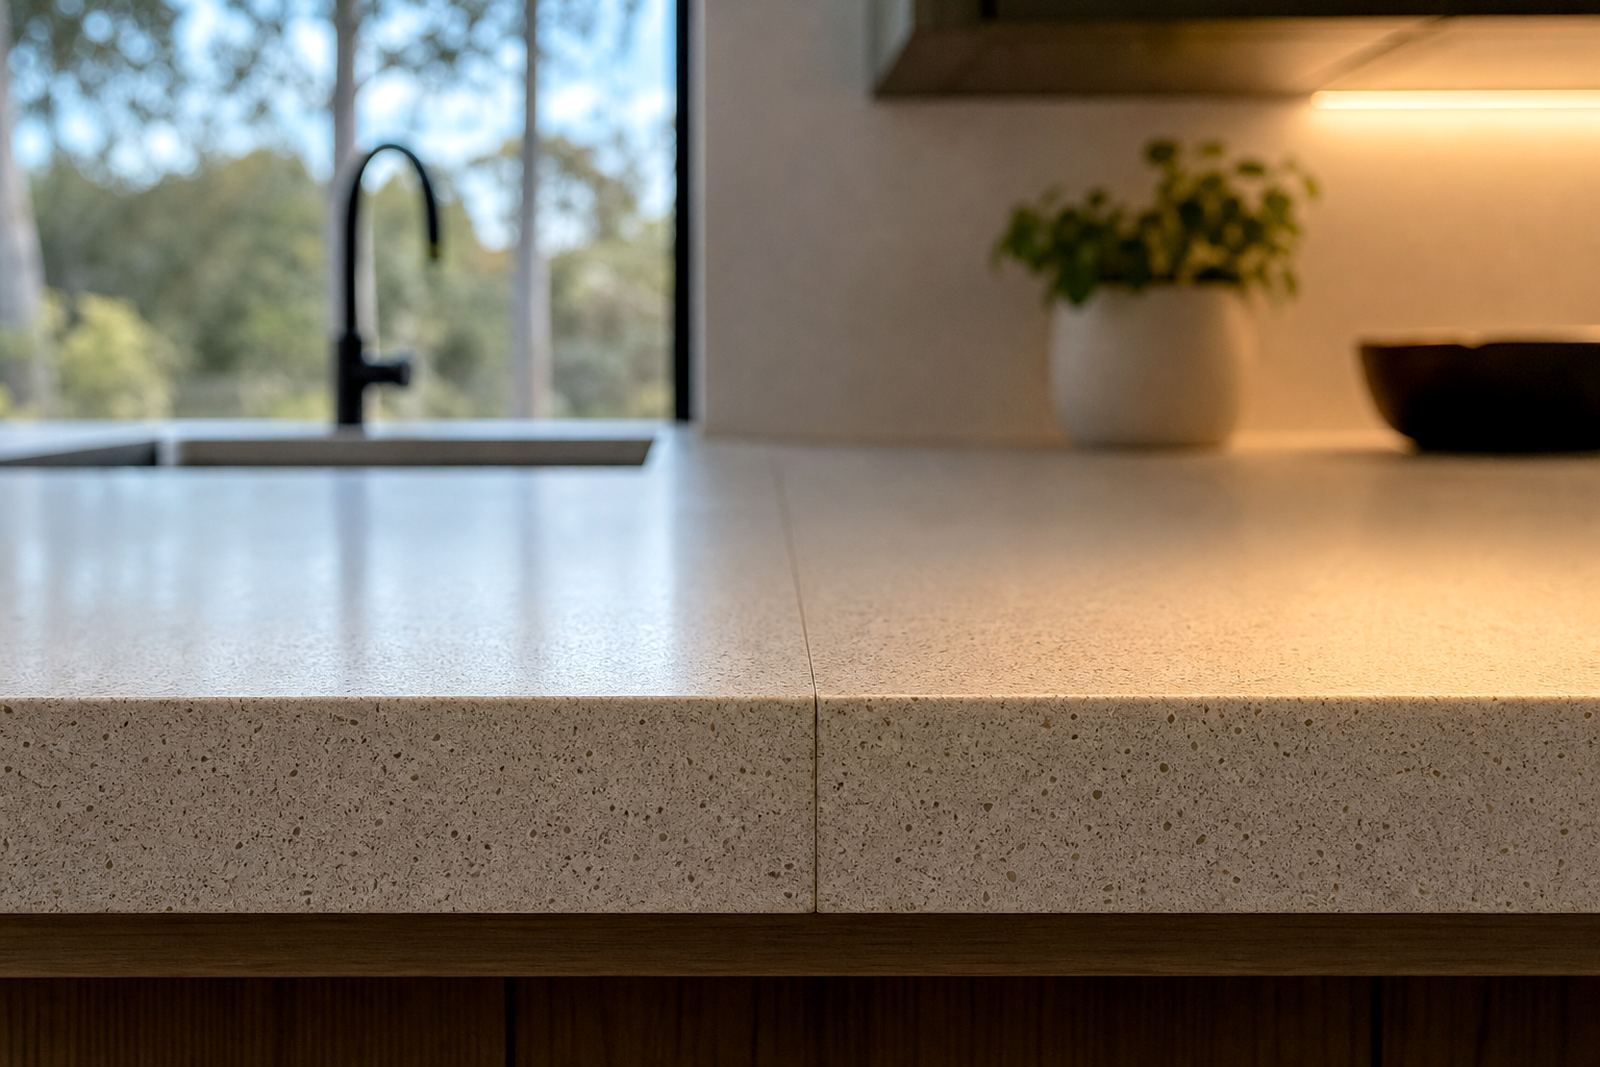
We look for weak corners, unsupported overhangs and uneven cabinet rails before installation. On longer tops, a seam may be the best practical solution if the layout has returns or tight access. The seam line should be planned where it is least visible and where the underside support can carry the load properly.
- Make sure the cabinet is level front to back and side to side before we fit the top.
- Brace weak ends before the slab goes down.
- Allow support around all basin openings and cut-outs.
- Where possible, place seams away from the most prominent edge of the vanity top.
Edge profile choices that suit a bathroom
Edge profiles change the feel of the vanity, but they also affect cleaning and wear. A square edge looks crisp, while a small pencil round softens the line and reduces sharp corners near traffic areas. Larger profiled edges can suit a more traditional bathroom, though they need extra fabrication and careful polishing.
At Strijdom Park, we usually match the edge to the room size and the basin style. A heavy edge can overpower a compact guest bathroom, while a neat eased edge keeps the top practical for day-to-day use. On lighter-coloured quartz, the edge finish must be even right through the return, or the join reads badly in strong light.
Heat, stains and cleaning around the basin
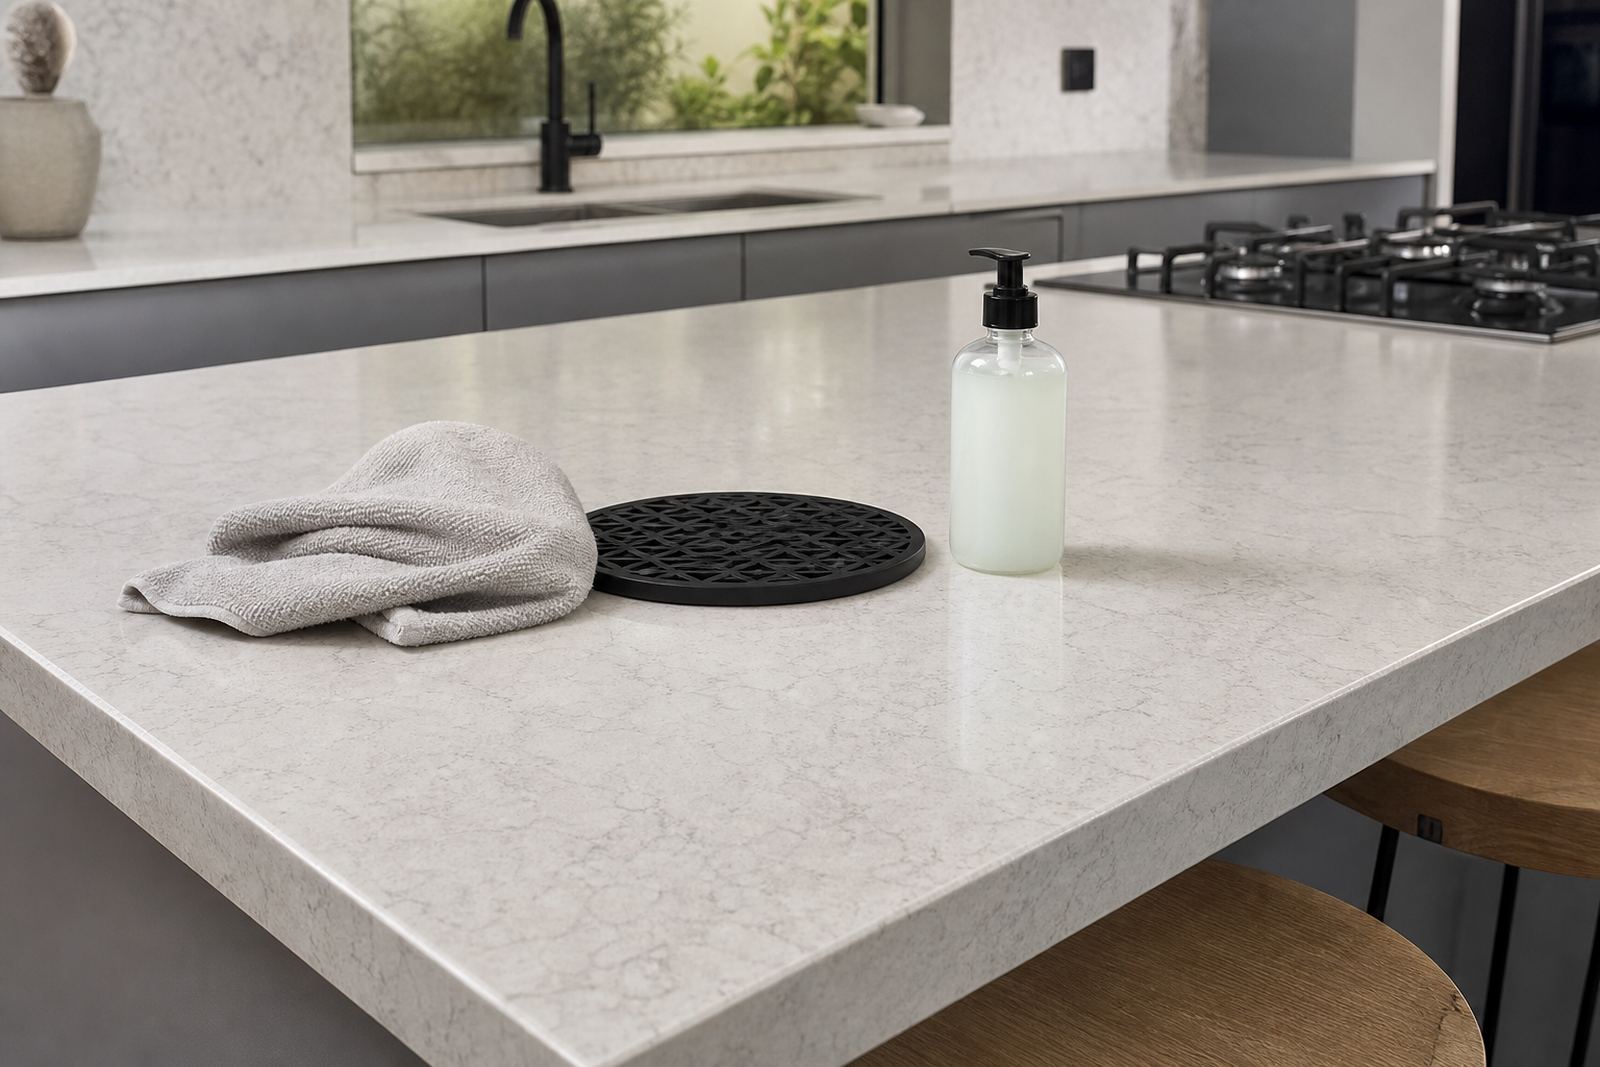
Bathroom vanity tops face toothpaste, soap residue, hair dye and hot styling tools left too close to the edge. Engineered quartz resists staining well, but it still benefits from prompt cleaning and care around alkaline cleaners. Solid-surface material handles everyday use too, although marks and heat need the right treatment to keep the surface tidy.
A basin area should be wiped dry where water pools around the tap base or along the splash line. We also advise leaving hot appliances on a mat rather than directly on the top, because repeated heat on one spot can damage the finish. Good aftercare is mostly about simple habits and a quick eye for drips, scratches or loose sealant.
A practical sequence for a cleaner installation
Good vanity work follows a clear sequence from measurements to final sealant. The site template must capture wall angles, basin cut-outs, tap positions and the exact height of any splashback or mirror edge. Once fabrication is complete, installation depends on level cabinets, clean access and a dry setting area.
Before the slab is signed off, the main items should already be settled. That avoids awkward on-site adjustments and keeps the bathroom usable with less fuss.
- Basin type and size confirmed.
- Tap set-out marked and checked.
- Wall finish, splashback height and seal line agreed.
- Cabinet support and level checked.
- Access route clear for installation day.
- Aftercare advice noted for cleaning and sealing.
For homes, offices and shopfitters across Gauteng, this planning step makes the finished vanity look deliberate rather than forced. A good top does not fight the room, it sits in it properly.