A worked front edge with a cleaner shadow line
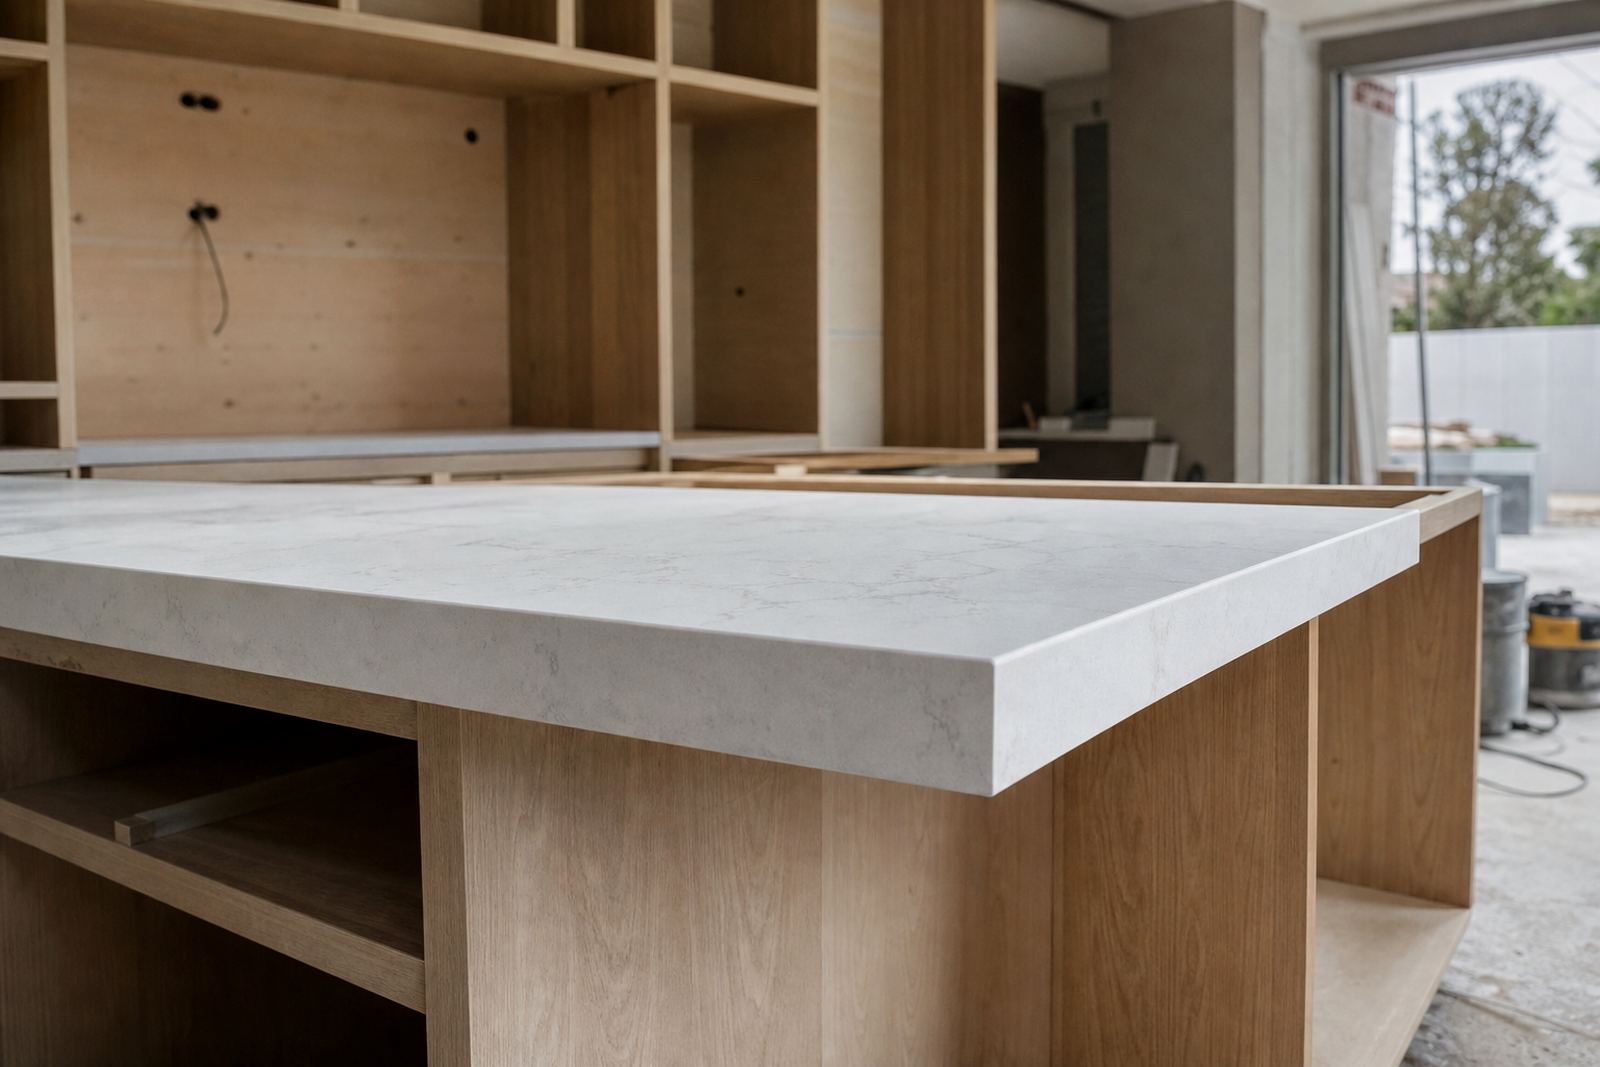
A bevel edge is a shaped front profile where the top corner is cut back at an angle, usually after the slab is templated, cut and dry-fitted. On quartz and solid-surface countertops it reads as a neat line rather than a rounded form, so the front face gets a sharper shadow and the top feels more architectural in small kitchens, office tea stations and shop counters.
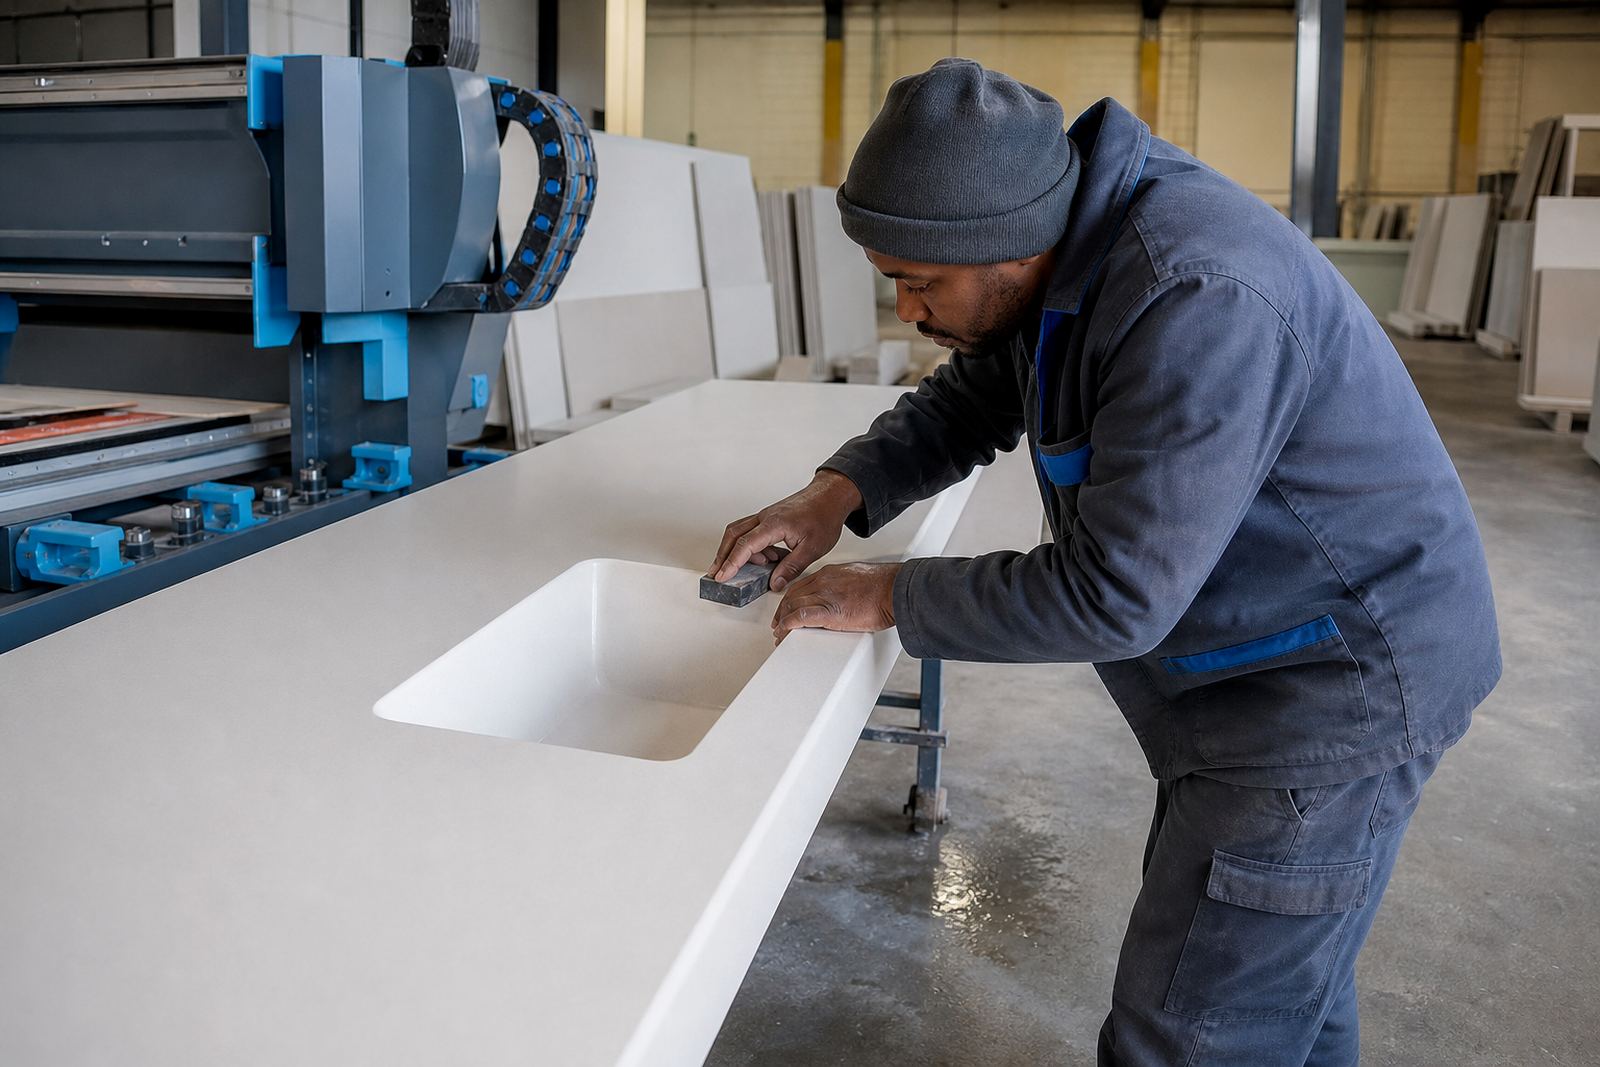
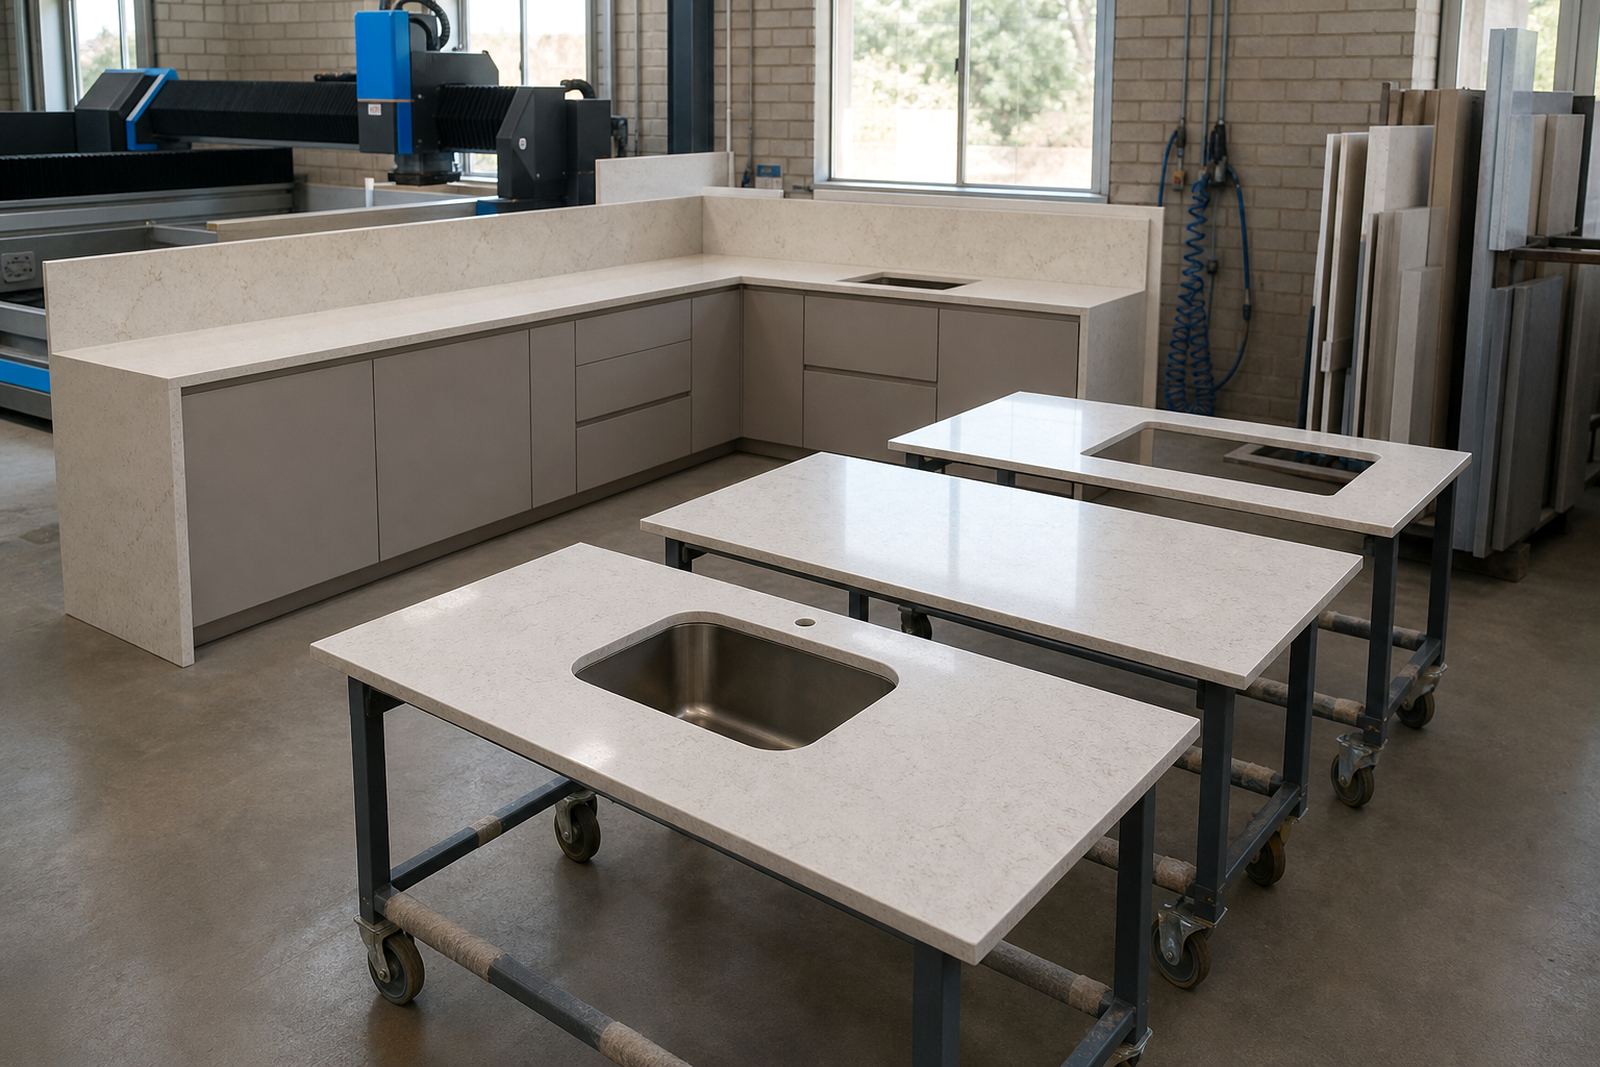
In practical terms, the bevel is built into the fabrication process as a shaped edge. The exact angle, depth and finish need to match the slab thickness and the overall top design, because a shallow bevel can disappear on a busy patterned stone while a deeper one may suit a plain surface better. Our workshop team works the profile after digital measuring and slab layout planning, then checks the front edge against the sink cut-out positions, hob openings and seam lines before installation.
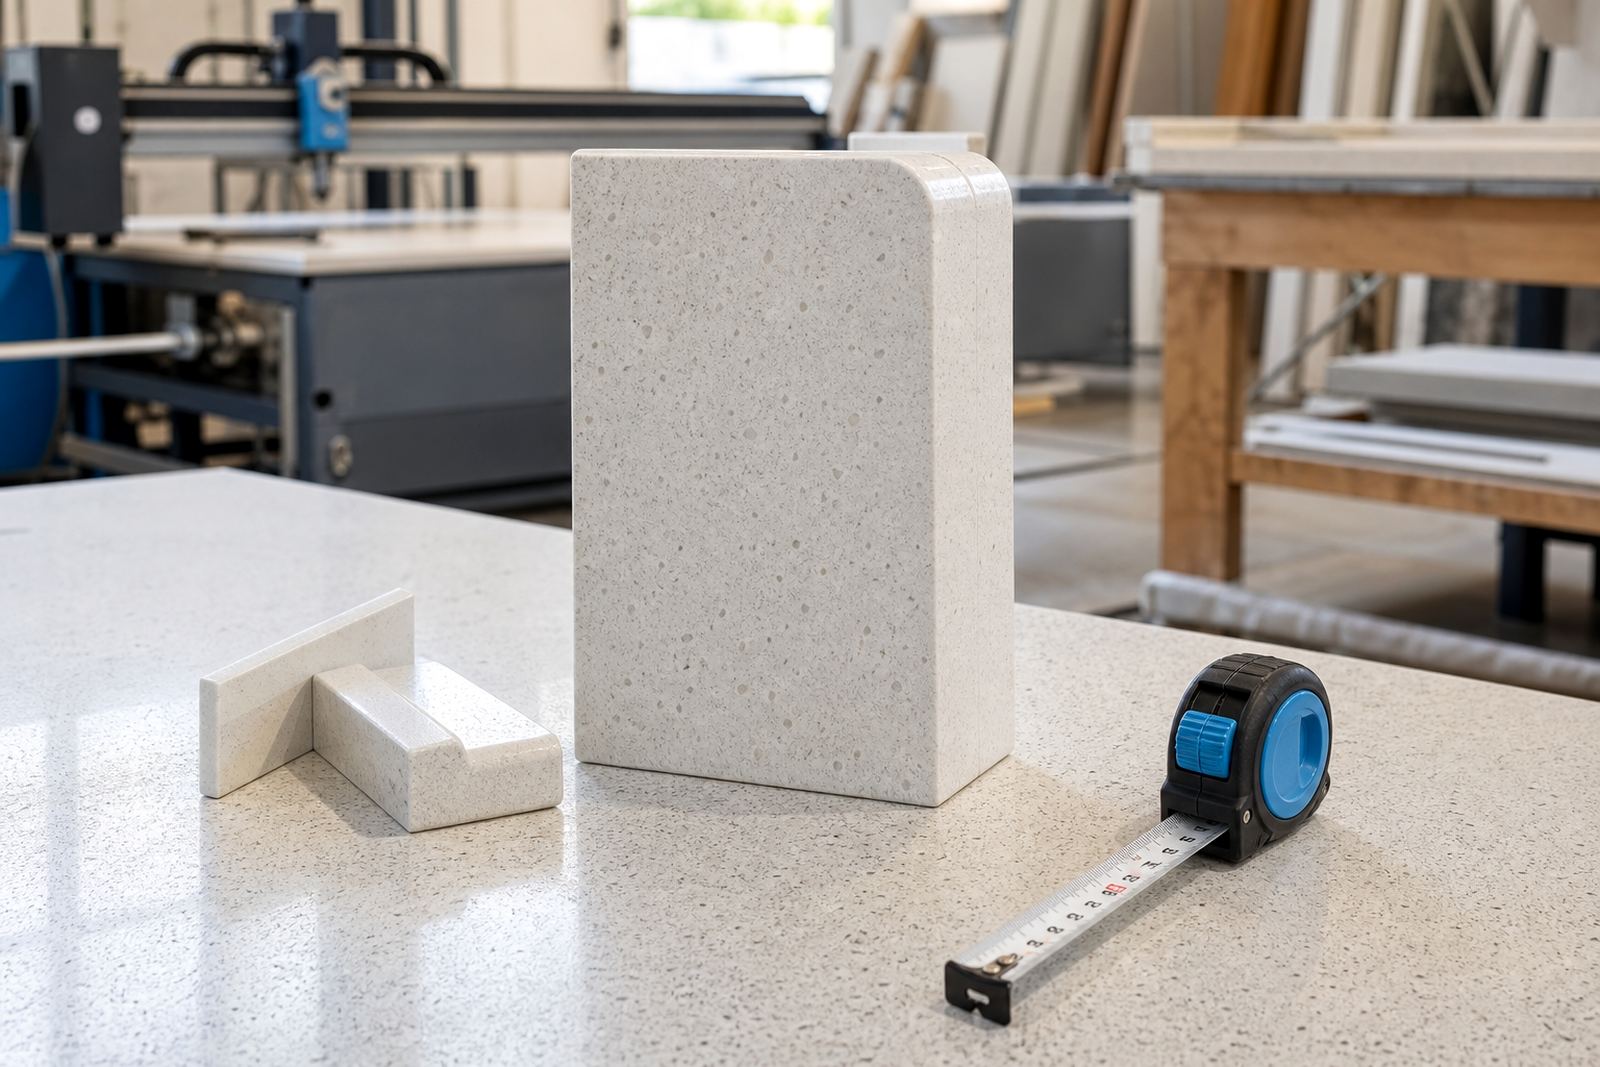
Typical slab thicknesses used for this finish are 20 mm and 30 mm, with some projects built up to a thicker visual edge where the design calls for it. The bevel can be cut to a fine pencil-like face or a broader angled break, depending on the look the client wants and the way the cabinet line sits below.
Sizes, bevels and edge options that alter the finished look
Most bevelled edges are specified by the front angle, the width of the cut and the way the corner is relieved. A light bevel keeps the profile understated, while a deeper bevel produces a stronger line from the side. On a bright white top, that line is often more visible; on a dark or veined slab it can read softer, especially under warm under-cabinet lighting.
Edge work must suit the slab thickness and the room use. A 20 mm top often takes a tighter bevel that keeps the surface looking lean. A 30 mm slab can carry a more generous bevel, especially on a kitchen island or a reception counter where the front edge is seen from several angles. On solid-surface tops, the edge may be shaped and joined so the transition stays smooth across the seam.
Where a client wants a durable working face, the bevel is usually combined with careful corner rounding at exposed ends, especially in homes with children or in offices with heavy daily use. The choice between a square bevel, eased bevel or a slightly steeper cut comes down to the slab pattern, the cabinet line and the amount of visual shadow the space needs.
- Common thicknesses: 20 mm and 30 mm
- Common edge options: light bevel, medium bevel, deeper bevel
- Front arris can be softened further at ends and returns
- Suitable for waterfall sides when the design calls for a matching face
Where a bevel edge sits best in the room
This profile suits spaces that need a clean front without looking too plain. Kitchens use it on island tops, peninsulas and long runs where the eye follows the front edge. In bathrooms, a bevel edge works well on vanity tops because it keeps the silhouette neat around basins and tap centres. In offices and retail fit-outs, it gives the counter a more finished front where customers or staff stand close to the work surface.
It is a sensible choice for projects in Johannesburg, Sandton, Fourways, Midrand, Pretoria and Randburg where layouts vary from compact apartments to larger family homes and fitted workplaces. The profile can be used on splashback-led kitchen schemes, floating vanities and display counters, as long as the templating captures wall irregularities and cabinet levels before fabrication starts.
Because the edge is angular rather than heavy, it pairs well with simple interiors, but it can also sit against patterned stone, timber cabinets or painted joinery. If the room already has strong lines from handles, tile joints or cabinetry, the bevel edge helps the top stay visually orderly.
Templating, seams and fitting details that matter
The bevel edge only looks right when the rest of the fabrication is measured properly. Templating must allow for wall bows, tile thickness, overhangs, upstands and appliance openings. If the cabinet run is out by a few millimetres, the front edge can appear uneven even when the slab itself is cut accurately. That is why site templating and digital measuring sit at the start of the process.
Seams need extra attention on bevelled work because the eye catches edge changes quickly. On longer runs, seam placement should avoid the most visible sight line where possible, and the polished profile has to continue cleanly across the join. Sink cut-outs and hob cut-outs are also marked before cutting so the edge shape does not fight the sink position or leave awkward narrow sections near the opening.
For installation, the fitter checks that the cabinet tops are level, the support is sound and the front overhang is consistent. Splashbacks, mitres and return pieces must line up with the bevel so the finished front reads as one planned surface, not separate parts patched together. On solid-surface jobs, joints can be worked and blended so the edge and top feel continuous once installed.
- Template all walls, returns and appliance positions before cutting
- Confirm seam positions on long lengths and around sinks
- Check cabinet level and front overhang during installation
- Allow room for polished ends where the profile turns a corner
Care for the edge once the top is in use
Quartz and solid-surface bevels are easy to live with if the surface is cleaned properly and handled with common sense. Wipe spillages early, especially tea, coffee, wine, oil and citrus, so they do not sit on the angled face. For daily care, a soft cloth with mild soap and clean water works well. Harsh scourers, strong abrasives and metal pads can mark the polished line and dull the edge over time.
Heat care matters on any finished top. Hot pots, pans and bakeware should not be placed directly on the surface or close to the bevelled edge, because sudden heat can stress the resin and affect the polish. Trivets and cutting boards help protect both the face and the edge. On solid-surface countertops, light marks are often workable, but the safest habit is still to keep sharp knives, heavy utensils and rough pads off the finish.
A bevel edge can hold dust in the shadow line if the room is busy, so a quick wipe along the front once in a while keeps the profile looking crisp. Where splashback joints, tap areas or basin rims meet the top, it is worth checking the sealant line and the corner detail during regular cleaning so the edge area stays tidy.
What to check before we cut the slab
Before fabrication starts, the bevel needs to be specified clearly so the workshop can set the cut and polish correctly. The thickness, edge depth and finish should be matched to the room and the slab selection. If the project has a sink, hob, drainer groove or visible seam, those details affect where the bevel begins and ends.
It helps to confirm the cabinet layout, overhang measurement, sink model or bowl size, tap position, splashback height and whether the front edge needs to line up with adjacent panels or a waterfall return. On vanities, the basin centre and plumbing allowance matter. On shop counters, the working side and customer side may need different edge choices, so the bevel should be described for each face rather than assumed to be identical.
When the enquiry comes through our contact form, include the room type, preferred slab thickness, site suburb and any edge reference notes from the joinery drawing. That gives our team enough detail to plan the template, cut list and installation order around the front profile and seam layout.
- Room type and site suburb
- Preferred thickness: 20 mm or 30 mm
- Edge depth and finish preference
- Sink, hob and tap positions
- Seam locations where the run is longer than one slab
- Any adjoining splashback, return or waterfall section
Key facts
| Product type | Bevel edge profile for engineered quartz and solid-surface tops |
|---|---|
| Typical thicknesses | 20 mm, 30 mm |
| Profile options | Light bevel, medium bevel, deeper bevel |
| Fabrication steps | Site templating, digital measuring, cutting, edge profiling, seam joining, fitting |
| Best suited to | Kitchens, vanities, reception counters and fitted retail spaces |
| Service area | Strijdom Park, Randburg, with installations across Gauteng including Johannesburg, Sandton, Pretoria, Midrand and Fourways |