What an L-shape top actually needs to work
An L-shape top is more than two straight runs meeting in a corner. The return length, wall angle and appliance positions all affect the cut plan, because a corner that looks square on a drawing can sit a few millimetres out on site. That is where proper templating matters. The template picks up wall waviness, out-of-square corners, support points and the finished edge line before any slab is cut.
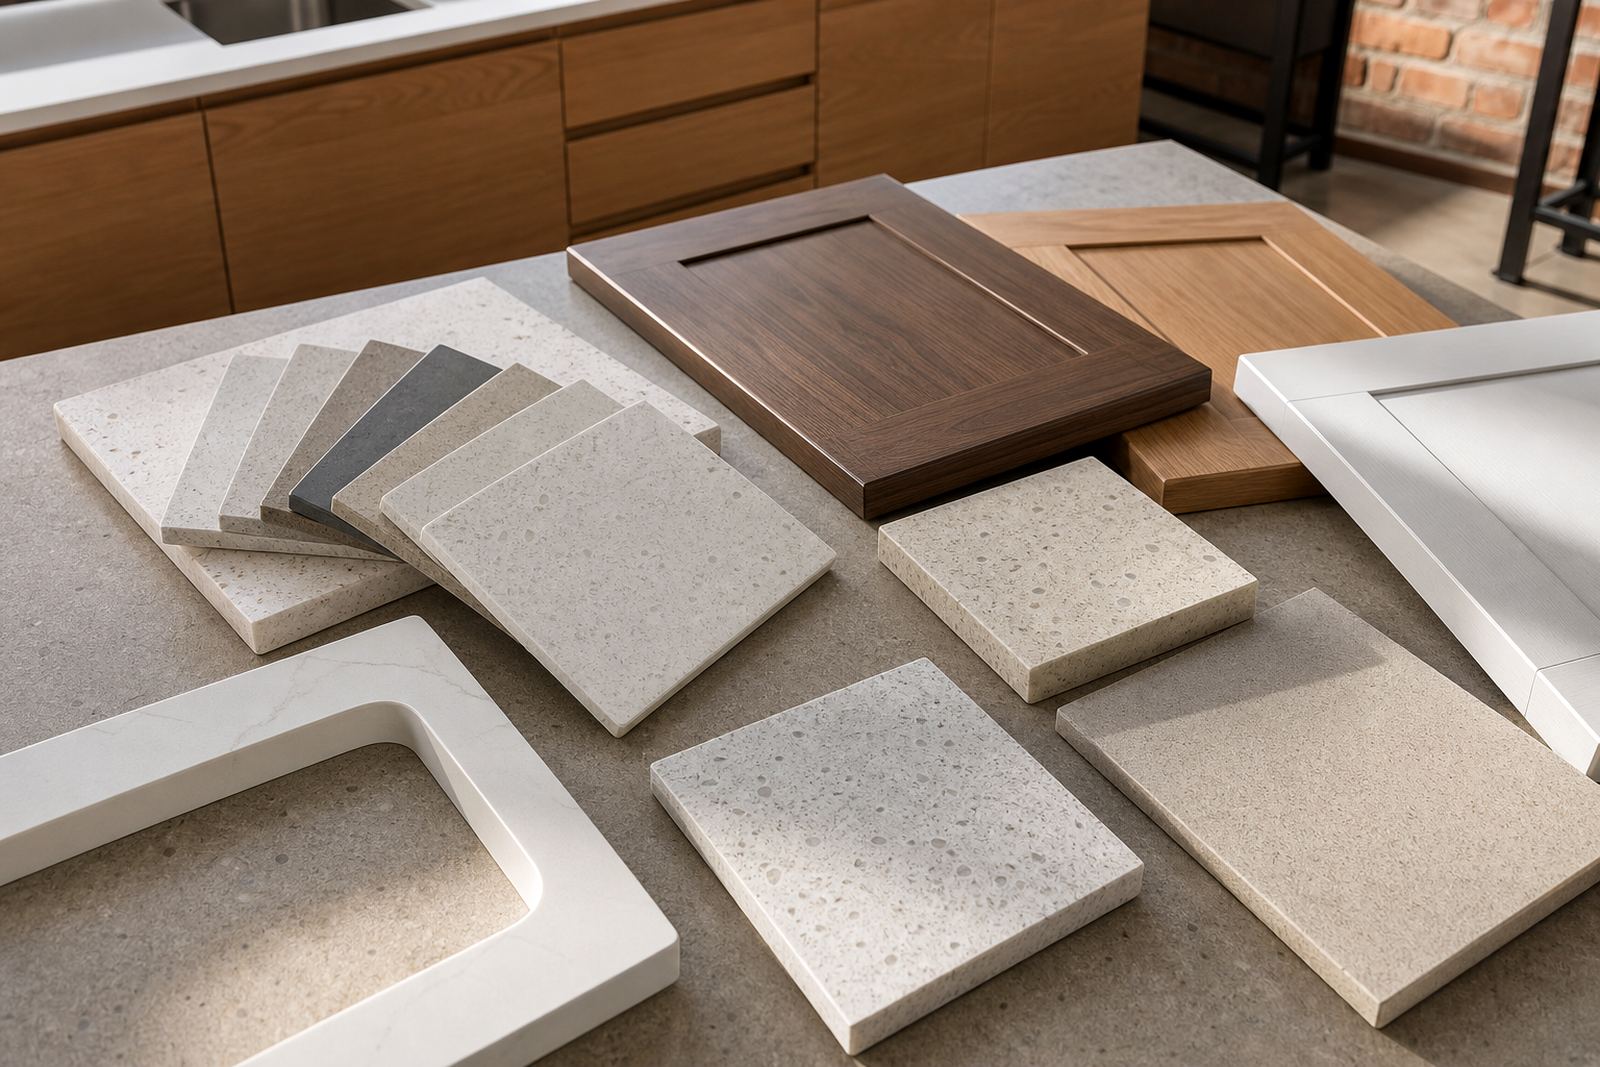
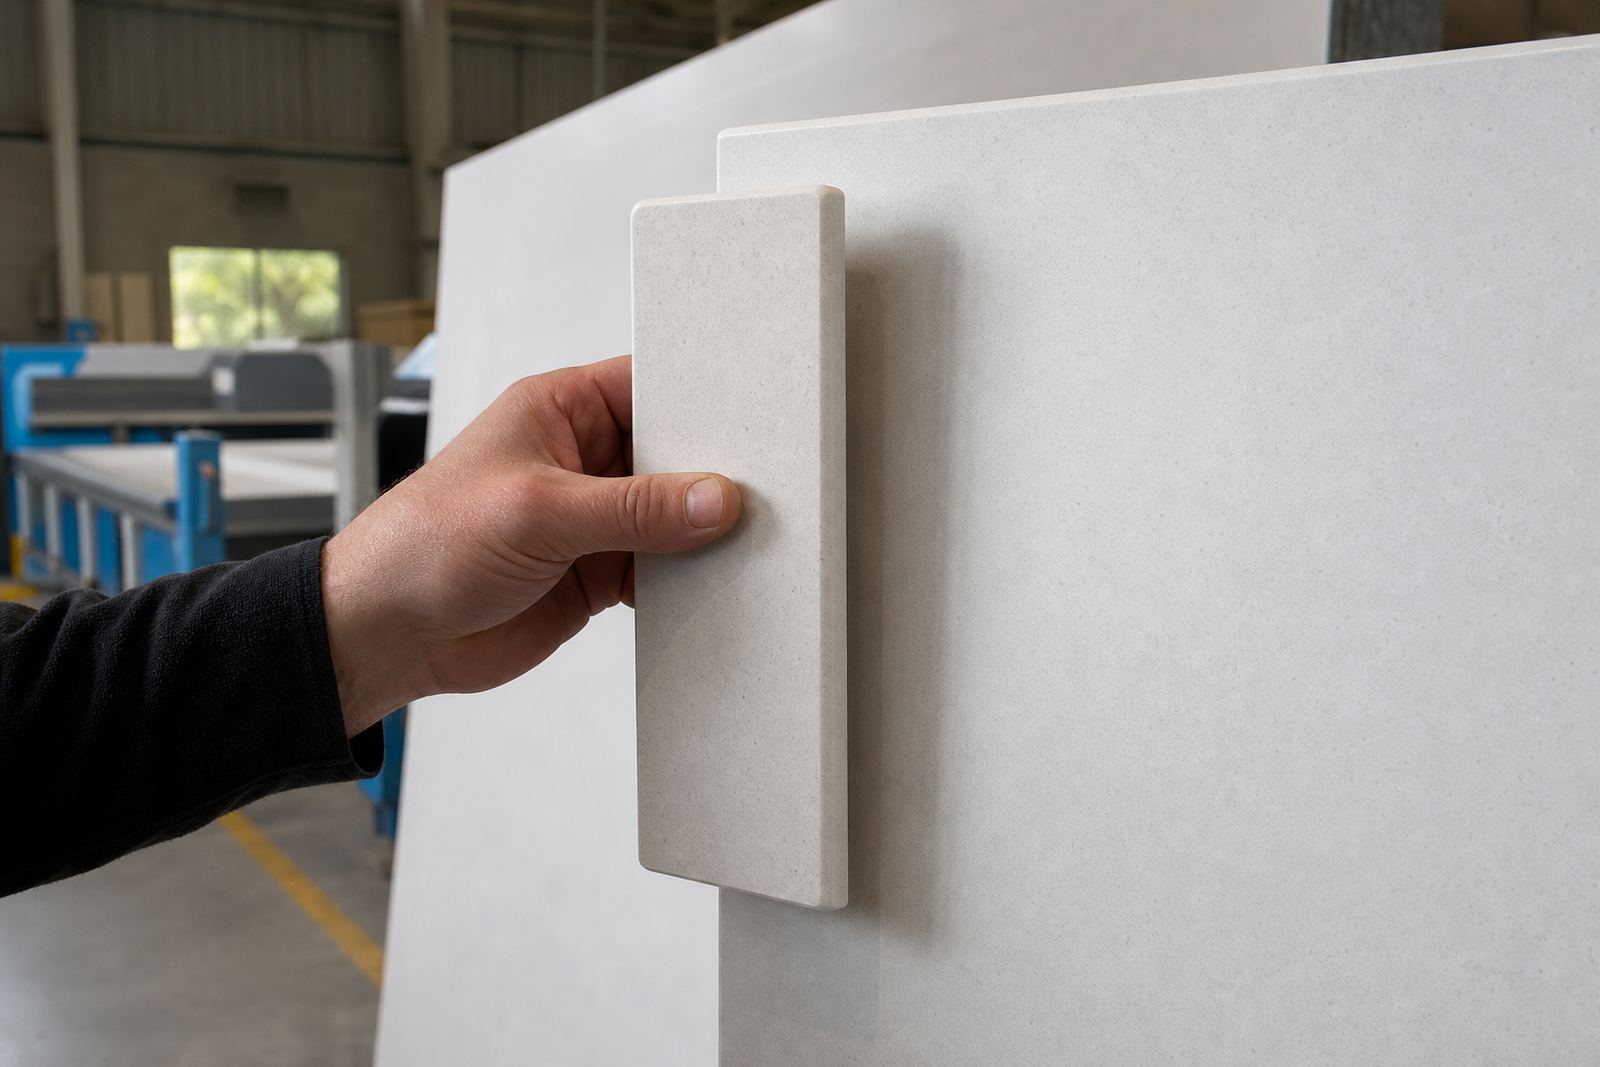
For engineered quartz, common slab thicknesses are 20 mm and 30 mm, with a built-up edge used where a heavier face is wanted. Solid surface is often worked at 12 mm or 20 mm, then joined and shaped for a more integrated look. The choice affects the feel of the edge, the join line and the way the top handles long spans over cabinets and islands. In both materials, the corner can be joined as one carefully planned piece or as two sections with a matched seam, depending on access, slab size and the layout of the room.
Profiles, seams and cut-outs that suit the room
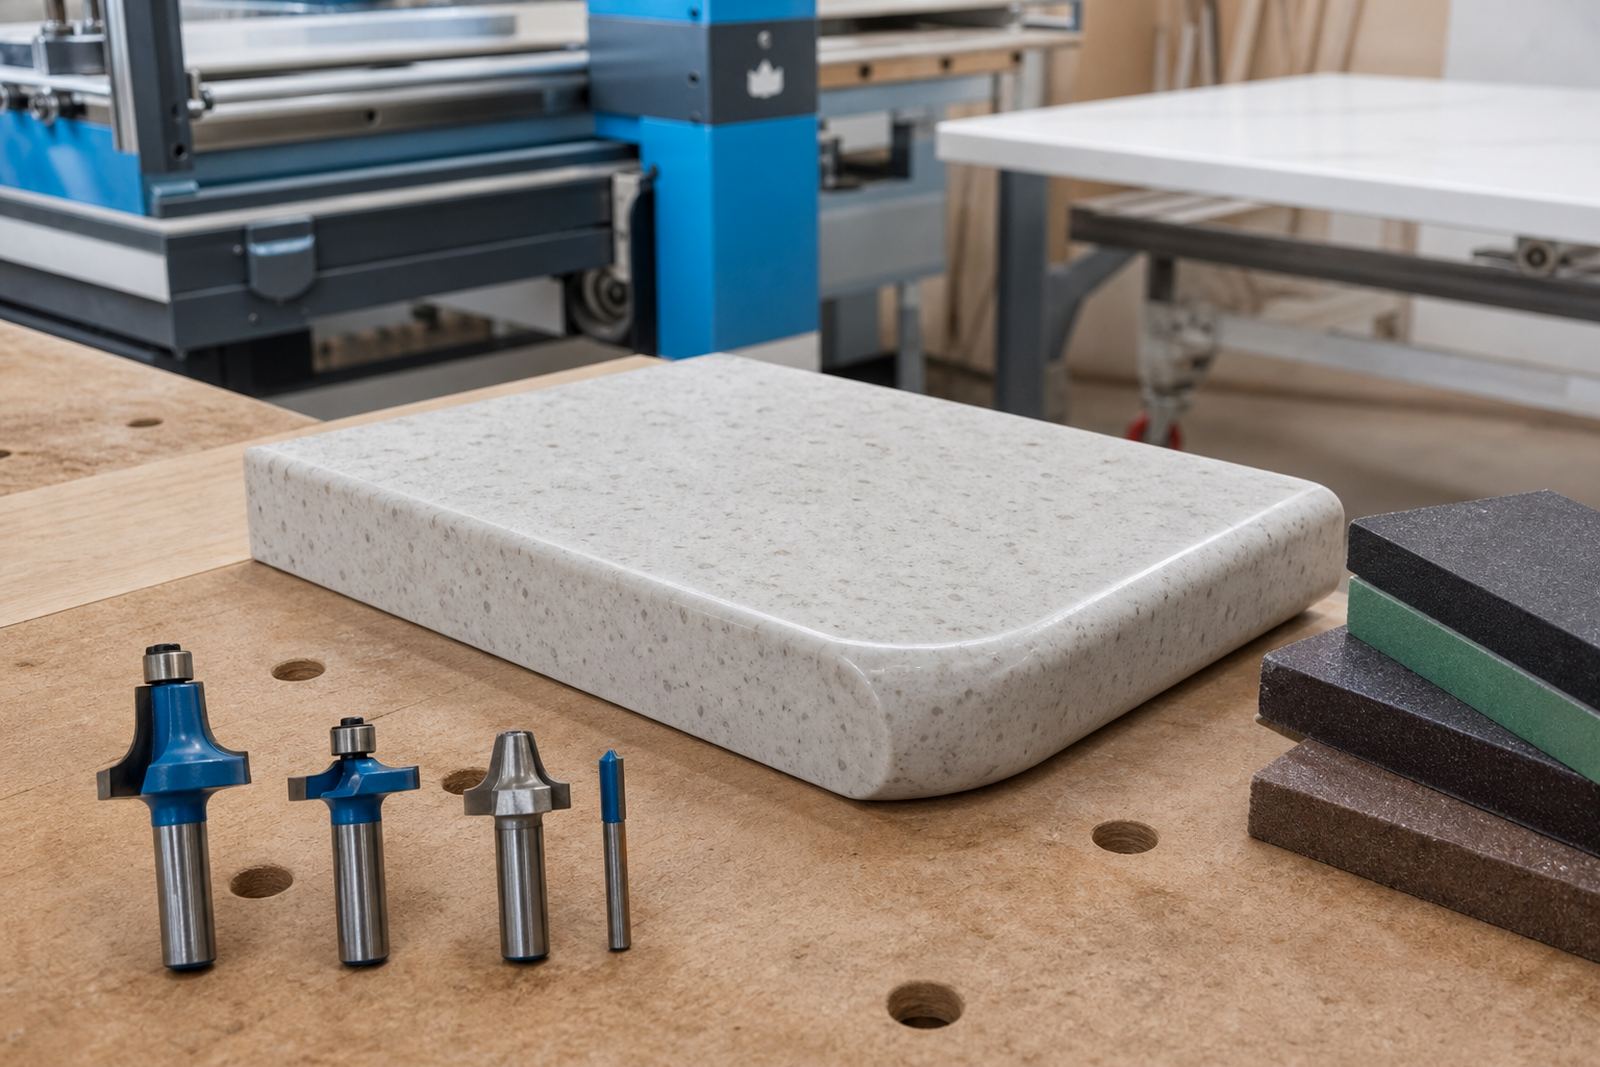
Edge profiling changes the look and the hand feel of the top. A straight eased edge is often used where a clean modern finish is wanted, while a pencil round or small bullnose softens exposed corners in family kitchens. The front edge can also be built up for a thicker appearance, which is useful on L-shape tops where the eye follows both legs of the return.
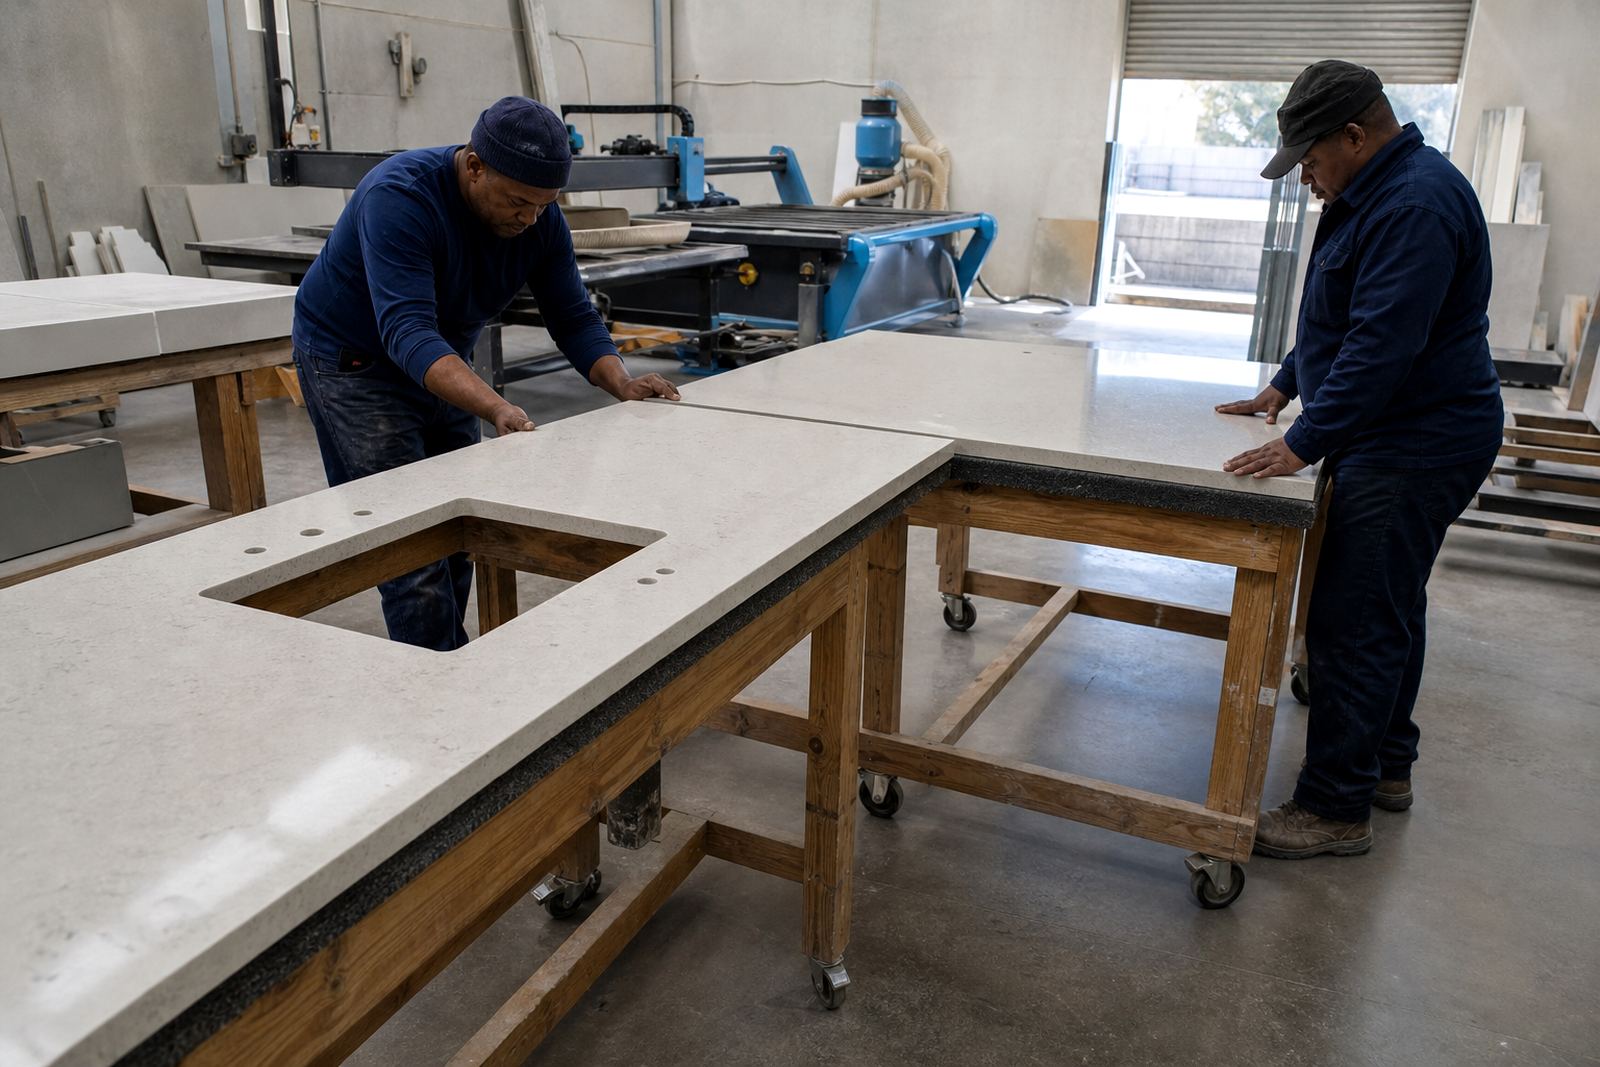
Sink cut-outs, hob cut-outs and tap holes must be placed after the template is checked against the cabinet layout. The openings need enough clearance for bowls, clips, plumbing and service access. On quartz, seams are usually kept away from sink openings and high-stress corners where possible. On solid surface, the join can be blended more visibly away, which suits wash areas and vanity tops where a softer finish is preferred. Seams near a corner need careful planning so they do not clash with the eye line across the room.
- Single bowl, double bowl and under-mount sink cut-outs
- Cooktop apertures for gas or electric hobs
- Mitred corners for thicker looking edges
- Seam placement to suit grain, veining and slab yield
Where an L-shape fits best in Gauteng spaces
L-shape tops work well where two walls meet and the room needs an efficient working triangle. In Sandton and Johannesburg apartments, they suit narrower kitchens that still need space for a prep run and a washing side. In Randburg, Fourways and Midrand homes, they often sit in open-plan kitchens where the return leg helps define the cooking area without blocking the room. Pretoria homes and offices often use the same format for bigger sculleries, pantry counters and wash-up stations.
For shopfitters, an L-shape can hold till wrap, storage access or a back-office service point without wasting the corner. In a vanity setup, the return can link a basin wall and a side ledge for toiletries, while the corner keeps the basin line neat. If a splashback is included, its join to the top should be settled at templating stage, because the height and finish line affect the final fit.
- Homes with corner sinks or side-set hobs
- Office kitchenettes and tea stations
- Shop counters with a service return
- Vanities with side ledges and splashbacks
Template day, workshop cut and fit on site
The job starts with digital measuring or a physical template, depending on the site and the stage of the cabinetry. The templater checks cabinet levels, end panels, wall deviations and any appliance positions that have already been fixed. Once the template is approved, slab layout planning decides how the visible sections, seams and edge grain or pattern will sit across the L-shape. That step matters more on patterned quartz, where the corner and the return should read as one planned surface rather than two pieces forced together.
In the workshop, the slab is cut to size, the edge profile is shaped and the cut-outs are made for sinks, hobs and mixers. Dry fitting is used where needed, especially on tight corners or where the room has a long return and a short leg. Installation then relies on correct support, clean fixing lines and careful seam joining. If the base cabinets are not level, packers and adjustments may be needed before final bond and seal work. A tidy fit leaves the front arris straight, the joint line small and the corner usable without awkward lips or steps.
- Digital measuring or physical templating on site
- Slab layout planning for colour flow and seam position
- Workshop cutting, profiling and edge finishing
- Installation with sealing, alignment and final checks
Care that keeps the surface looking right
Engineered quartz is low porosity and generally handles daily kitchen use well, but it still needs sensible care. Wipe spills soon after use, especially tea, coffee, wine and sauces. Use a damp cloth and a mild cleaner, then dry the surface so water marks do not sit at the corners or around the sink. Solid surface is easy to maintain too, but it can show heat marks if hot pots are placed directly on it, so use a trivet or pot stand.
Neither material likes rough treatment on the seam edge or around the sink cut-out. Avoid abrasive pads and strong scouring powders on a daily basis, because they can dull the finish. If a hot pan is set on the top, the area around it can move through a different temperature than the rest of the slab, which may leave a mark on some finishes. A cutting board is still the better habit, because knife use can scratch both quartz and solid surface and it is easier to keep the top neat than to restore it later.
- For everyday cleaning, wipe with mild soap and a soft cloth.
- Lift rather than drag pots, appliances and heavy items
- Keep heat away from the edge, sink and seam lines
- Check silicone joints at the wall and around fittings
What to check before we cut the slab
The best L-shape top comes from clear site details. The room plan should confirm the two leg lengths, the inside corner position, cabinet height and any overhang needed at seating or appliance edges. Sink size, hob size, tap hole positions and splashback height should be settled before cutting begins. If a breakfast bar return, waterfall side or exposed panel is needed, that should be part of the brief as well.
In homes and commercial spaces across Gauteng, the smallest measurement change can affect seam placement and slab yield. A corner that looks standard can turn out wide, narrow or slightly out once the cabinets are in place. That is why finish colour, thickness, edge profile and cut-out positions should all be checked together. A matched L-shape top should sit square to the room, clear the walls cleanly and leave enough working room around the sink and hob.
- Inside corner size and wall-to-wall measurements
- Chosen material, thickness and edge profile
- Sink, hob, tap and splashback positions
- Any visible seam preference or grain direction
Key facts
| Materials | Engineered quartz and solid surface |
|---|---|
| Common thicknesses | 12 mm, 20 mm and 30 mm depending on material and build-up |
| Finish options | Matte, satin and polished depending on slab type |
| Edge profiles | Straight eased, pencil round, bullnose and mitred build-up |
| Typical uses | Kitchens, sculleries, vanities, office tea points and shop counters |
| Service area | Strijdom Park, Randburg and across Gauteng including Johannesburg, Sandton, Pretoria, Midrand and Fourways |