A reflective quartz surface with a cleaner visual line
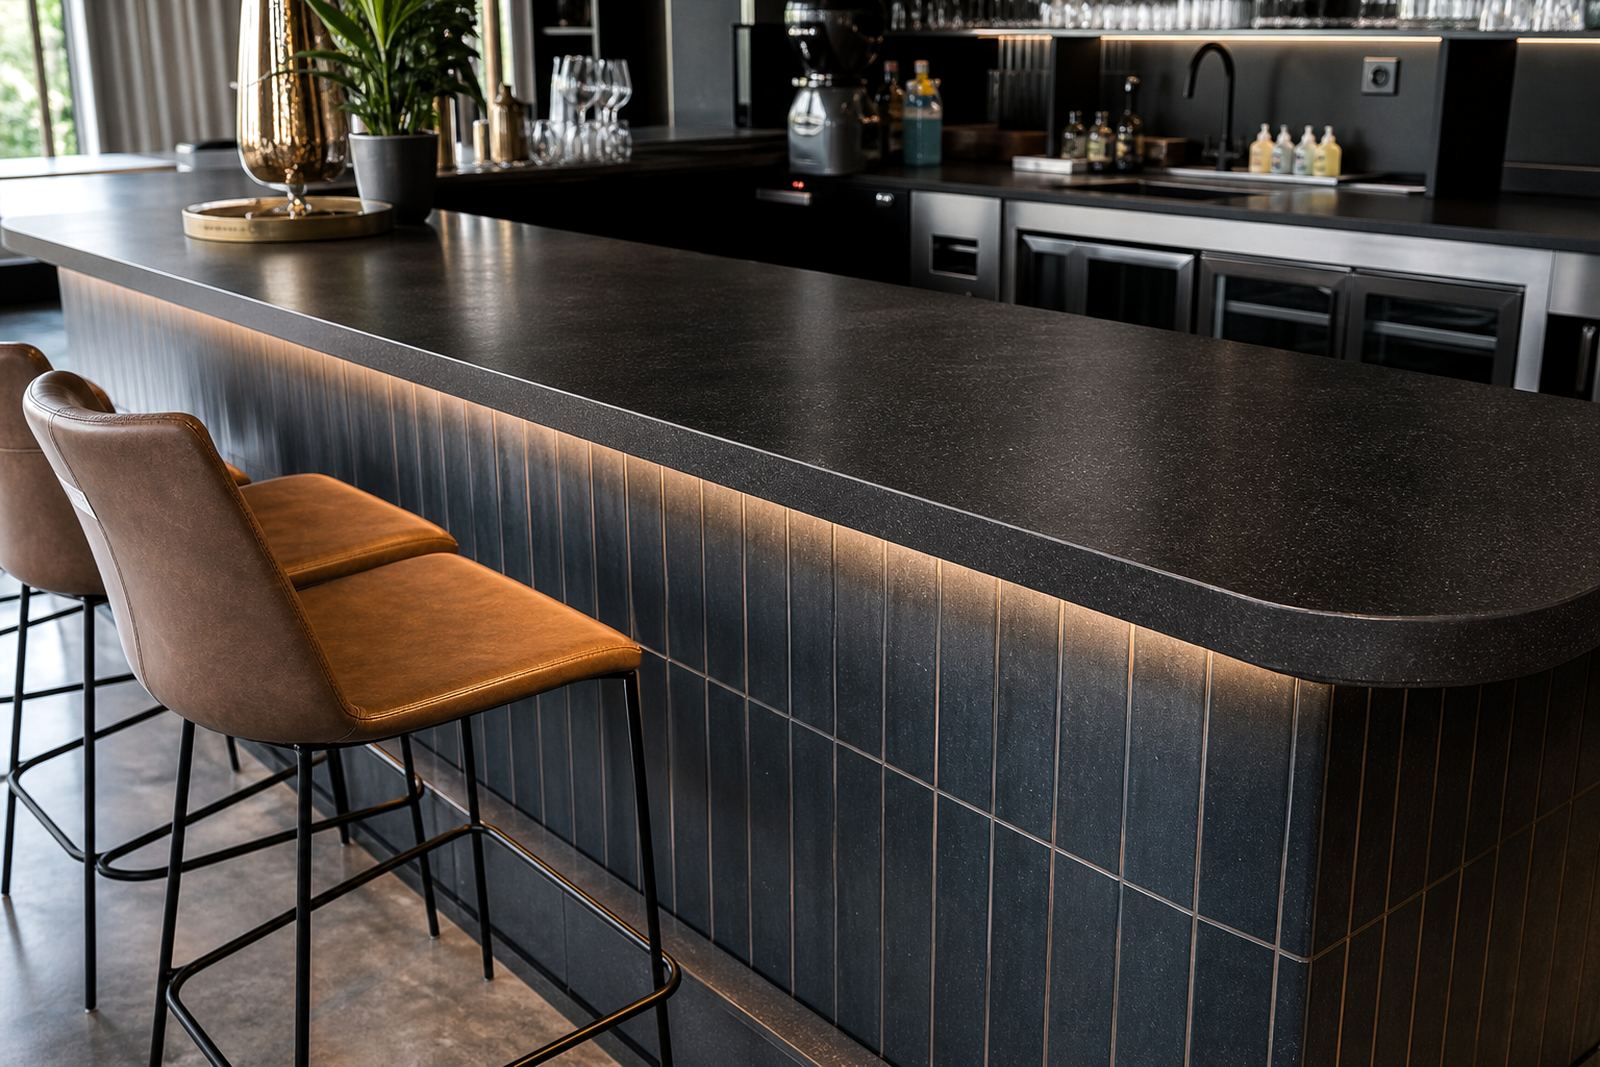
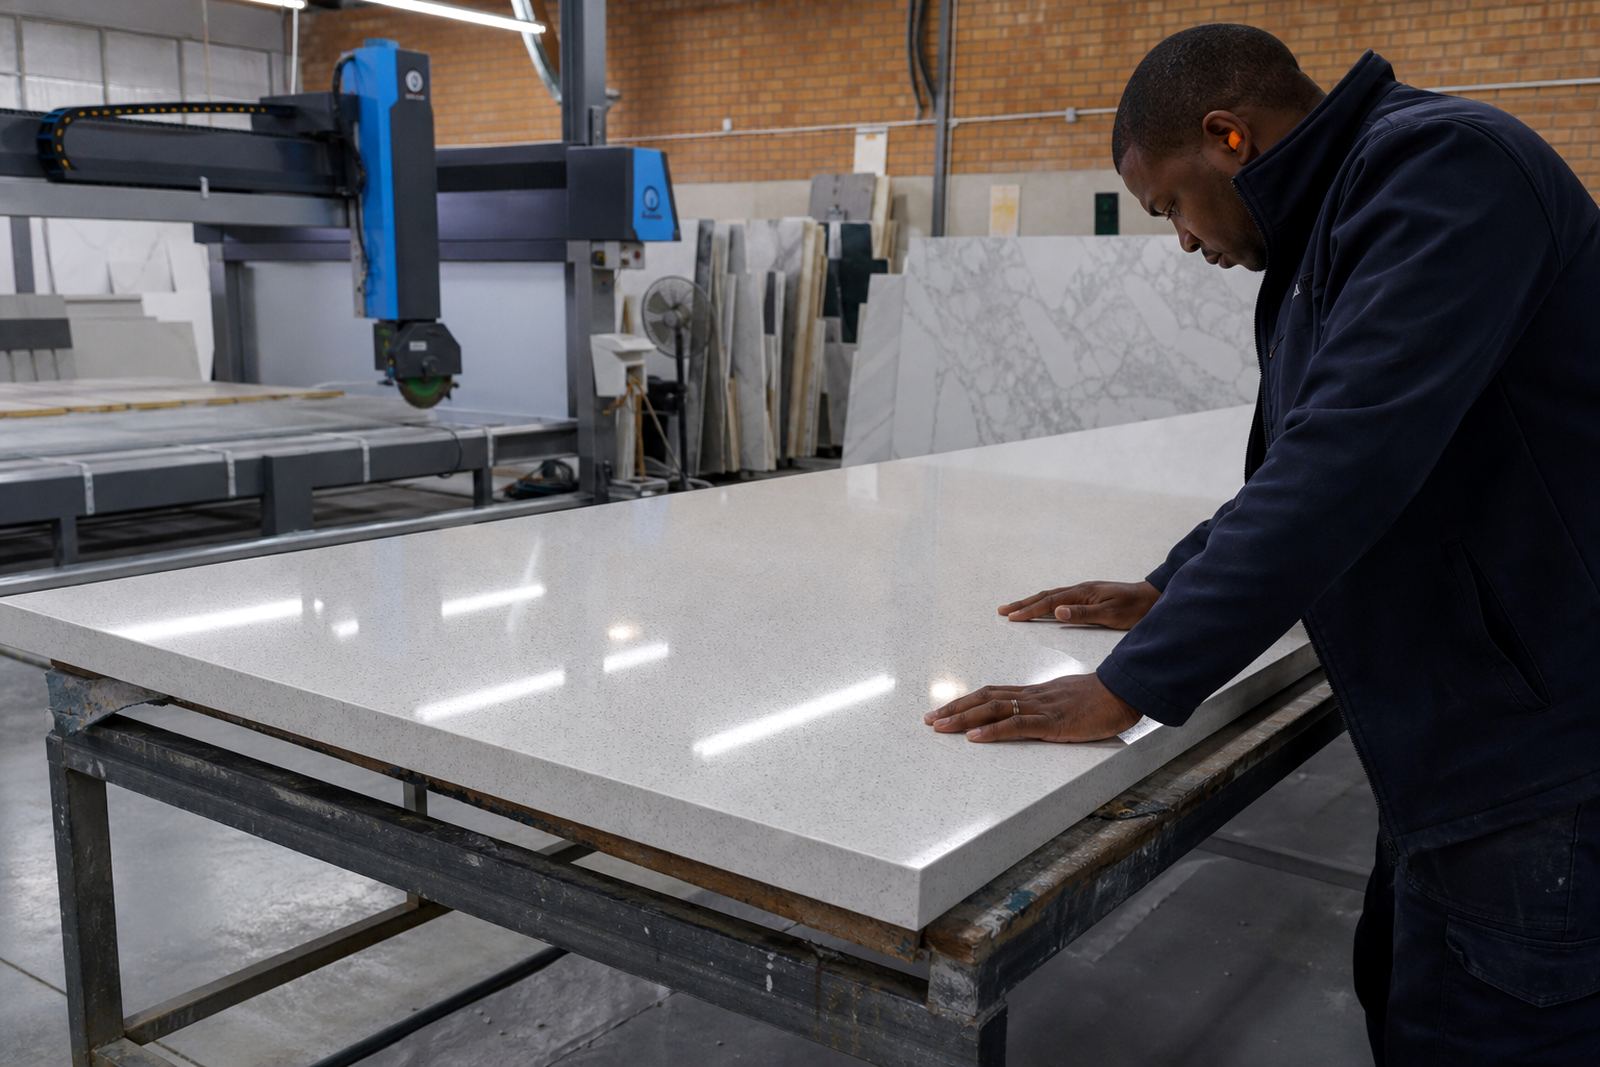
The polished quartz finish is made for engineered quartz slabs that are ground, resin-bound and polished to a smooth reflective face. It brightens a room by bouncing light off the surface, and it shows veining, speckling and subtle pattern shifts more clearly than a matt or honed finish. In a kitchen this makes the top read a little crisper at the edges, while still giving the hardwearing feel people expect from quartz.
For most worktops we fabricate from slabs around 20 mm thick, with 30 mm thickness used where the design calls for a heavier visual edge. The finish works well on island tops, perimeter counters, vanity tops and splashbacks. It is also a practical choice where clean joins and neat sink cut-outs matter, because the polish helps the installation read as one continuous surface rather than separate pieces.
- Typical slab thickness: 20 mm and 30 mm
- Finish: high-gloss polished face
- Suitable for straight runs, islands and shaped sections
- Works with matching splashbacks and upstands
Sizes, edge profiles and cut-outs that suit the room
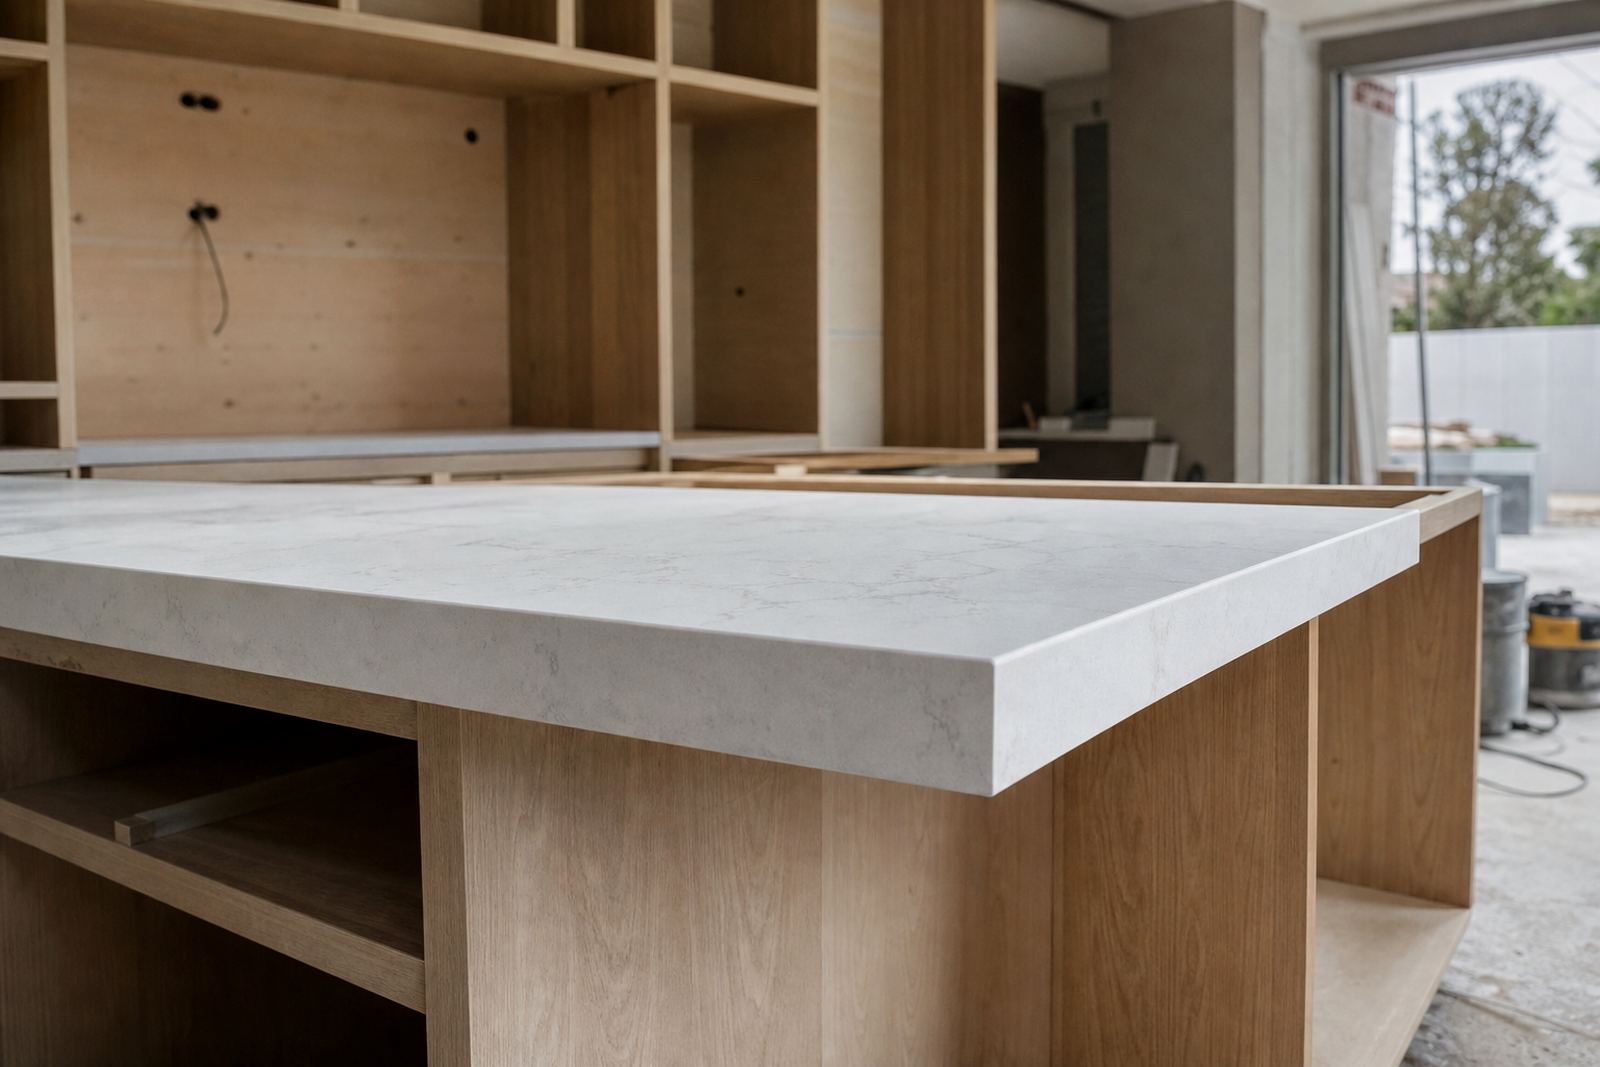
Quartz slabs are planned to suit the space after site templating, then cut to the final dimensions in the workshop. The polished finish takes well to a range of edge profiles, from a square pencil edge to a soft bevel, a full bullnose or a more defined shark nose style. The chosen edge changes the feel of the top without changing the core material, and it is often matched to the cabinet line and the kind of room the surface sits in.
Sink cut-outs, hob cut-outs and tap holes are set out during digital measuring and templating so the opening sits square and the overhangs stay consistent. Where a sink is undermounted, the cut-out is finished cleanly and the edge is sealed and eased so the bowl sits neatly beneath the top. Seams are planned away from the busiest sight lines where possible, and on long runs they are positioned where the pattern will tolerate a joint without drawing attention to it.
- Edge options: pencil, bevel, bullnose, shark nose
- Cut-outs: sink, hob and tap positions
- Seams placed to suit grain, veining and cabinet layout
- Upstands and splashbacks can be added in matching quartz
Where the polished look fits best in Gauteng homes and fit-outs
This finish suits kitchens that need a brighter feel, especially where daylight is limited or where the room opens into a darker passage or scullery. It also works in Sandton offices, Fourways family kitchens and Midrand developments where a neat, clean-lined finish helps the room feel more finished. In Randburg and Johannesburg properties, polished quartz is often chosen where the owner wants a stronger sense of depth in the stone and a surface that catches light under pendant fittings.
For shopfitters and office refurbishments, polished quartz gives a smart presentation on reception counters, tea stations and vanity areas. It holds up well where the use is steady and the surface needs to look tidy after regular wiping. In coastal or humid pockets the material still needs normal care, but the polished face does make daily cleaning simpler because dust and splash marks show clearly and can be wiped off without fuss.
- Good for kitchens with limited natural light
- Works on vanity tops and feature islands
- Suitable for reception counters and fitted joinery
- Useful where a crisp, reflective finish is part of the brief
From templating to fitment, the fixing details matter
For a polished quartz top, the fitting stage starts long before installation day with site templating and digital measuring. That stage confirms wall angles, appliance positions, cabinet heights and any uneven points in the structure beneath. Once the slab layout is planned, the workshop can set the grain direction, place the seams and mark the cut-outs so the final installation lands with fewer surprises.
During fitting, the support below the stone must be level and properly fixed. Overhangs, mitres and joins need enough support to stay aligned, especially at sink bays and breakfast bars. Where the top is joining splashbacks or splash guards, the joint line is kept neat and filled to suit the colour. The finish itself does not change the installation method, but the gloss shows every line, so the setting-out has to be accurate.
- Site templating confirms walls, corners and appliance spacing
- Workshop layout decides seam position and slab use
- Level support is needed across the full cabinet run
- Jointing and seal details matter more on glossy finishes
Cleaning, heat care and stain control in daily use
Polished quartz is chosen partly because it is easy to keep looking sharp. For daily cleaning, a soft cloth with warm water and a mild neutral cleaner is usually all we need. Wipe up coffee, oils, sauces and coloured spills sooner rather than later, especially on a light-coloured slab where a mark can sit on the surface longer than it should. Avoid harsh abrasives, metal scourers and strong solvents that can dull the polish over time.
Quartz handles normal kitchen use well, but very hot pans and baking trays should not be placed straight onto the surface. Use a trivet or heat pad near the hob and in landing zones beside ovens. The same goes for sharp objects, because even a hard surface benefits from cutting boards and sensible handling. If a spill has dried around a sink or hob cut-out, a gentle clean usually clears it without leaving a ring.
- For day-to-day care, wipe with a soft cloth and a mild cleaner.
- Wipe spills early, especially coloured liquids
- Use heat protection for hot cookware
- Keep cutting boards in use for food prep
What to confirm before ordering a polished quartz top
Before the slab is cut, the key details need to be pinned down so the top fits the room and the cabinets below it. The slab thickness, edge profile and finish level should be agreed first, then the sink model, hob size and tap positions should be checked against the final cabinet plan. For undermounted sinks, the bowl depth and cut-out allowance have to work together, because a few millimetres can change the line of the basin and the drip edge.
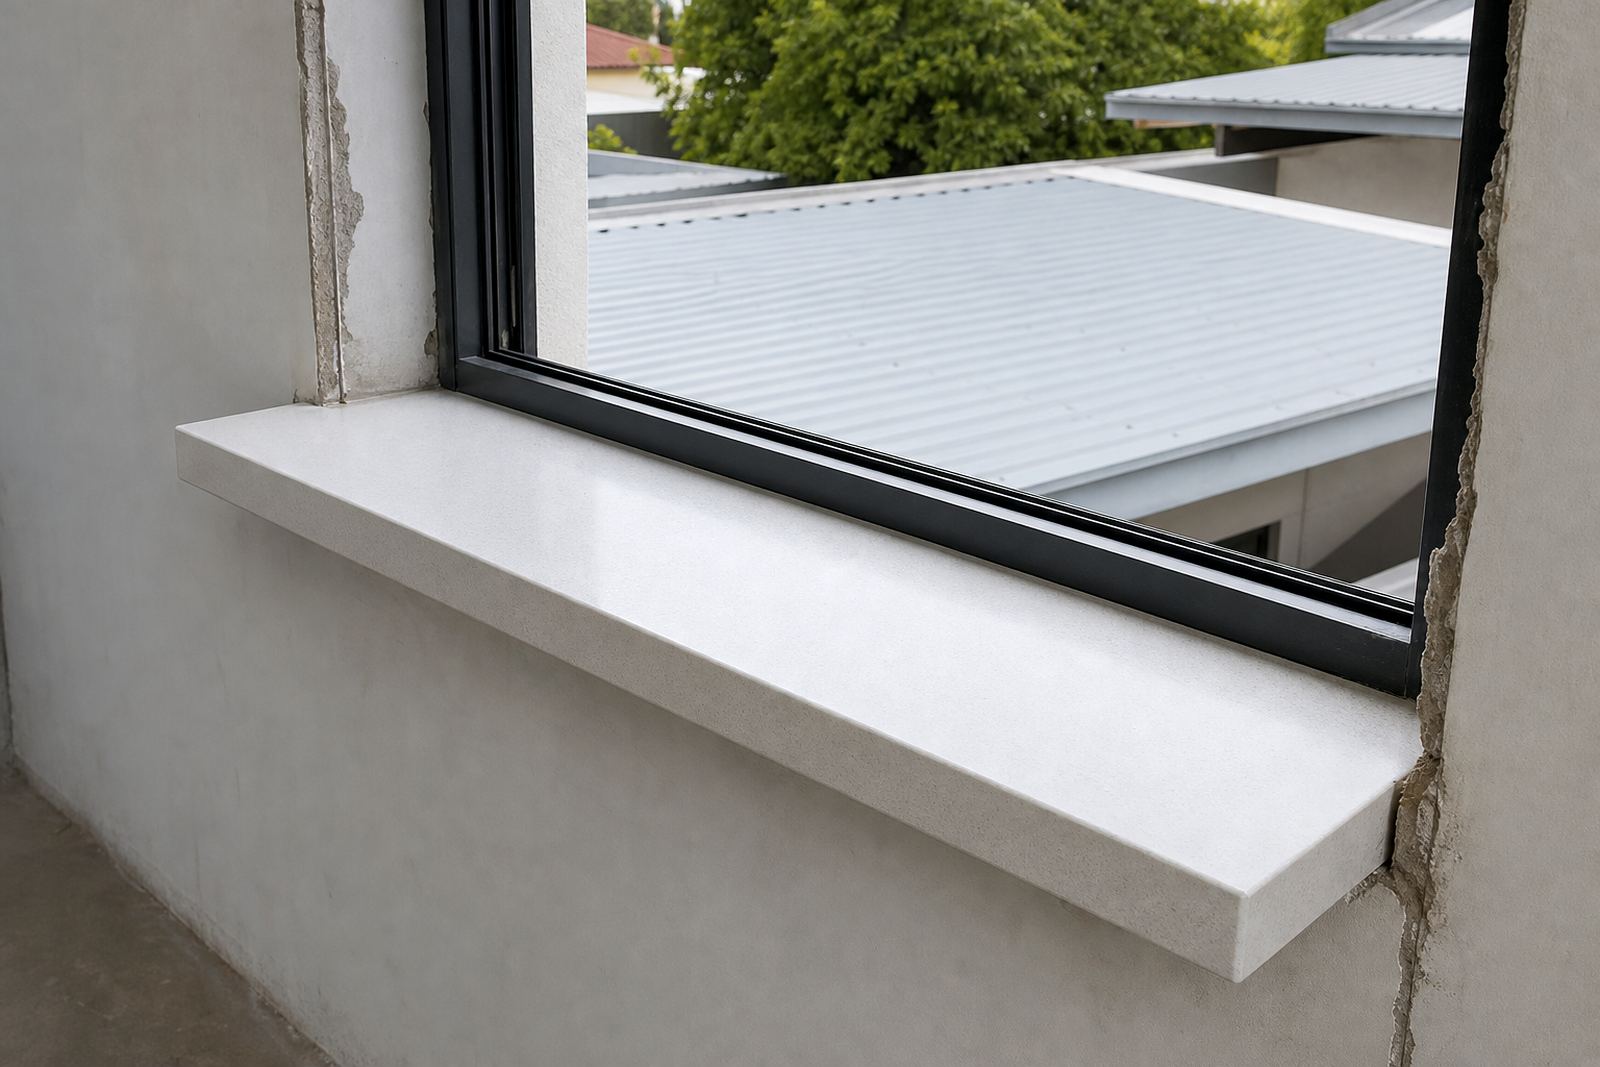
It also helps to confirm the splashback height, any open ends, any mitred waterfall sides and the wall finish behind the top. If there is a window reveal, a breakfast overhang or a return panel, those dimensions should be part of the same brief. Our contact form is the simplest way to send the details, and the team at our Strijdom Park workshop can work from templated measurements, photographs and cabinet drawings when needed.
- Confirm slab thickness and edge profile
- Check sink, hob and tap positions carefully
- State splashback height and any waterfall sides
- Share cabinet drawings, photos or site measurements
Key facts
| Finish | High-gloss polished quartz face |
|---|---|
| Common thicknesses | 20 mm and 30 mm |
| Typical uses | Kitchen counters, vanities, islands, splashbacks |
| Cut-out services | Sink, hob and tap cut-outs |
| Edge profiles | Pencil, bevel, bullnose, shark nose |
| Service area | Strijdom Park, Randburg and Gauteng installs |