A cut-out that sits under the rim, not over it
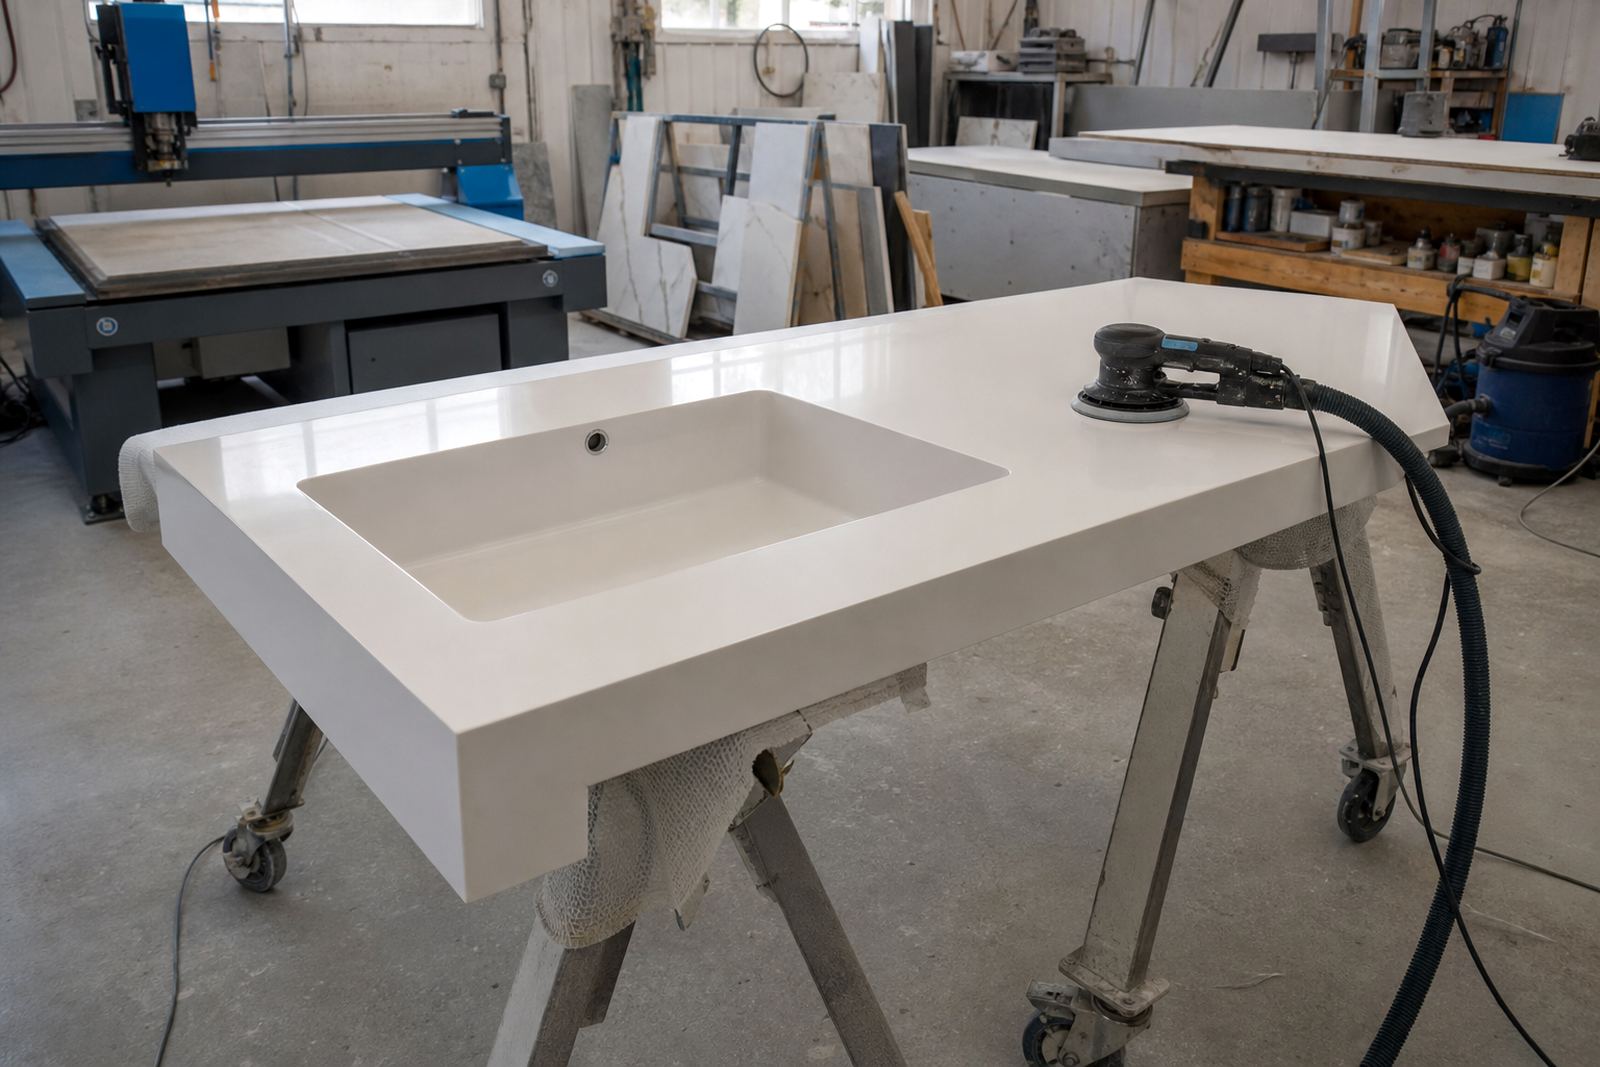
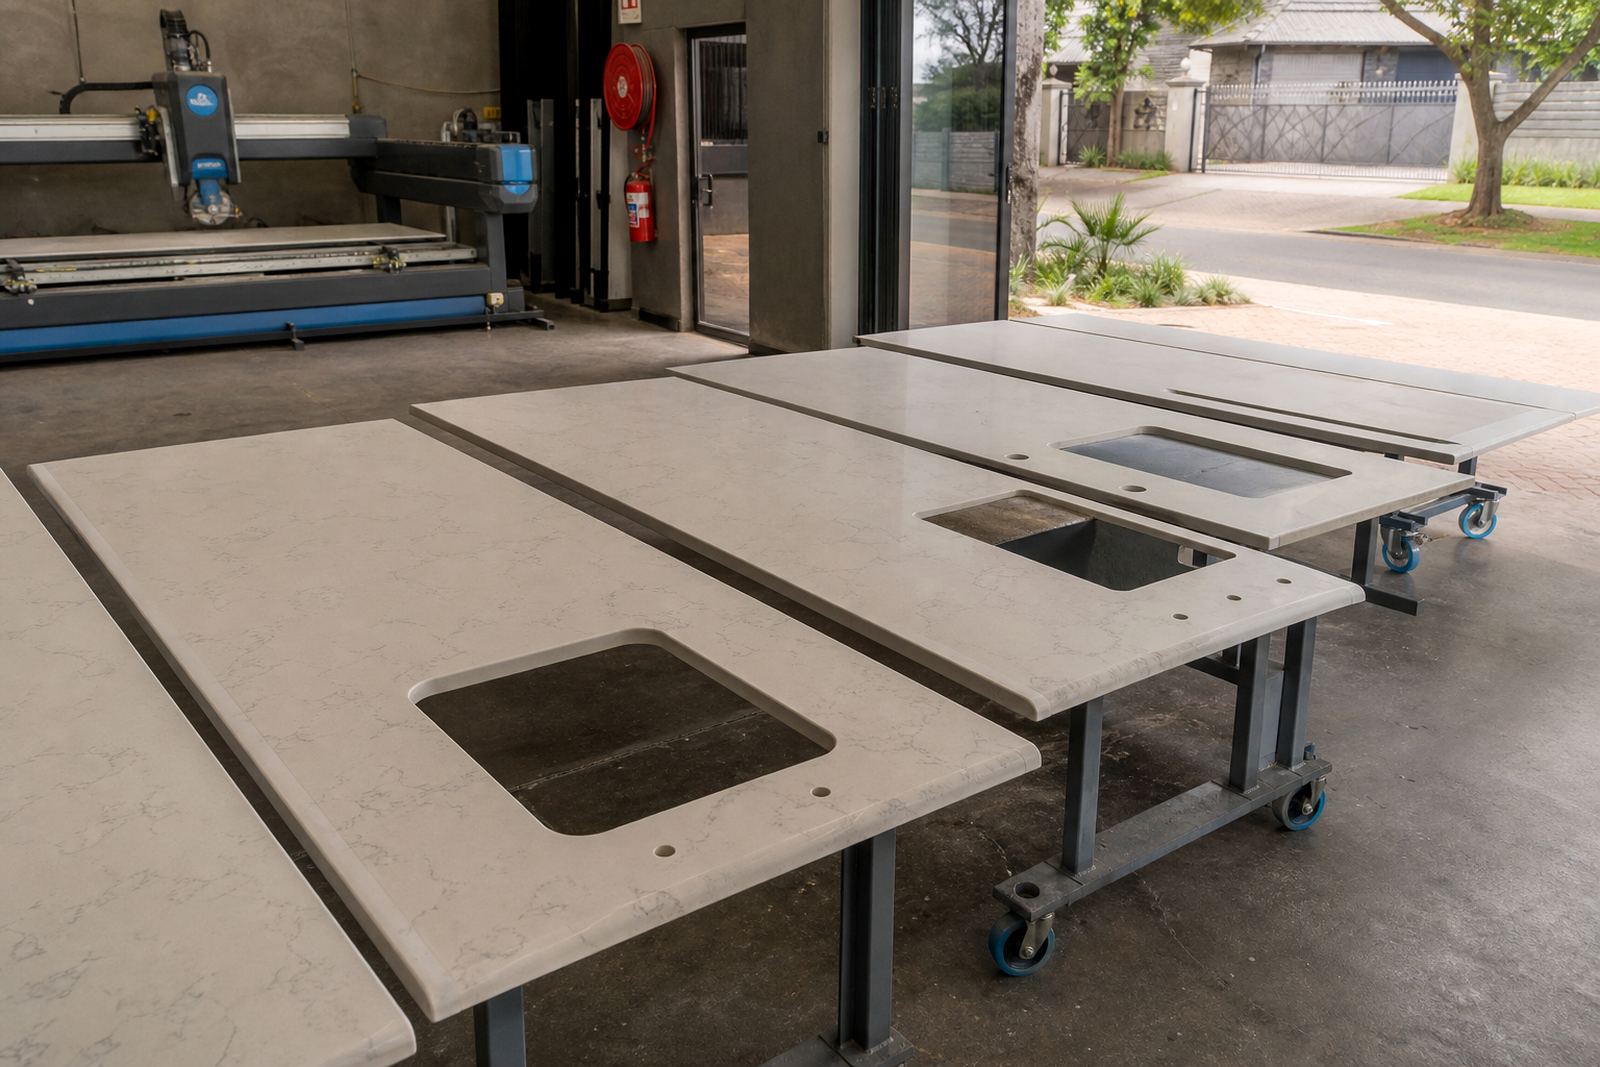
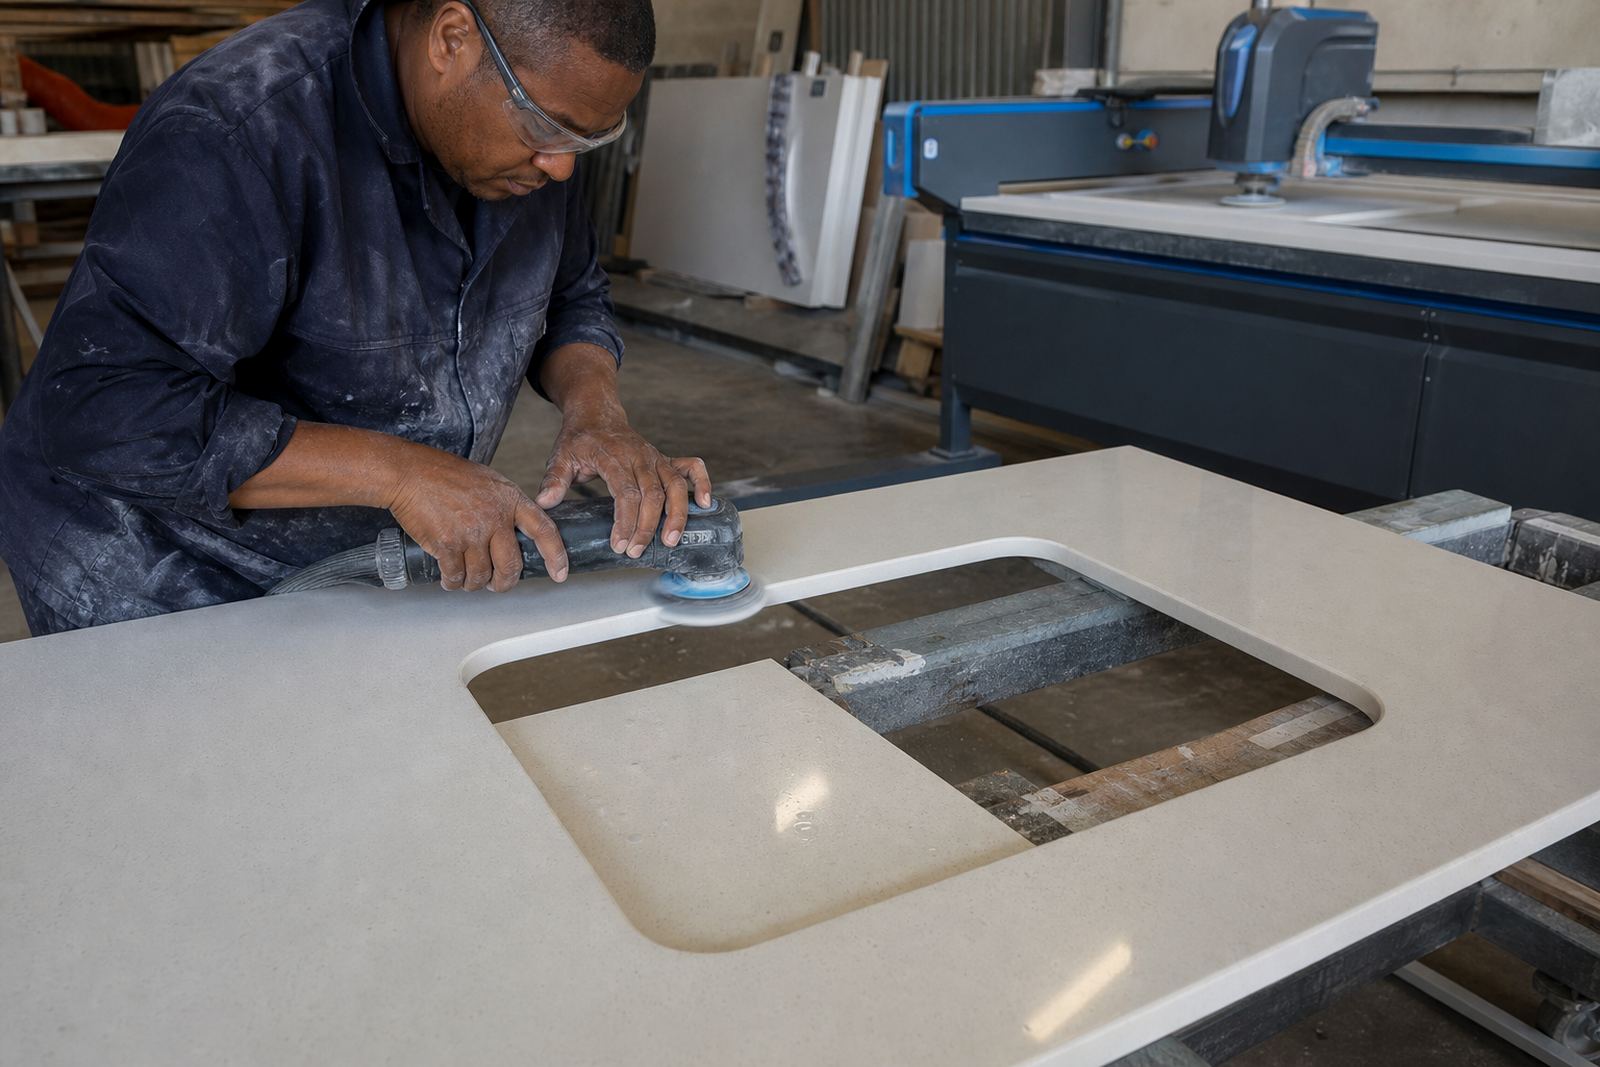
An undermount sink opening is formed from the underside of an engineered quartz or solid-surface top so the basin hangs below the finished surface. The exposed edge around the cut-out is dressed smooth, then checked against the sink body, clip points and the bead of sanitary sealant that closes the joint.
For quartz tops, the cut needs a clean tool path and a careful finish so the stone does not chip at the corners. Solid-surface work allows more freedom with shaping and repair, but the opening still has to follow the sink line closely or the joint will show and water can sit where it should not.
- Common thicknesses: 12 mm, 20 mm and 30 mm slabs
- Typical basin openings are shaped to the sink template supplied on site
- Corner radii can be square-looking or softly rounded, depending on the sink body
Sizes, bowl styles and edge choices that matter
The cut-out is not just a hole. It needs to suit the bowl shape, the clip set and the visible reveal you want when you look down into the sink. Some clients want the front edge hidden tight under the worktop, while others prefer a slight reveal for easier cleaning around the lip.
We can work to single bowls, double bowls and compact prep sinks, with the opening set to the sink's actual underside profile. Drainer grooves can be added into adjacent solid-surface sections, while quartz usually needs a confirmed layout before any routing starts.
- Inset reveal, negative reveal or flush-looking edge detail where the sink design allows it
- Square, shallow-radiused or fully radiused corner treatment
- Openings for one bowl, two bowls or prep sinks with offset waste positions
Where undermount openings earn their keep
Undermount sink cut-outs work well in kitchens, utility rooms, office tea points and fitted vanities where a tidy wipe-down surface matters. In homes, they suit island tops, galley kitchens and sculleries. In offices and shopfitters' spaces, they keep the counter line clean where service areas need to look ordered and practical.
In coastal homes or busy rentals, the joint detail matters more than people expect. If the seal is rushed or the support under the bowl is weak, the sink can shift under daily use and water may work into the join. That is why the opening, the support and the seal have to line up from the start.
- Kitchen countertops with prep, wash-up and serving zones
- Bathroom vanities with compact bowls and neat front edges
- Commercial counters where the sink line must stay easy to wipe
Templating, support and fitting on the day
Before cutting, the sink, tap positions and surrounding cabinets need to be measured on site. Templating picks up wall curves, out-of-square corners and any appliance or hob clearances near the bowl. For quartz, the sink support is usually planned with brackets, rails or a rigid base, because the weight of the basin and water load must be carried properly.
Solid-surface tops can be cut, joined and blended with more freedom, but the bowl still needs level bearing and sound fixing. Our workshop checks the clip points, the underside clearance and the seal line before the top goes out for installation. On fitting day, the opening is placed so the waste and trap can sit without forcing the bowl off line.
- Site templating for walls, cabinets and sink positions
- Digital measuring for repeatable opening sizes on multi-unit work
- Support planning for bowls, rail systems and seam placement near the sink
Heat, stains and the seal around the basin
Quartz and solid-surface surfaces both need sensible care around the sink area. Hot pots, kettles and roasting trays should never sit directly on the top beside the bowl, because heat can mark sealant and stress the surface near the cut-out. Strong stains from tea, coffee, wine and cleaning chemicals should be wiped promptly, especially along the joint where the sink meets the underside of the worktop.
Regular checks should look at the seal bead, the clip tightness and any movement at the front edge. If the joint starts to open, moisture can sit in the line and make the finish look tired long before the rest of the top does. A simple wipe with mild cleaner and a soft cloth usually keeps the area presentable.
- Use mild dish soap or a neutral cleaner on the visible edge
- Avoid harsh scouring pads on the joint line
- Keep the sink support dry, especially under vanities and kitchen basins
The order details that save a workshop correction
When asking for an undermount sink cut-out, the important details are the sink model or template, the slab material, the top thickness and the final basin position in relation to cabinets and walls. It also helps to confirm whether the sink needs a negative reveal, a tight hidden lip or a more open edge. If the job includes drainer grooves, the direction and fall must be agreed before fabrication starts.
For stone and solid-surface work, even a small change in bowl size can shift the clip points and the cut line. If there is a hob nearby, the sink opening and the cooking cut-out must be set together so the front apron, the splashback and any seam have enough space. On site, you can send the project details through our contact form, and the team can take it from there.
- Sink make-up sheet or physical sink template
- Finished slab thickness and material type
- Reveal style, drainer grooves and waste position
- Cabinet sizes, wall returns and any nearby hob or splashback detail
Key facts
| Material options | Engineered quartz and solid-surface tops |
|---|---|
| Typical slab thickness | 12 mm, 20 mm and 30 mm |
| Opening types | Single bowl, double bowl and prep sink cut-outs |
| Edge finish | Polished, eased or shaped to match the basin reveal |
| Fitting areas | Strijdom Park, Randburg and across Gauteng |
| Service type | Templating, cutting, fitting and aftercare advice |