Start With the Walkways, Not the Slab
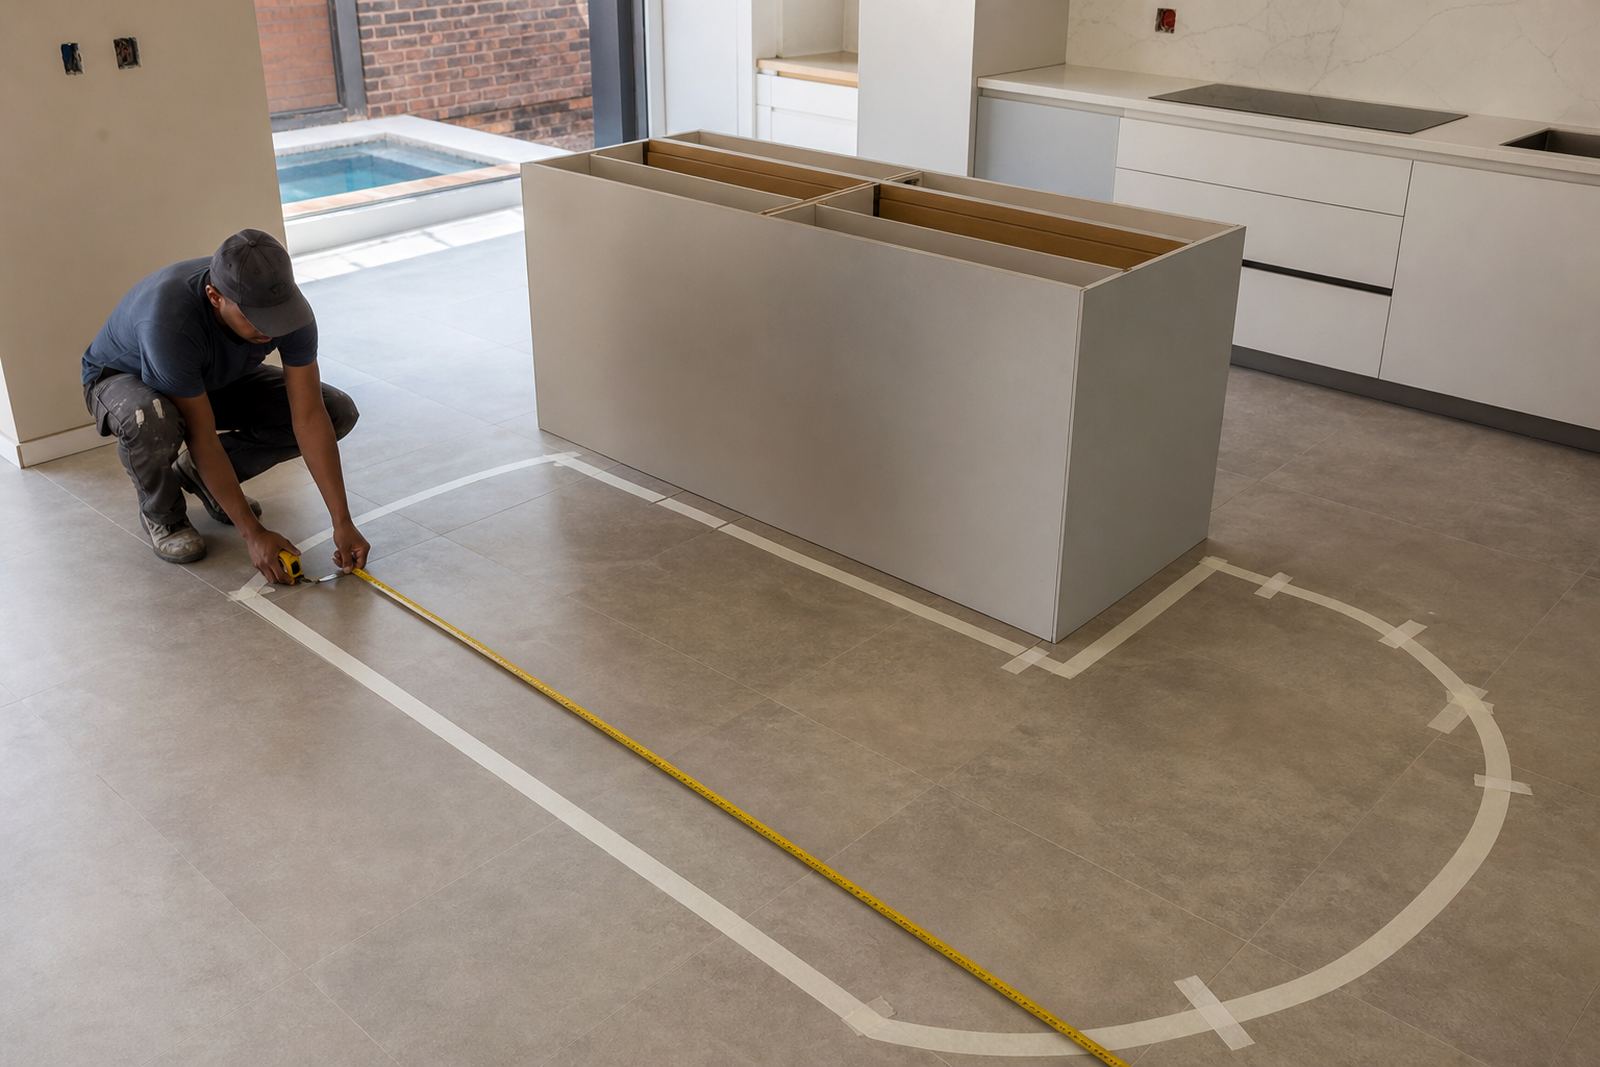
The first measurement is not the island top itself. It is the space around it, because a kitchen can feel cramped when the clear route between the island and the rest of the room is too tight. In a home kitchen or a shopfit-out prep area, circulation needs to work when one person is standing at the sink, another is opening a fridge, and someone else is carrying a tray or groceries past the edge.
For most residential islands, the clear gap around the working sides needs careful thought. A narrow passage may suit a tucked-away drinks ledge, but a busy kitchen with stools, appliance doors and storage drawers asks for more breathing room. In Randburg homes with open-plan kitchens, we often see islands that look fine on paper yet pinch movement once the first stool lands or the dishwasher door opens.
- Measure the narrowest route between island and cabinets, walls or built-ins.
- Check door swings, drawer pulls and fridge openings before fixing island length.
- Leave enough space for more than one person to pass without side-stepping.
- Allow for bar stools if the island will double as a casual eating spot.
Overhang Depth Changes How the Island Feels
The overhang is the part that projects beyond the cabinet line, and it changes both comfort and structure. A light breakfast perch needs enough depth for knees, while a working side that carries a sink or hob needs the slab to sit properly on the support below. With engineered quartz and solid-surface tops, the overhang must be planned alongside the cabinet size, support points and edge detail, not added at the end as an afterthought.
Thin-looking counters can still be built with proper support, but the visible edge profile must suit the material and the use. A square edge feels crisp and modern, while a softened pencil edge is kinder on hips and hips do meet corners in a busy kitchen. On a family island in Fourways, a deeper overhang on one side can work well for stools, while the service side stays tighter and more practical for cooking or plating.
- Decide whether the island is for seating, prep, storage or all three.
- Match the overhang to legroom, support structure and traffic flow.
- Keep edge profiles consistent with the room and the material thickness.
- Plan for the daily habits of the people using the space.
Sink and Hob Cut-Outs Need Better Planning Than Most People Expect
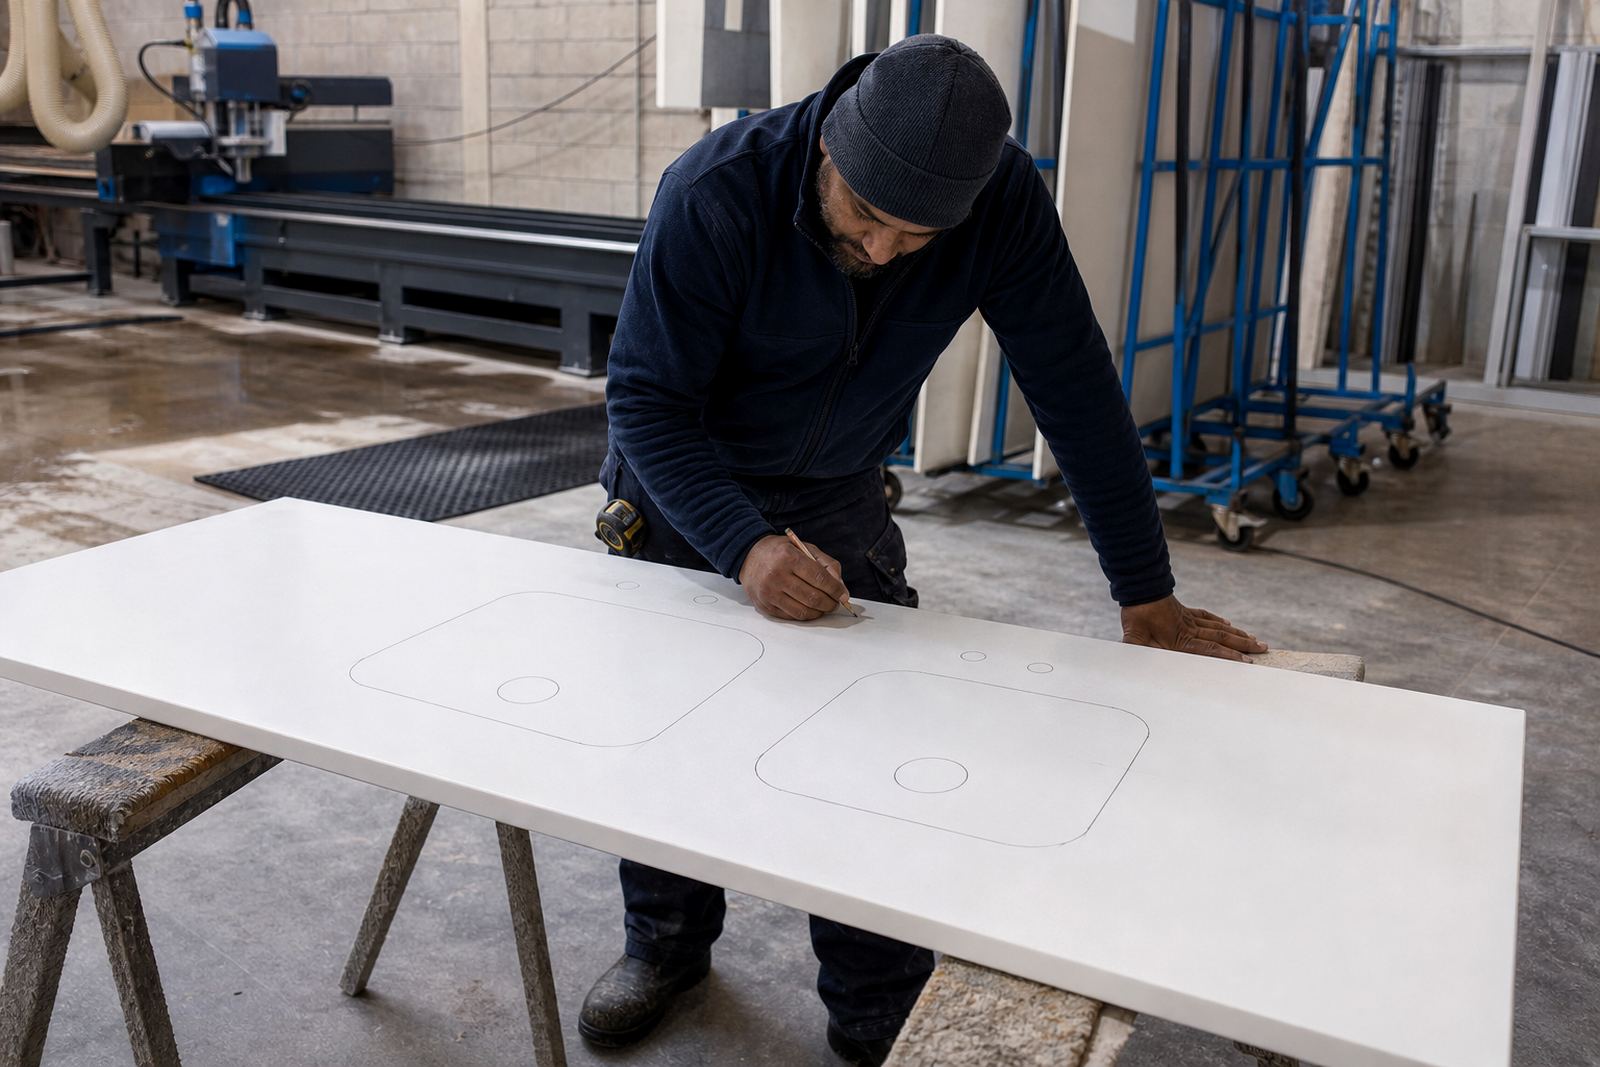
Once a sink or hob is set into the island, the layout turns technical. Cut-outs need enough solid material around them to keep the top stable, and the sink position has to suit plumbing, washing-up flow and the way water runs from both sides. Hob placement brings clearances and a practical question about where hot pans are set down after cooking. In engineered quartz and solid-surface tops, accurate cut-outs matter, but the spacing around them matters just as much.
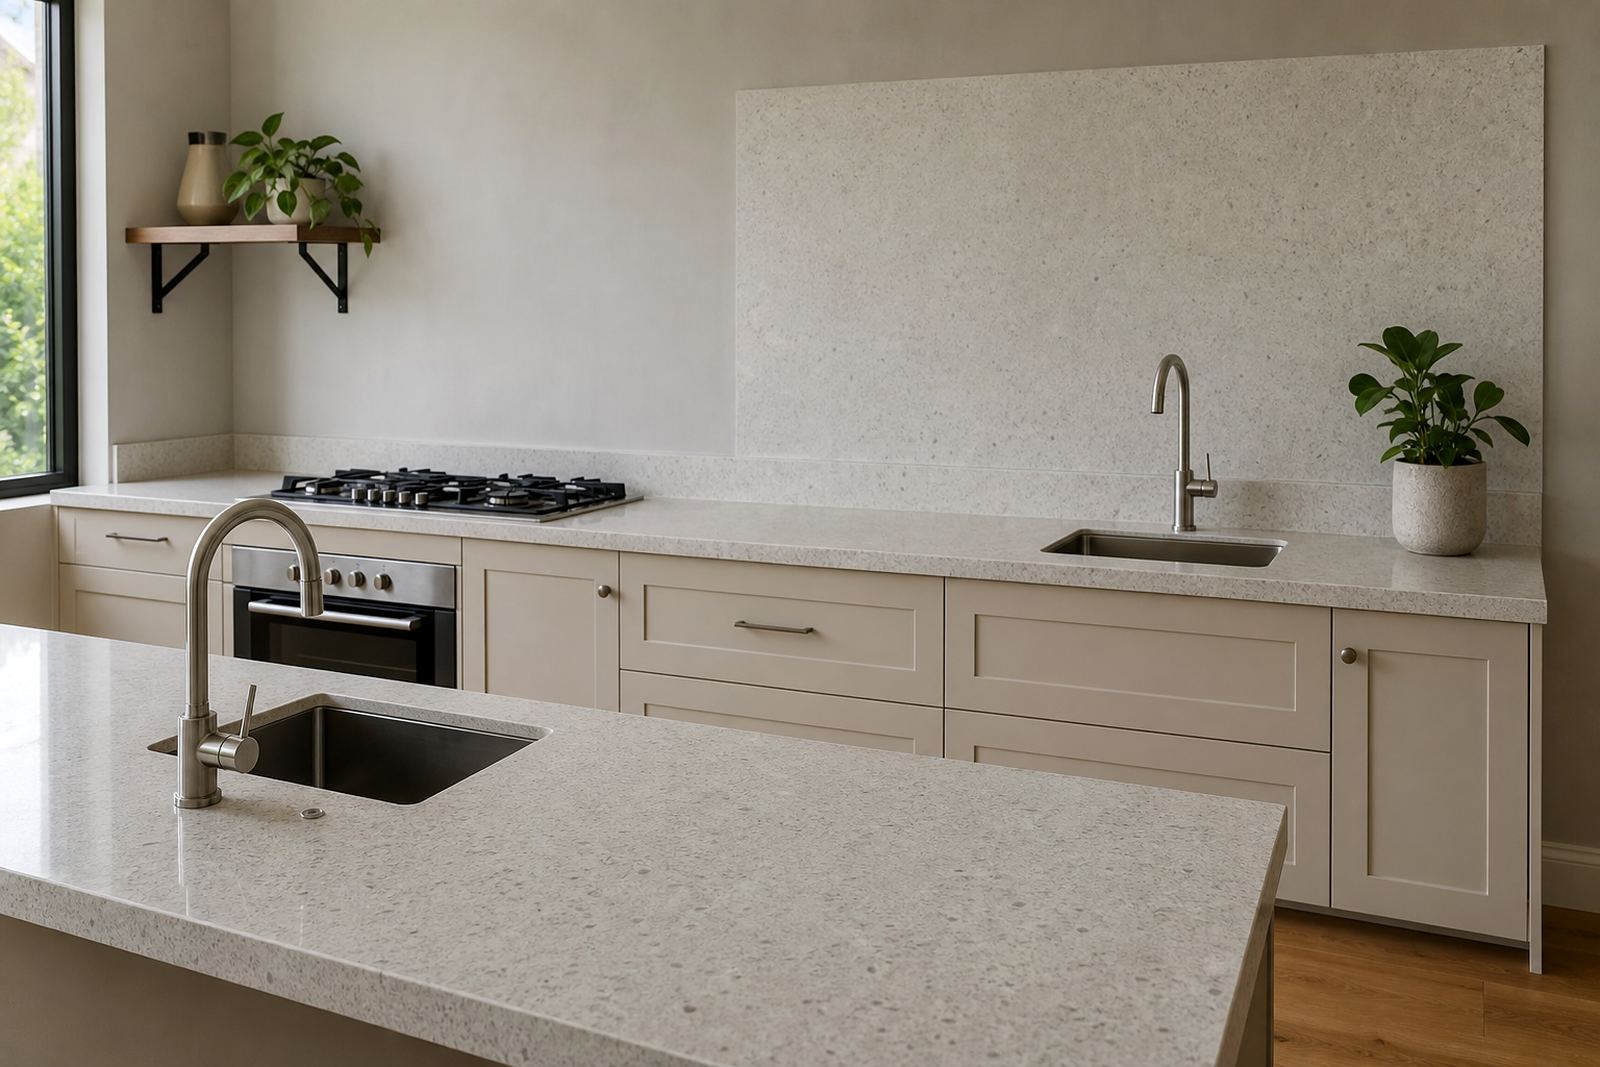
A well-planned island keeps handles, tap positions and seams away from the weakest areas. If the sink sits too close to an edge or a seam, the layout can look crowded and feel awkward in use. In a Midrand renovation, for example, a central island sink may suit the room only if the work zone on each side is balanced. That balance helps with washing, prep and serving without forcing one person to lean across the whole top.
- Check the sink bowl size, tap position and drain access before templating.
- Keep cut-outs away from vulnerable corners where possible.
- Allow space for drying racks, prep bowls and set-down areas.
- Place hobs where heat, safety and serving flow all make sense.
Templating Turns a Sketch Into a Real Job
Templates capture the actual site, and that is where island planning becomes real. Walls are not always square, floors may drift slightly, and cabinets can sit a few millimetres out after installation. Digital measuring and site templating help the workshop read those conditions before cutting starts, which is especially useful when the island has angled ends, waterfall details or a staggered seating line.
For shopfitters and homeowners alike, templating also checks lifting access. A top that looks manageable on paper may be awkward through a narrow passage, over a stair landing or around a tight turn. In some Johannesburg apartments and office kitchens, the route into the space matters as much as the final dimensions. Without that check, a carefully made slab can turn into a logistics problem no one wanted.
- Confirm the finished cabinet positions before the template is taken.
- Measure access routes from the vehicle to the room.
- Look for tight corners, steps, security gates and low ceilings.
- Record appliance positions so the cut-outs land correctly first time.
Seams, Edges and Support Under a Bigger Island
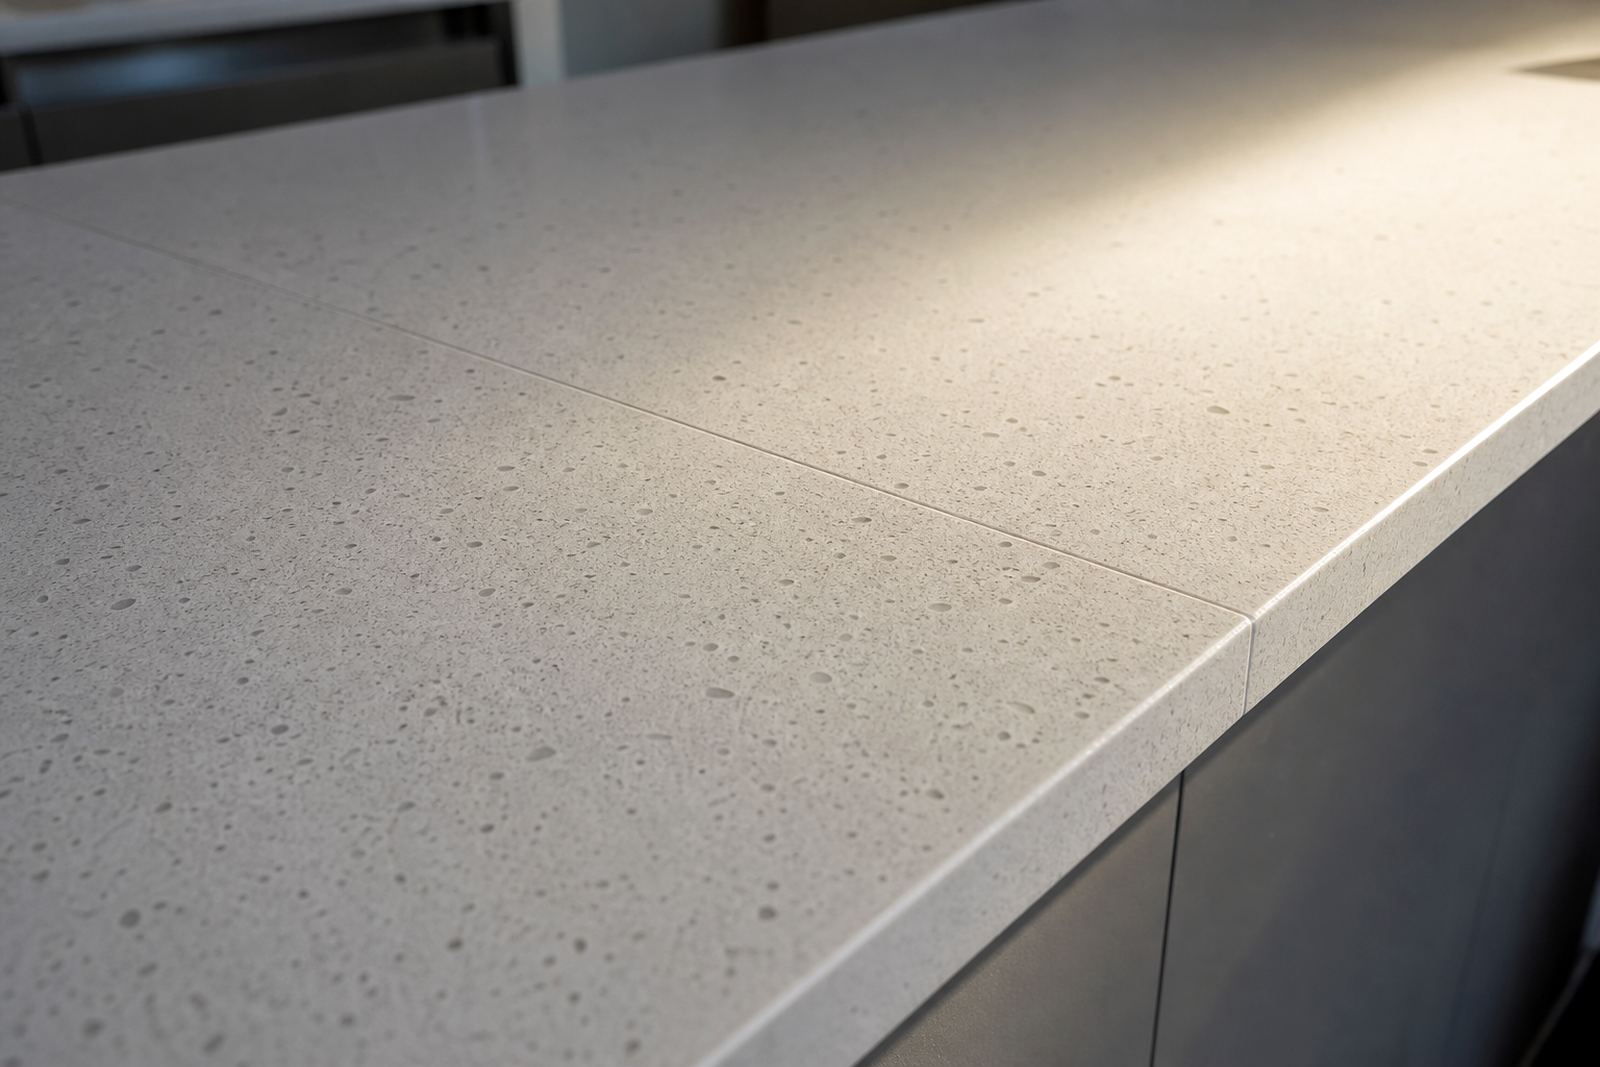
Larger islands often need more than one slab section, and seam placement deserves proper attention. A seam near a sink, hob or heavy overhang is more likely to draw the eye and take strain, so it needs planning from the start. On engineered quartz, a well-positioned seam can be discreet, while solid-surface work may allow a different approach depending on the shape and finish. Either way, the goal is a clean run that suits the room and does not fight the structure underneath.
Support is equally important where the island stretches wide or carries seating on one side. Brackets, underframes and cabinet construction all affect how the slab behaves over time. Heat from pans and hot trays should not be treated casually either. Quartz and solid-surface materials still need basic care, and that means using mats, avoiding direct contact with very hot cookware, and wiping spills before staining has a chance to settle in.
- Place seams where they are least visible and least stressed.
- Confirm that support reaches under any deeper overhang.
- Keep hot pots off the surface and use heat protection.
- Wipe sauces, tea, coffee and pigments before they sit too long.
A Randburg Island That Had to Work for Both Prep and People
A recent Randburg kitchen needed an island that would serve as prep space on weekdays and casual seating on weekends. The room had a generous footprint, but the passage between the island and the main cabinets still needed to feel open. The layout had to allow sink use on one side, seating on the other, and enough space for cupboard doors to open without knocking knees or handles.
The answer was not to make the island as large as possible. It was to size it properly for the room, then position the overhang where it would be used. A deeper seating side, a sensible working side, and a clean edge profile gave the room balance. That sort of planning is where site templating, cutting, edge profiling and installation all line up with practical use rather than just the drawing.
For kitchens in Strijdom Park, Sandton or Pretoria, the same logic applies. The island should fit the people, the circulation and the lifting route before it fits the mood board. When that part is right, the countertop feels settled in the room and the daily use makes sense.
Aftercare Starts on Installation Day
An island is easiest to live with when the finish is looked after from the first day. That means cleaning with non-abrasive products, keeping sharp scrapers off the surface, and treating seams, sinks and edges with ordinary care. Solid-surface and engineered quartz are both practical choices, yet neither one likes careless heat, coarse pads or standing spills.
Aftercare advice is part of a proper handover because the room changes how the top is used. A family may start with breakfast stools and later use the same island for homework, serving or laptop work. In office and shopfitting settings, the island may take packaging, sample sets or coffee cups that arrive from all directions. The care stays simple, but the habits need to match the material and the shape.
- Use mild cleaners and soft cloths for daily upkeep.
- Keep chopping on boards, not directly on the slab.
- Protect the surface from heavy impact at edges and corners.
- Check seals and joints during routine cleaning, especially near sinks.