The small strip that stops water at the wall
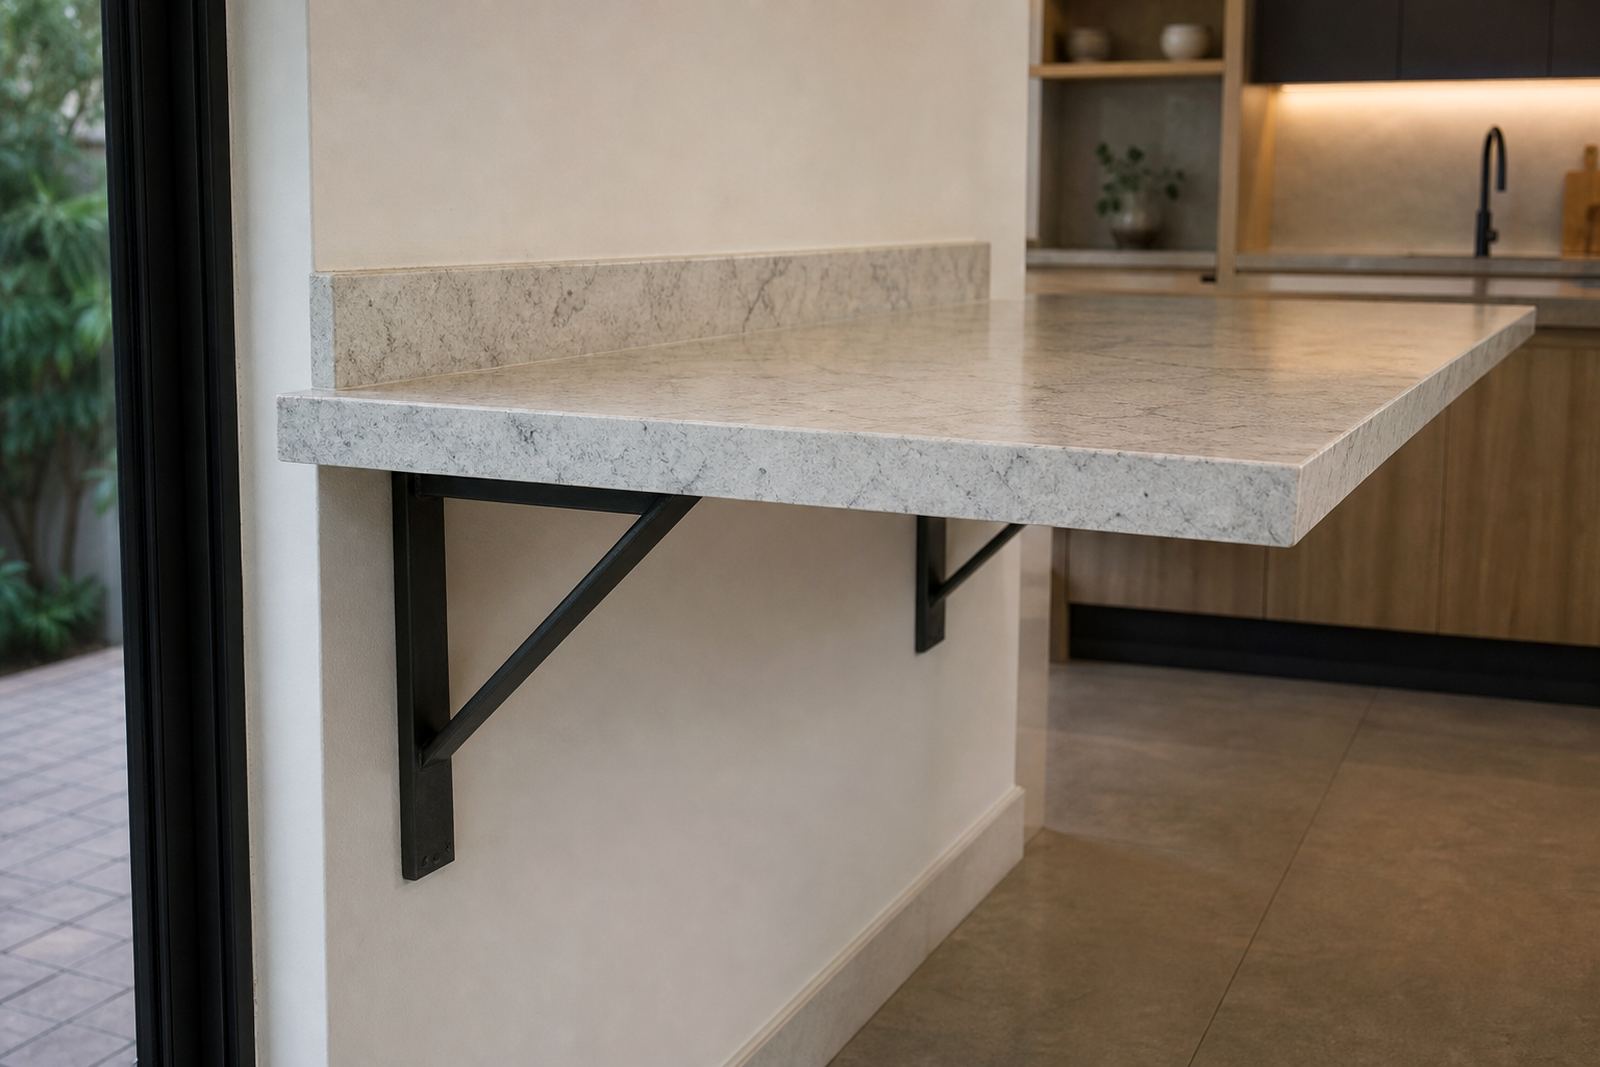
A low upstand usually runs 50 to 100 mm high along the back edge of a countertop. It gives a neat finish where the top meets the wall, and it helps stop mop water, sink splash and crumbs from working into the joint. In kitchens and vanity areas that get regular wipe-downs, that little lip often does more day-to-day work than people expect.
On engineered quartz and solid-surface tops, the upstand is generally cut from the same slab, so the colour and grain line through neatly. That matters in open-plan homes in Randburg and Sandton where the join line sits close to eye level. When the wall is straight and the top is templated properly, the upstand can look crisp without shouting for attention.
- Best for modest splash control behind sinks and prep areas
- Useful where wall tiles already cover most of the surface above
- Easier to pair with windowsills, skirting and small service ledges
When a full-height panel earns its place
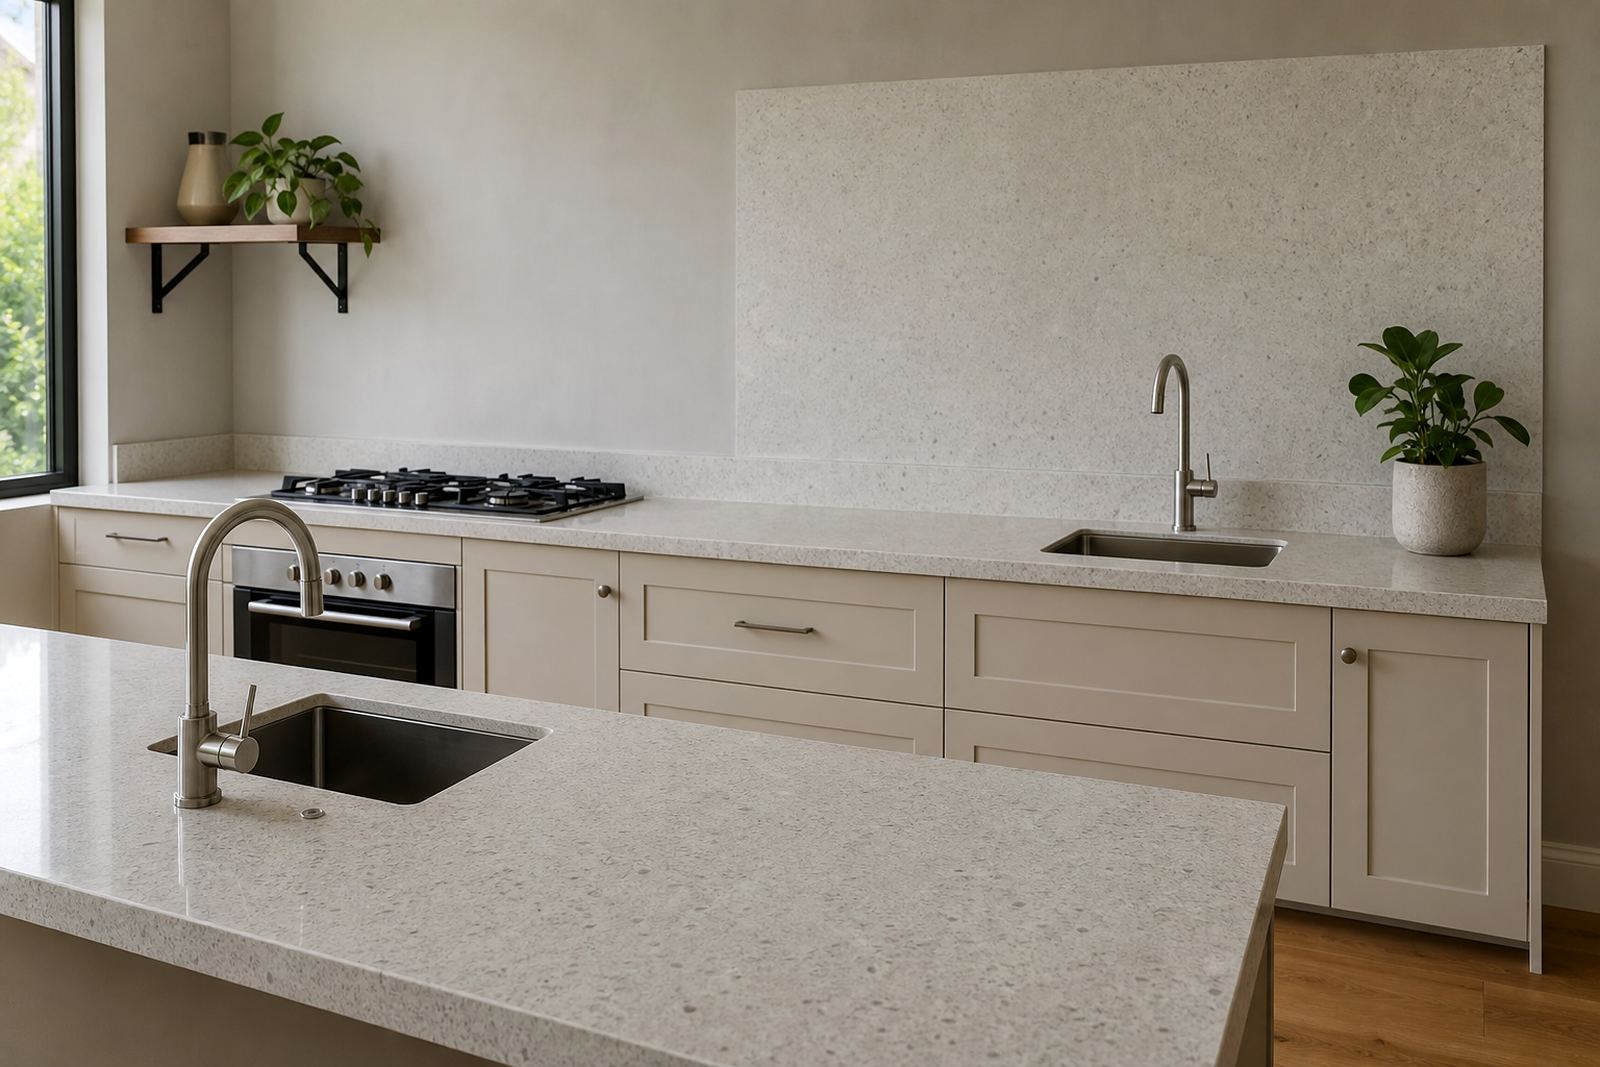
A full-height splashback panel runs from the countertop to the underside of cupboards or higher, depending on the design. It is the cleaner choice where the wall takes repeated splashes from cooking, boiling water or busy basin use. In practical terms, it gives you one continuous surface with fewer grout lines and less space for grease to settle.
Full-height panels work well in modern kitchens and in office tea stations where the wall behind the sink gets touched often. They can also help disguise a wall that is not perfectly flat, although the templating has to be accurate so the panel sits tight without forcing the edge. In Gauteng homes with larger windows and more sun on the worktop, the uniform finish can keep the area looking calm even when the rest of the room carries more texture.
- Useful behind cook zones and deep sink runs
- Reduces exposed wall joints and grout upkeep
- Can be matched to the top for a cleaner visual line
Thickness, edges and the way the joint lands
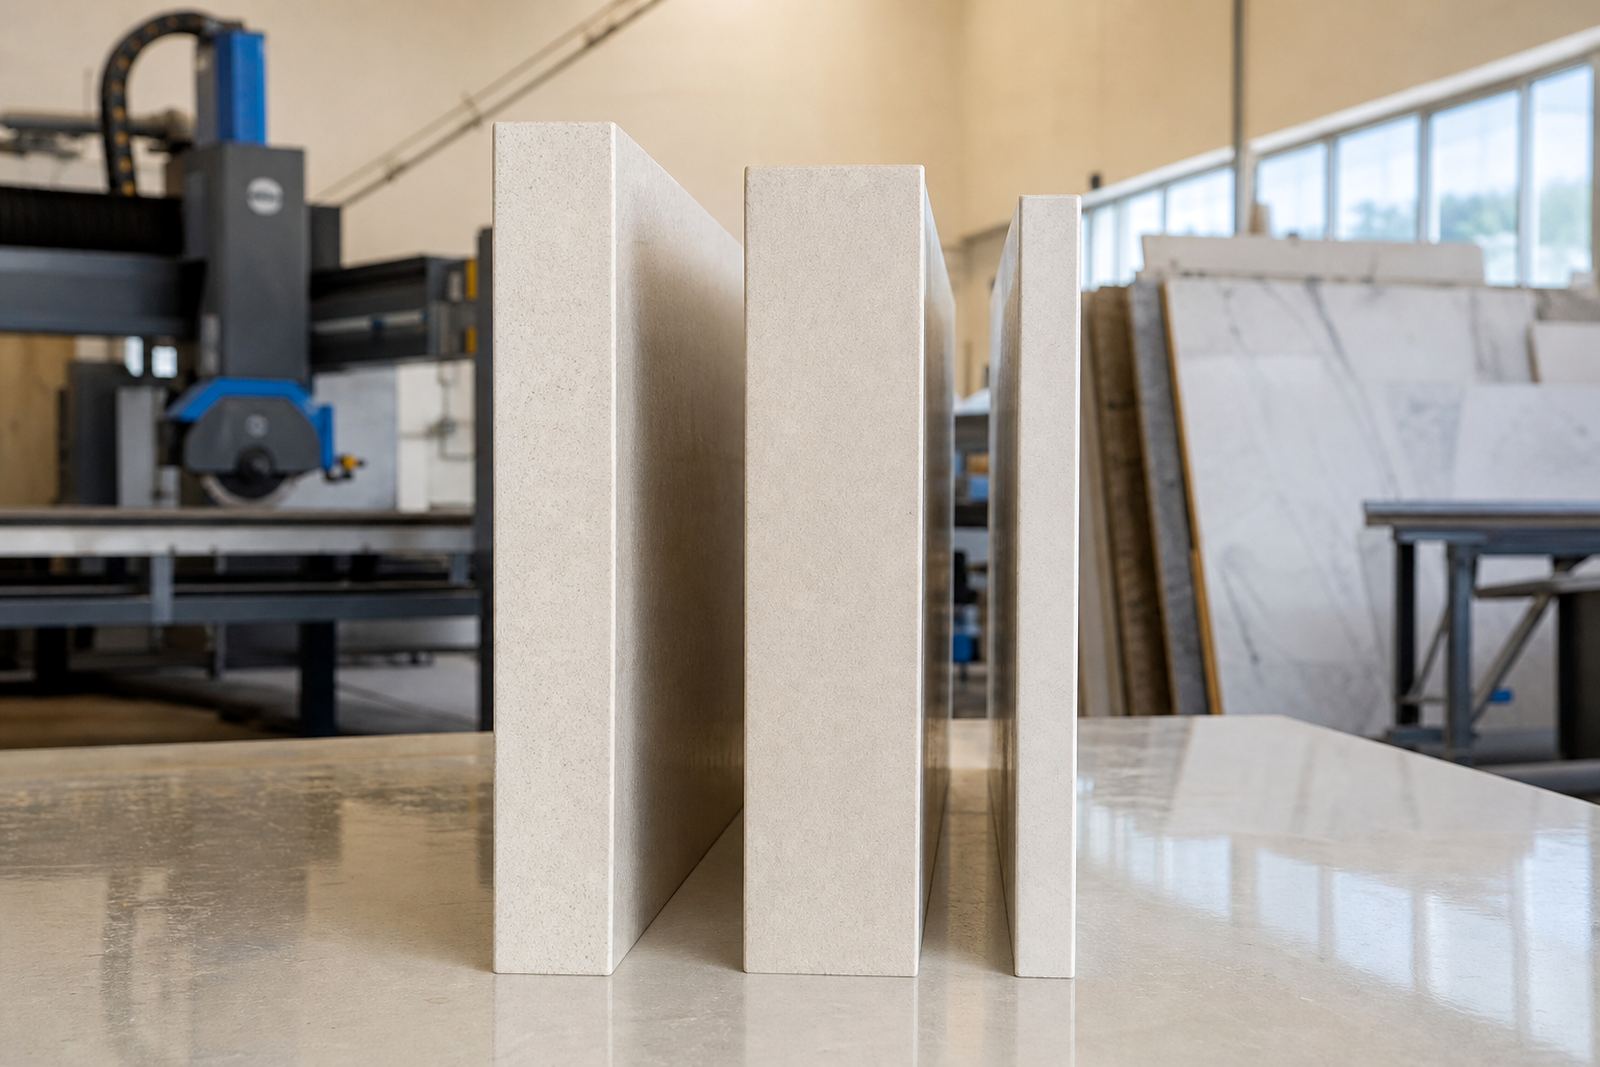
Engineered quartz is often fabricated in slab thicknesses around 20 mm or 30 mm, while solid-surface can also be worked to suit a more smooth built-up look. The visible edge profile matters just as much as the height of the back protection. A square edge gives a sharp architectural line, while a bevel, pencil round or softened front edge changes how the whole run reads in the room.
The joint between top and upstand or splashback must be planned before cutting starts. Seams should avoid sink cut-outs and hob areas where heat and water make the line harder to hide. Where a long run turns a corner, the templater has to check wall squareness, internal corners and any trim detail so the finished join does not fight the room.
- Thicker slabs usually suit stronger visual edges
- Edge choice affects cleaning, touch points and profile depth
- Seam positions should be planned with tap, sink and hob layout
Cleaning, heat and stain care on real job sites
Quartz surfaces cope well with everyday kitchen use, but direct heat should never sit on the surface for long. A hot pot or pan can mark the resin binders, and steam from a kettle parked too close can do the same over time. Solid-surface material handles a different kind of treatment: it is repairable and forgiving, yet it still needs sensible care near heat and strong cleaners.
For both finishes, a soft cloth, mild detergent and clean water are usually enough. Oil splashes, coffee marks and tomato sauces should be wiped before they dry. On splashbacks above a prep sink, the real enemy is not dramatic spills but constant small splashes that are left to build up in the corner of the joint.
- Use trivets and keep hot cookware off the surface
- Avoid harsh abrasives on polished faces and edge details
- Wipe the joint line where the top meets the wall
Where low upstands work better than tall panels
Low upstands suit rooms where the wall is already finished in a durable material, or where a tiled section starts just above the counter. They also work well when a homeowner wants the surface to stay visually low and uninterrupted. In a compact Midrand kitchen, for example, a 75 mm upstand behind a sink can keep the counter looking lighter than a full-height panel, while still protecting the wall edge.
They are also practical in vanities and side counters with mirrors above, because a tall panel can crowd the space. When the room has a window sill, dado rail or trimmed finish line, the lower strip often sits more naturally. The trick is not to copy a look from a magazine without checking the wall height, tile finish and cupboard clearance first.
- Better where the wall is already partly protected
- Fits small rooms that need a lighter visual line
- Works neatly under mirrors, windows and trim details
Templating decides the finish more than the drawing does
Good templating is what keeps splashbacks, upstands and tops aligned in the real room. Walls bow, corners wander and cupboards do not always sit level after installation. A digital measure helps, but the site visit still has to confirm appliance positions, sink centre lines and the exact height of any wall finish that meets the stone.
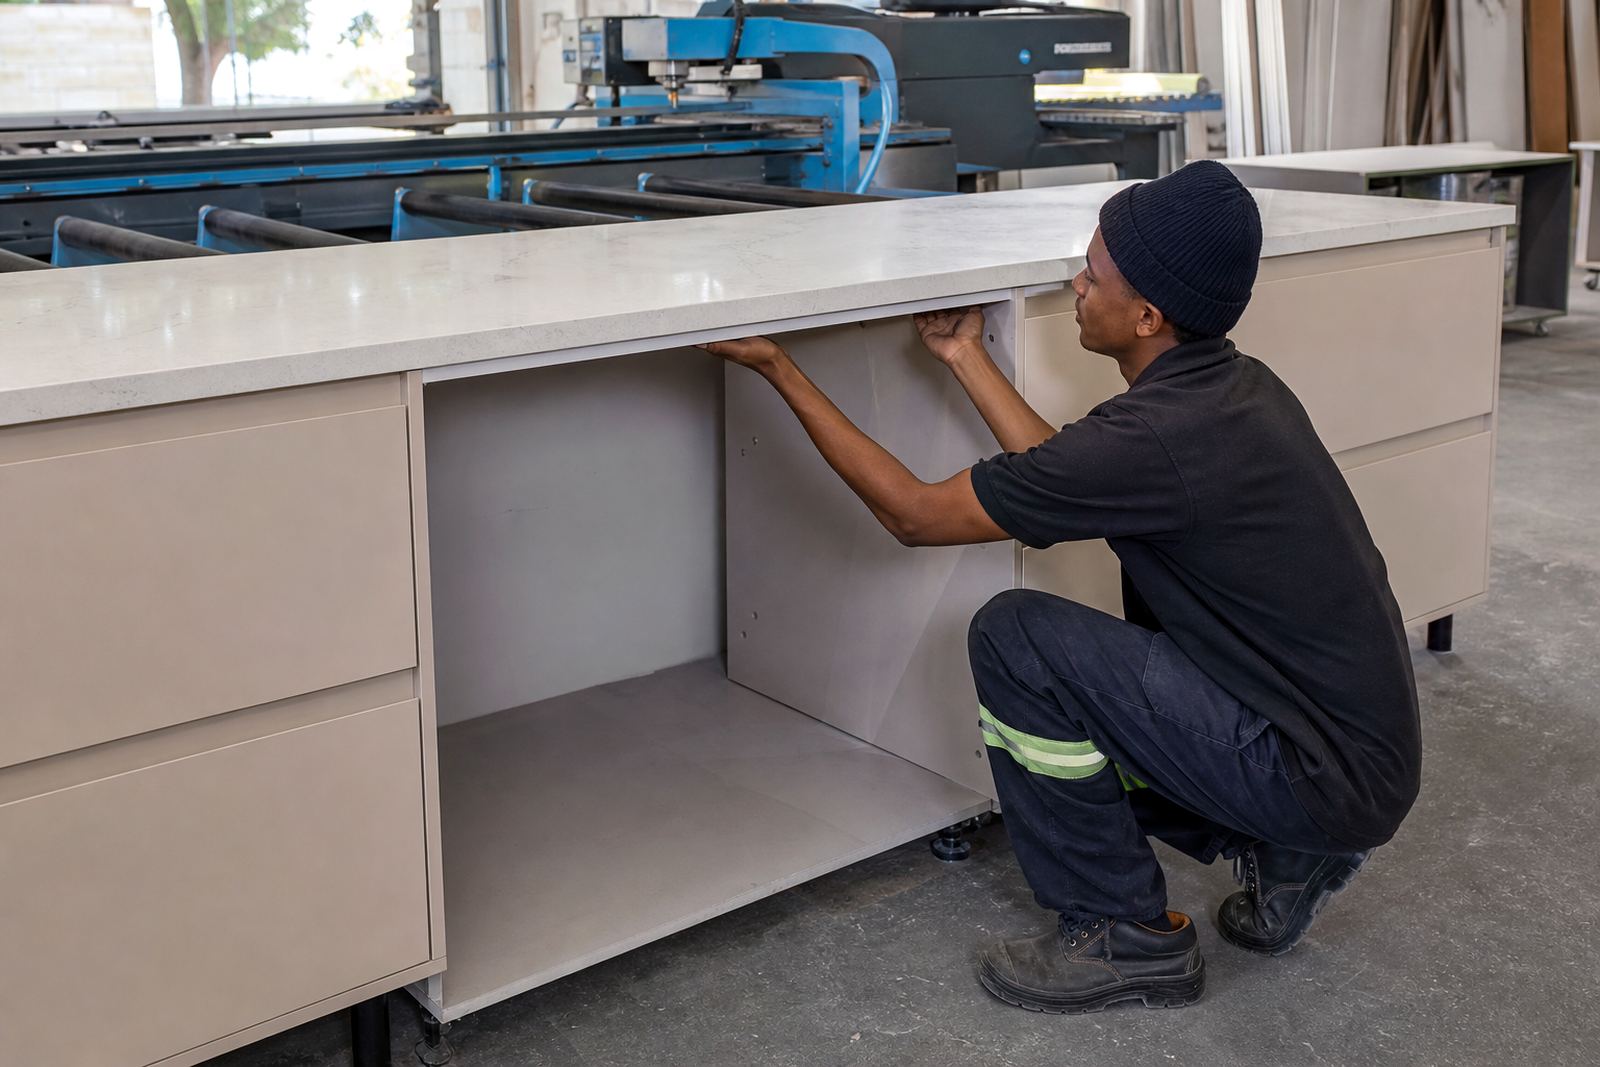
On a shopfitting job in Johannesburg or Fourways, a small mismatch at the template stage can leave a visible shadow gap once the counter goes in. The same is true on a vanity run in Pretoria where the basin and mirror line up only if the splashback height was marked carefully. Our workshop team, from slab layout planning to seam joining and edge profiling, works from those measurements rather than a rough sketch.
- Confirm wall height and cupboard level before fabrication
- Mark sink centres and hob cut-outs before the slab is cut
- Check the room for corner returns, trims and service access