When a counter has to bridge open space
Appliance gaps are not only about covering a hole. They change how the slab is carried, where the joints land and how much weight the top will hold once pots, appliances and daily use start adding pressure. Engineered quartz and solid-surface tops behave differently, so the support plan has to match the material and the opening beneath it.
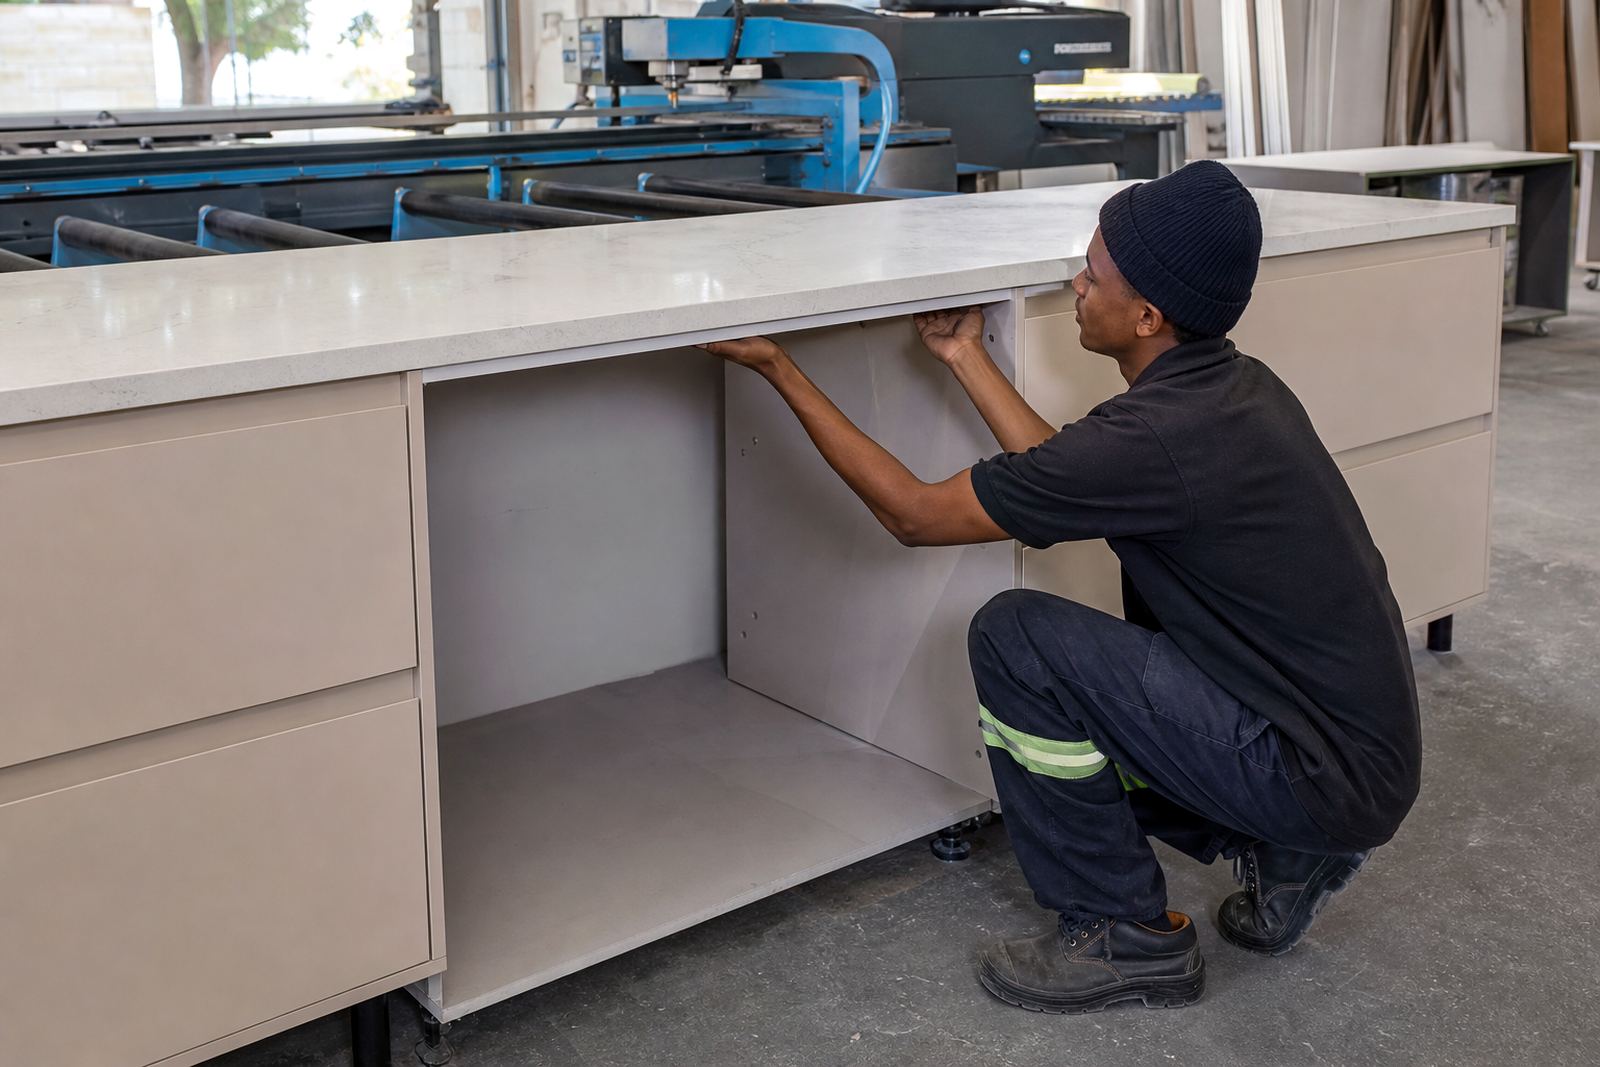
In kitchens, the bridge often sits above a dishwasher or a washing machine. In offices and shop counters, it can be a service void, a cupboard break or a section that needs access later. Each case calls for proper templating, clear support points and enough clearance for doors, ventilation and maintenance access.
The measurements that decide the finish
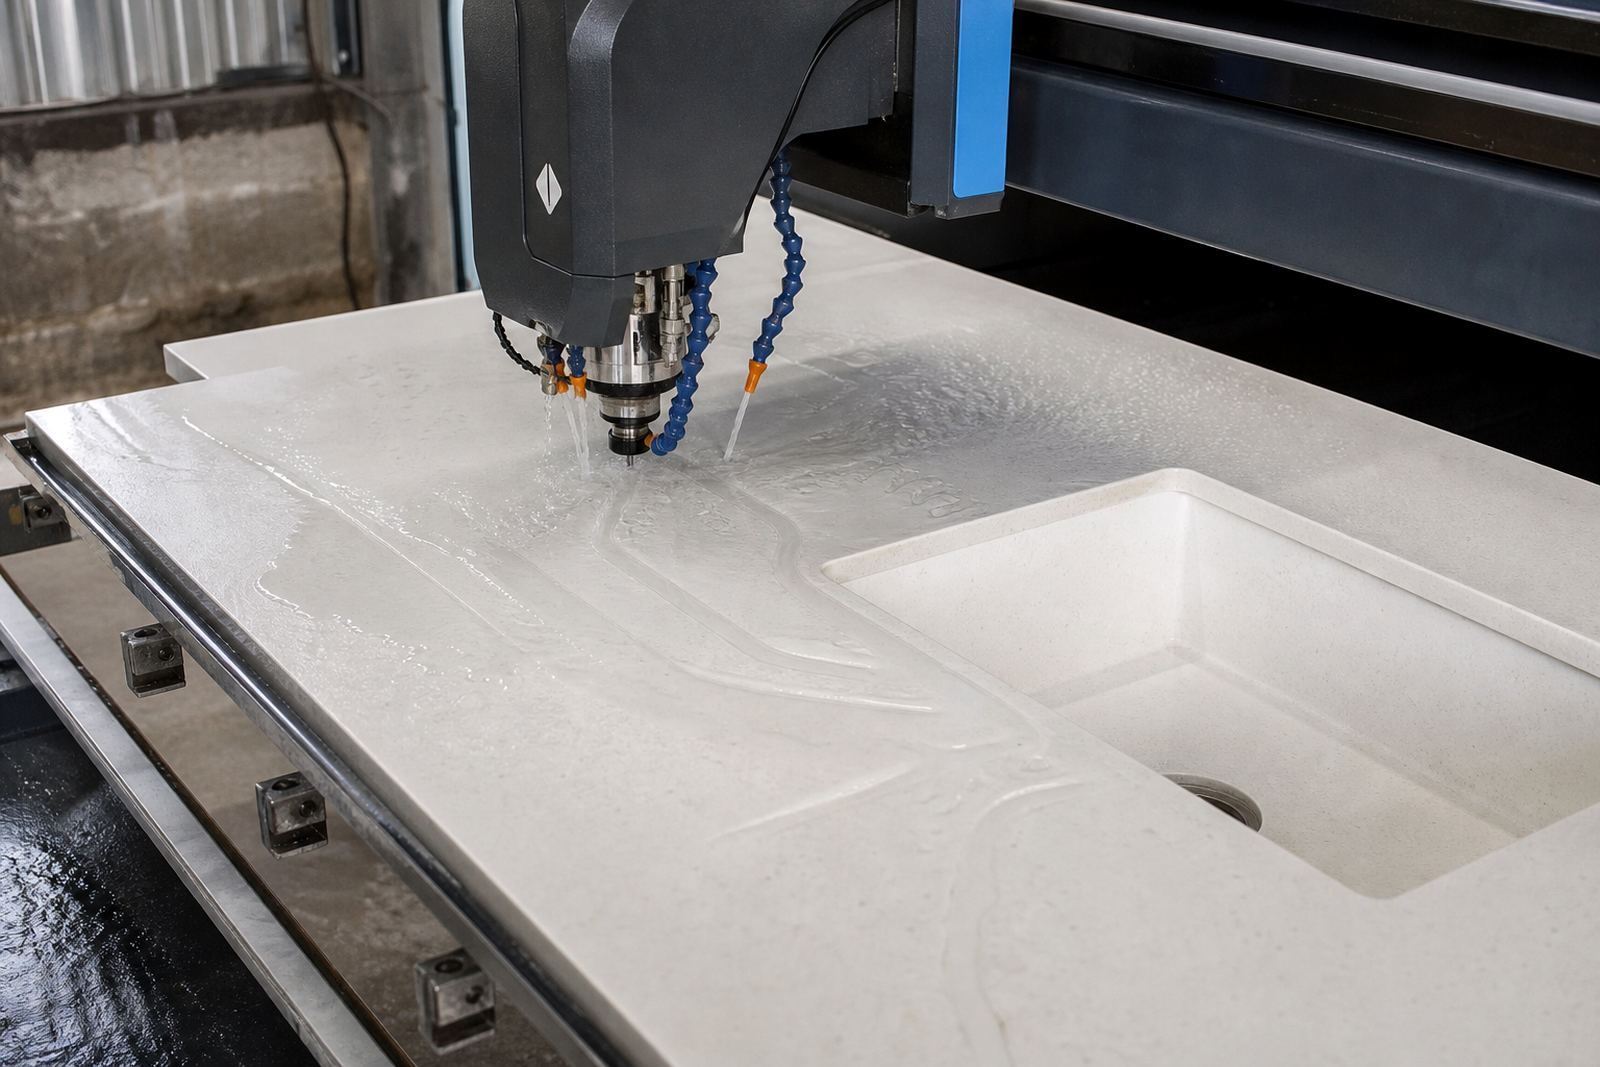
A neat result starts with accurate site measuring. A small error at the front edge can throw off the whole run, especially where a slab must span across a machine opening and still line up with side panels, end returns or splashbacks. We measure the opening, the reveal, the cabinet heights and the exact position of sink or hob cut-outs before any cutting begins.
- Check the clear span between supports, not only the outside cabinet width.
- Allow for appliance doors, filters and service access below the top.
- Confirm the finished top height so adjoining panels meet cleanly.
- Plan the seam location before fabrication, not after the slab is on site.
- Leave enough edge depth for a clean profile without a weak front lip.
How quartz and solid surface behave over a gap
Engineered quartz brings a dense, stone-like finish and a crisp edge, but it needs careful support where a span crosses open space. Solid-surface material is more forgiving around joins and repairs, yet it still needs proper backing and a sensible layout so the bridge does not sag over time. Neither material should be treated as if it can simply float across an opening with no structure below it.
For a dishwasher opening, the underside support usually has to stay clear of the machine but still carry the top. For a washing machine bay, vibration matters too, so the cabinet line and any hidden supports need to be square and stable. In both materials, the seam should be placed where the load is calm and the eye is least likely to catch it.
Edge profiles, seams and cut-outs that stay tidy
The front edge does a lot of visual work. A straight square edge gives a modern line, while a softened pencil edge or a small bevel is often kinder in tight kitchen aisles and family homes. The edge profile also affects how a bridged section reads from the side, so the thickness and finish need to suit the opening below.
Seams near appliance gaps need careful handling. A joint over a weak point is never a good idea, and sink cut-outs or hob cut-outs should not be placed too close to a span without checking the remaining material. The aim is a top that looks calm, lines up well and does not invite cracking at the wrong spot.
- Keep sink and hob cut-outs away from narrow bridging sections where possible.
- Use matching seam placement with the cabinet rhythm below.
- Choose an edge profile that suits the slab thickness and the room style.
- Leave enough material around corners and internal cut-outs for strength.
Heat, stains and daily care around appliance bays
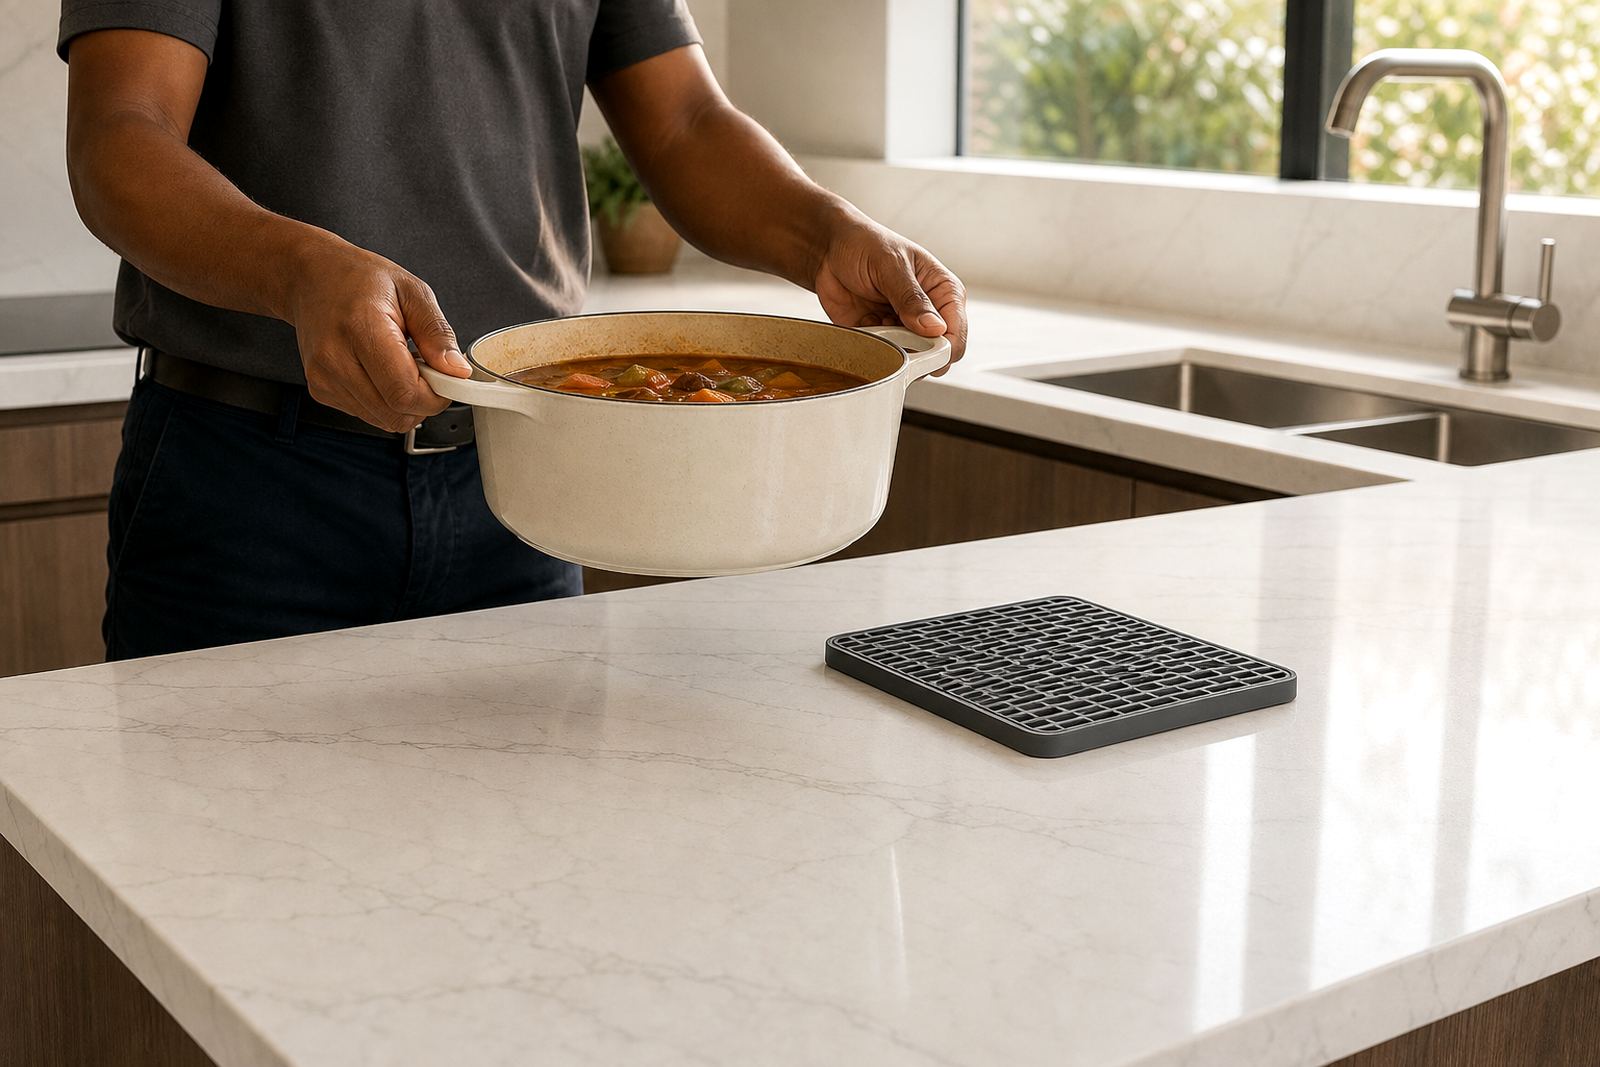
Kitchen gaps are often near dishwashers or cook zones, so heat and moisture need attention. Quartz handles everyday use well, but hot pots should still be kept off the top and hot appliance steam should not sit under a bridge for long periods. Solid-surface tops are easy to maintain, though they can mark if hot items are left in one place or if harsh chemicals are used.
For both surfaces, a soft cloth, mild cleaner and quick wipe-down after spills is usually enough. Standing water around the front edge, especially near a washing machine opening, should not be left to soak into joints or cabinet edges. In coastal Gauteng homes with a bit more humidity in the air, good sealing and clean installation details matter even more.
A Randburg job with a long appliance run
A common local brief in Strijdom Park is a kitchen that needs to run across a dishwasher opening and into a sink section, then continue to a hob end. The useful part of the job is not only the slab choice, but the order of work: digital measuring, slab layout planning, cut-outs, edge profiling, seam joining and then installation with the support points lined up to the cabinets below.
In one Randburg layout, the bridge had to clear the dishwasher while keeping a continuous face line into the prep area. The templating showed that a slightly shifted seam would keep the span stronger and leave the front edge cleaner. That kind of adjustment is small on paper, but it changes how the top sits once the machine is in place and the handles start opening every day.
What our workshop checks before the top leaves
Before fabrication is signed off, the workshop needs to look at support, finish and access together. A good appliance gap detail is built on cabinet levels that are true, measurements that match the site, and a cut list that respects the material. It is also where aftercare advice becomes practical, because clients need to know where not to place heat, how to clean seams and how to keep water from sitting at the front edge.
- Confirm cabinet alignment and any height changes across the run.
- Check the position of service panels, appliance lids and handles.
- Review the chosen slab thickness against the span and edge profile.
- Allow for fitting tolerances around integrated machines and open voids.
- Brief the client on cleaning, sealing points and heat care after installation.
For homes, offices and shopfitters across Gauteng, that last step saves a lot of awkward fixes later. A careful bridge over an appliance bay should look intentional, carry weight properly and stay easy to live with.