Start with the basin, not the top edge
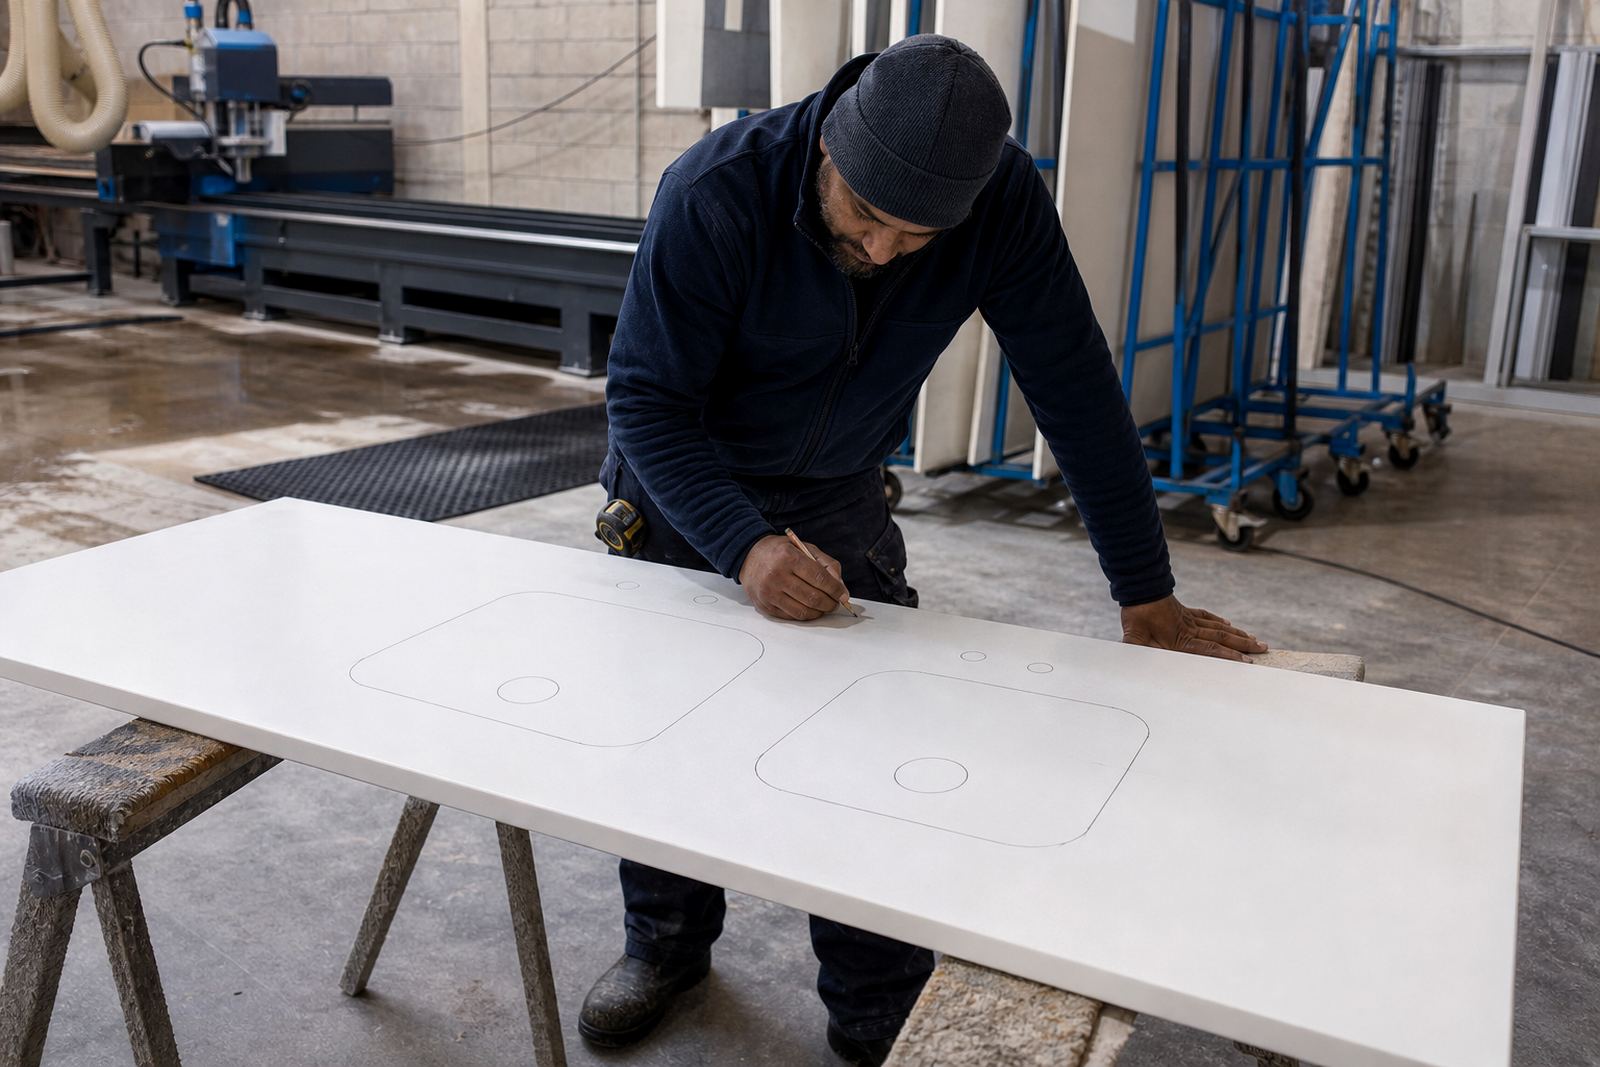
A good vanity layout begins with the bowl size and the way the cabinet is built underneath it. On engineered quartz and solid-surface tops, the cut-out must suit the bowl type, whether it is an undermount, overmount or integrated basin. The finished edge, the tap landing and the clearance to the vanity doors all need to be checked before fabrication starts.
In practice, the bowl position affects more than looks. If it sits too far forward, water reaches the front edge and the user stands uncomfortably close to the splash zone. If it sits too far back, the tap may feel cramped and the rear upstand can crowd the hand wash area. The best layouts keep the centre line honest and leave enough room for daily use, especially where two people share the bathroom.
- Allow for basin width, depth and waste position before templating.
- Check drawer runners and basin clips against the cabinet carcass.
- Keep the bowl centred where the vanity is meant for one user.
- Shift the bowl only where wall pipes or mirror lines require it.
Tap holes need clean spacing and proper reach
Tap holes are one of the first details to settle, because the tap body, spout reach and handle swing all affect the top layout. A single mixer usually needs a different hole position from a three-piece set, and the rear set-out changes again when the basin has a moulded ledge or a narrow back rail. With quartz, the hole can be drilled cleanly in the workshop. On solid surface, the cut allows a neat finish and the surface can be dressed for a tighter result.
Spacing matters around the tap base as well. There must be enough flat area for installation and cleaning, but not so much that the basin looks lost on the top. Around Randburg and Sandton, many bathroom upgrades use compact vanities in guest suites, and those small tops leave little room for error. A few millimetres can change whether the hand towel falls clear of the water splash or not.
- Measure tap hole centres against the basin rim and wall mirror.
- Leave room for the tap handle to move without hitting tiles.
- Check the spout reach over the bowl, not only the hole position.
- Match the tap plate to the finished surface so the seal sits flat.
Bowl position changes daily use more than most people expect
The basin can sit centred, offset or paired in a double vanity. Each choice changes how the top feels in use. A centred bowl gives a balanced look and works well in smaller guest bathrooms. An offset bowl can free a wider landing area for soap, shaving gear or a cosmetic tray. On a long double vanity, two bowls need enough separation so elbows do not clash and the middle section still feels useful.
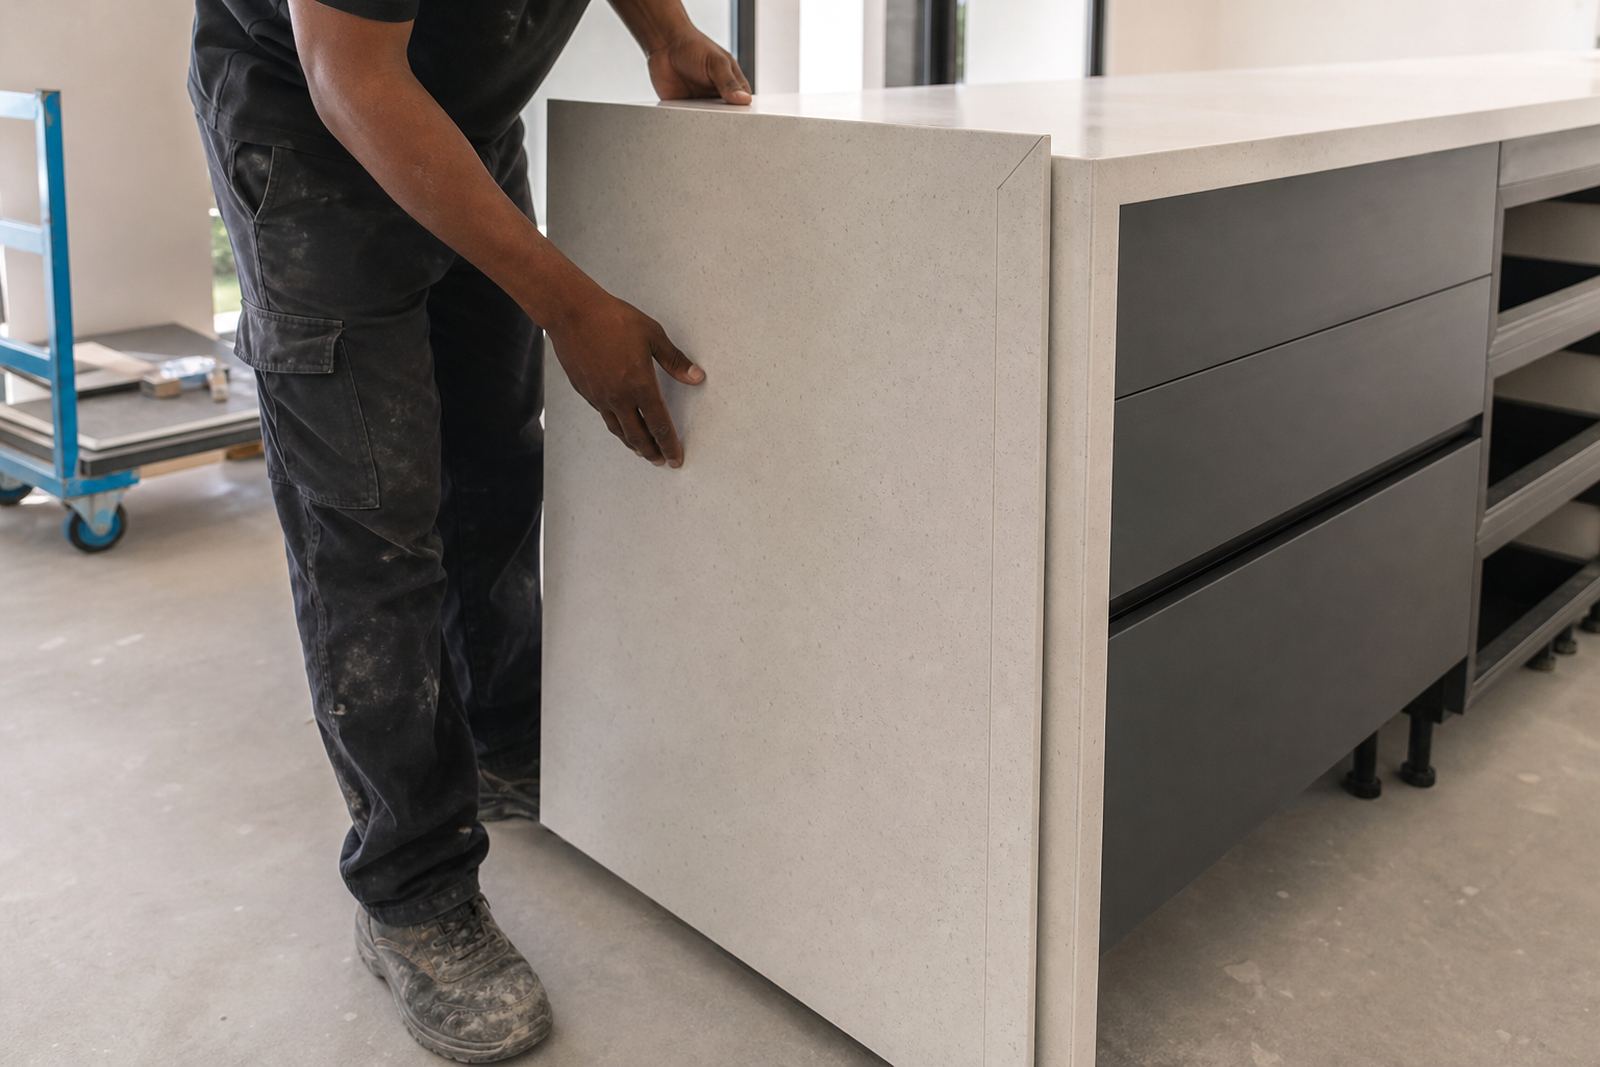
For engineered quartz, the slab thickness and edge profile also shape the final appearance. A slim edge can look neat in a modern bathroom, while a thicker built-up edge gives a more substantial line. Solid-surface tops allow gentler joins and smoother transitions around the bowl, which helps when the client wants a softer finish. Either way, the bowl position has to fit the top size, not fight it.
In Pretoria homes with larger family bathrooms, a twin-bowl vanity often needs a wider centre section than people expect. That middle strip can hold a mirror light, folded towels or just enough empty space to stop the whole unit feeling crowded.
Seams, splashbacks and the wall line must work together
Bathroom vanities rarely stand alone. They meet tiled walls, mirrors, upstands and splashbacks, and those details need to meet cleanly too. If a vanity top runs into a side wall, the templater has to account for out-of-square corners and slight wall movement. On a long run, a seam can be placed where it is least visible and where water will not sit on the joint.
At the back of the top, a small splashback or upstand helps protect the wall from daily water spray. The height and finish should suit the tap position and the mirror line above it. On a corner vanity, the splashback may need to turn neatly without looking forced. That is where site templating and digital measuring pay off, because the actual wall is never as perfect as the plan on paper.
- Check wall plumb before cutting the back edge.
- Place seams away from the basin centre and heavy splash zones.
- Match splashback height to the tap rise and mirror clearance.
- Allow for silicone lines where the top meets tile or painted plaster.
Heat, stains and cleaning habits still matter in a bathroom
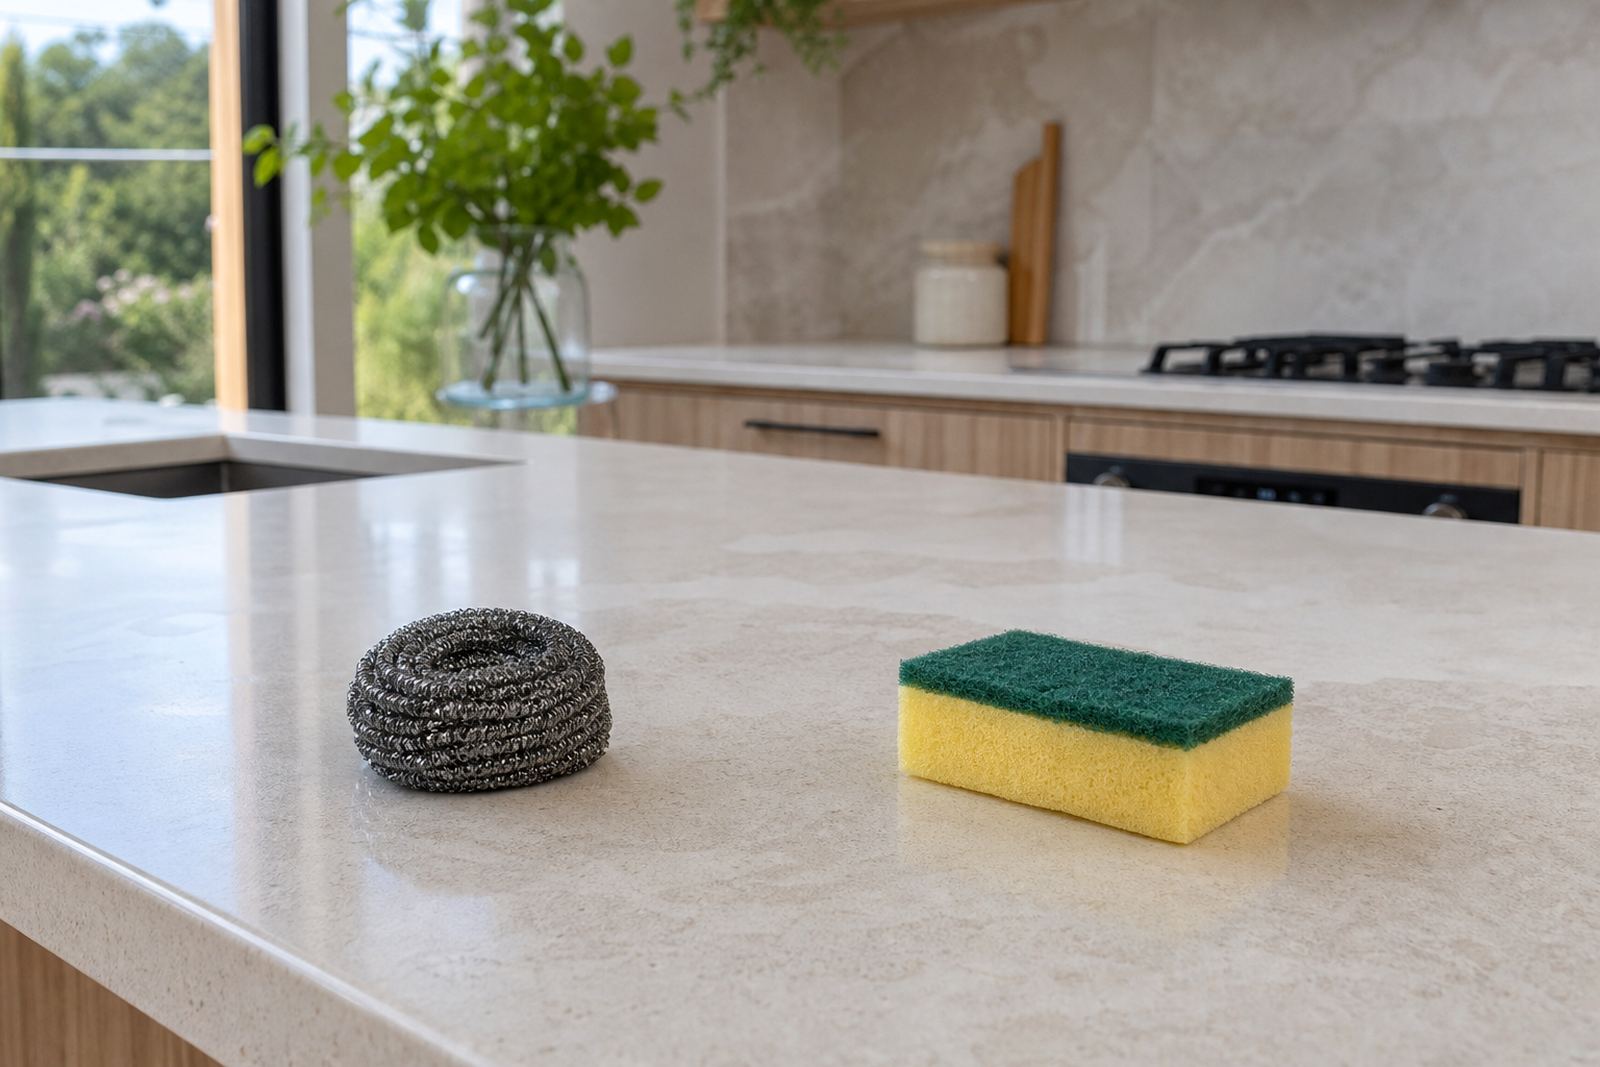
Even though a vanity sees less heat than a kitchen counter, it still faces hair dryers, hot curling tools and spilled toiletries. Engineered quartz handles daily bathroom use well, but hot items should not sit directly on the surface. Solid-surface tops are easy to maintain and can be reworked if needed, yet they still benefit from sensible care. Strong chemicals, abrasive pads and leftover toothpaste left to dry can mark the finish over time.
For most bathrooms, the advice is plain. Wipe the top with a soft cloth, use a mild cleaner and dry around the basin edge where water collects. If the vanity is in a coastal home area or a high-humidity guest bathroom, keep the silicone joints tidy and inspect the underside of the bowl for moisture build-up. Clean habits protect the finish and help the installation stay neat for longer.
A Randburg job shows how small choices change the result
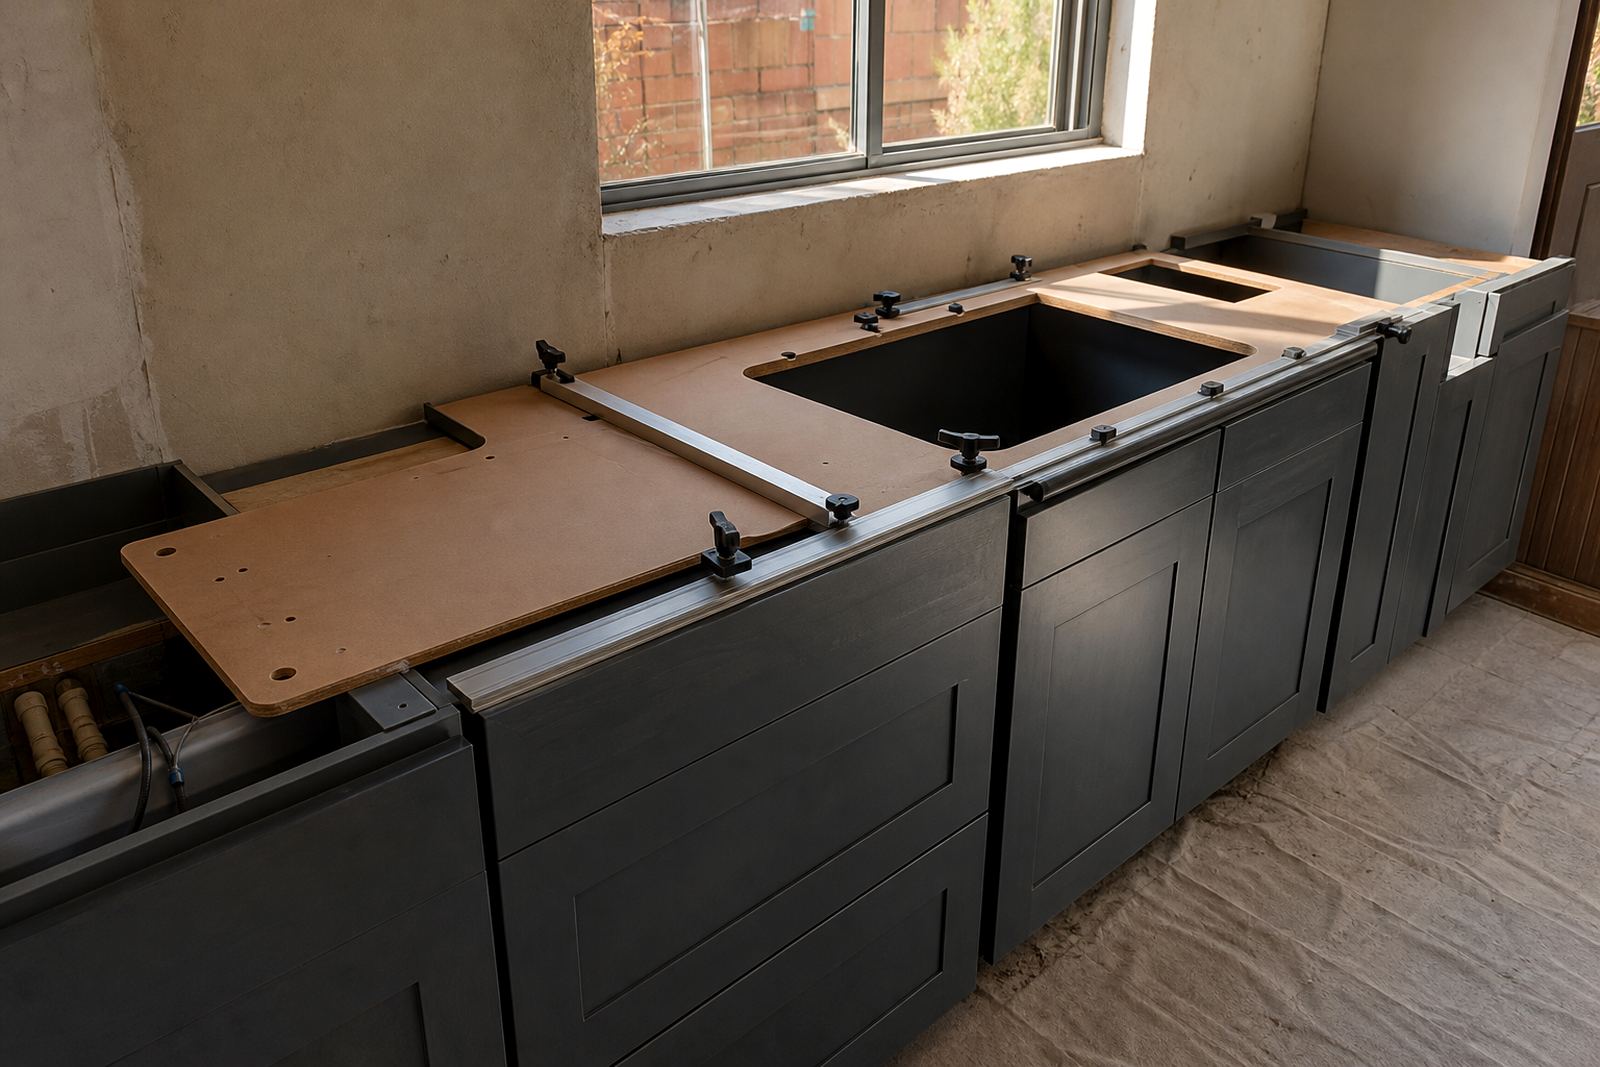
In Strijdom Park, a compact vanity for a family bathroom needed a single bowl, a centred mixer and enough counter space for daily items without crowding the door swing. The cabinet had drawers below, so the sink cut-out had to clear the runner system and leave the front edge strong enough for regular use. The top was templated on site, then cut with the bowl set slightly back to control splash and keep the front line comfortable at waist height.
That sort of layout sounds minor until the bathroom is in daily use. A few extra centimetres in the wrong place can make the tap awkward or the towels damp. A measured layout, proper seam placement and the right edge profile turn the vanity into a working surface rather than just a top with a hole in it.
For homes and shopfitter projects across Johannesburg, Sandton, Midrand, Fourways and Pretoria, vanity basin layouts work best when the bowl, tap and cabinet are planned together from the start.
- Confirm bowl size before the final cut list is issued.
- Set tap holes after the mirror height and wall finish are known.
- Leave enough front edge for comfort and cleaning.
- Use accurate templating where drawers, walls or tiles affect the fit.
Aftercare advice helps the layout stay practical
A good vanity installation still needs a few simple habits after the job is complete. Reseal any disturbed joints if the basin is removed for maintenance, keep the waste area dry, and avoid piling bottles around the tap base where they trap moisture. If a vanity has an integrated bowl or a tight splashback, make sure the silicone line stays intact and the edge is not chipped by hard objects.
Plastone handles vanity installation, sink cut-outs, splashback fitting and aftercare advice from its Strijdom Park workshop, with site templating across Gauteng. For vanity basin layouts, the value lies in more than fabrication. It is the fit, the bowl position and the detail work that let the bathroom stay easy to use.