Where a seam can disappear, and where it cannot
Seams are planned from the start in countertop work. They are planned while the slab layout is still on the board, because the size of the sheet, the direction of the grain or fleck, and the path from the workshop to the property all shape the final join line. A long straight run across a kitchen may need one seam where the material length ends, while a vanity top can often be kept as a single piece if the bowl opening and wall returns allow it.
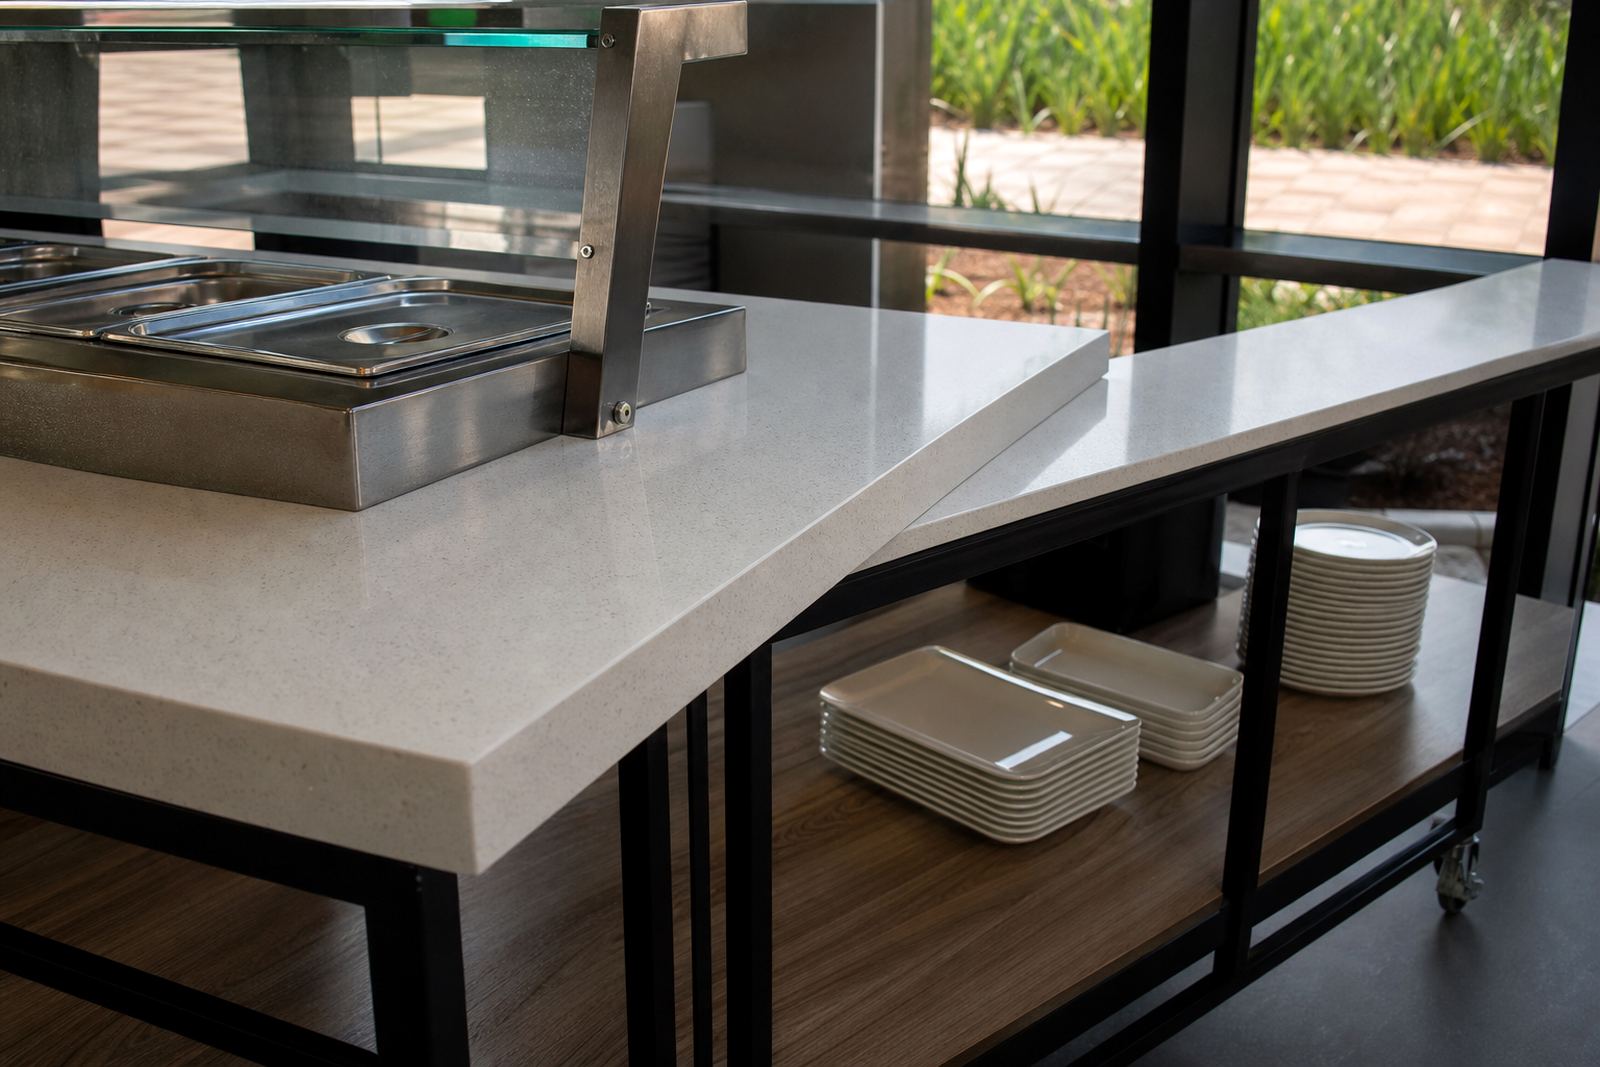
At our Strijdom Park workshop in Randburg, seam placement is judged against the full job, not just the visible face. A seam placed below a hob upstand, next to a sink cut-out, or away from the main line of sight usually works better than one in the middle of the front edge. The aim is not to hide the join at all costs, but to place it where the eye can pass over it and the joint can be supported properly.
- Shorter slab lengths may force a seam near corners or returns.
- Curve changes and L-shapes often need a join where the turn begins.
- Heavy overhangs and breakfast bars may need extra support near the joint.
- Wall movement, plaster dips and uneven floors can shift the best position.
Kitchen runs ask different questions from islands
A straight kitchen run usually gives more choice than an island. The back edge follows the wall, the sink and hob positions are known early, and the seam can often be tucked into a less visible section. On an island, the top is viewed from more angles, so the join must be cleaner in both layout and finish. If the island carries seating, the seam also has to sit clear of the knee line and away from the overhang where everyday knocks happen.
Quartz and solid-surface behave differently during fabrication. Quartz is dense and consistent, which helps with crisp mitres and straight joins, but it still needs careful alignment so pattern and sheen sit evenly across the seam. Solid-surface can be joined with less visible transitions because the material is homogenous, yet even there the seam should land where water, chopping and daily wiping will not work against it.
- Keep seams away from sink drainer grooves where possible.
- Place joins clear of hob heat zones and hot pan landing areas.
- Use the island length to balance both visual and structural needs.
- Line up colour movement or flecking before cutting begins.
Vanities and splashbacks need a different eye
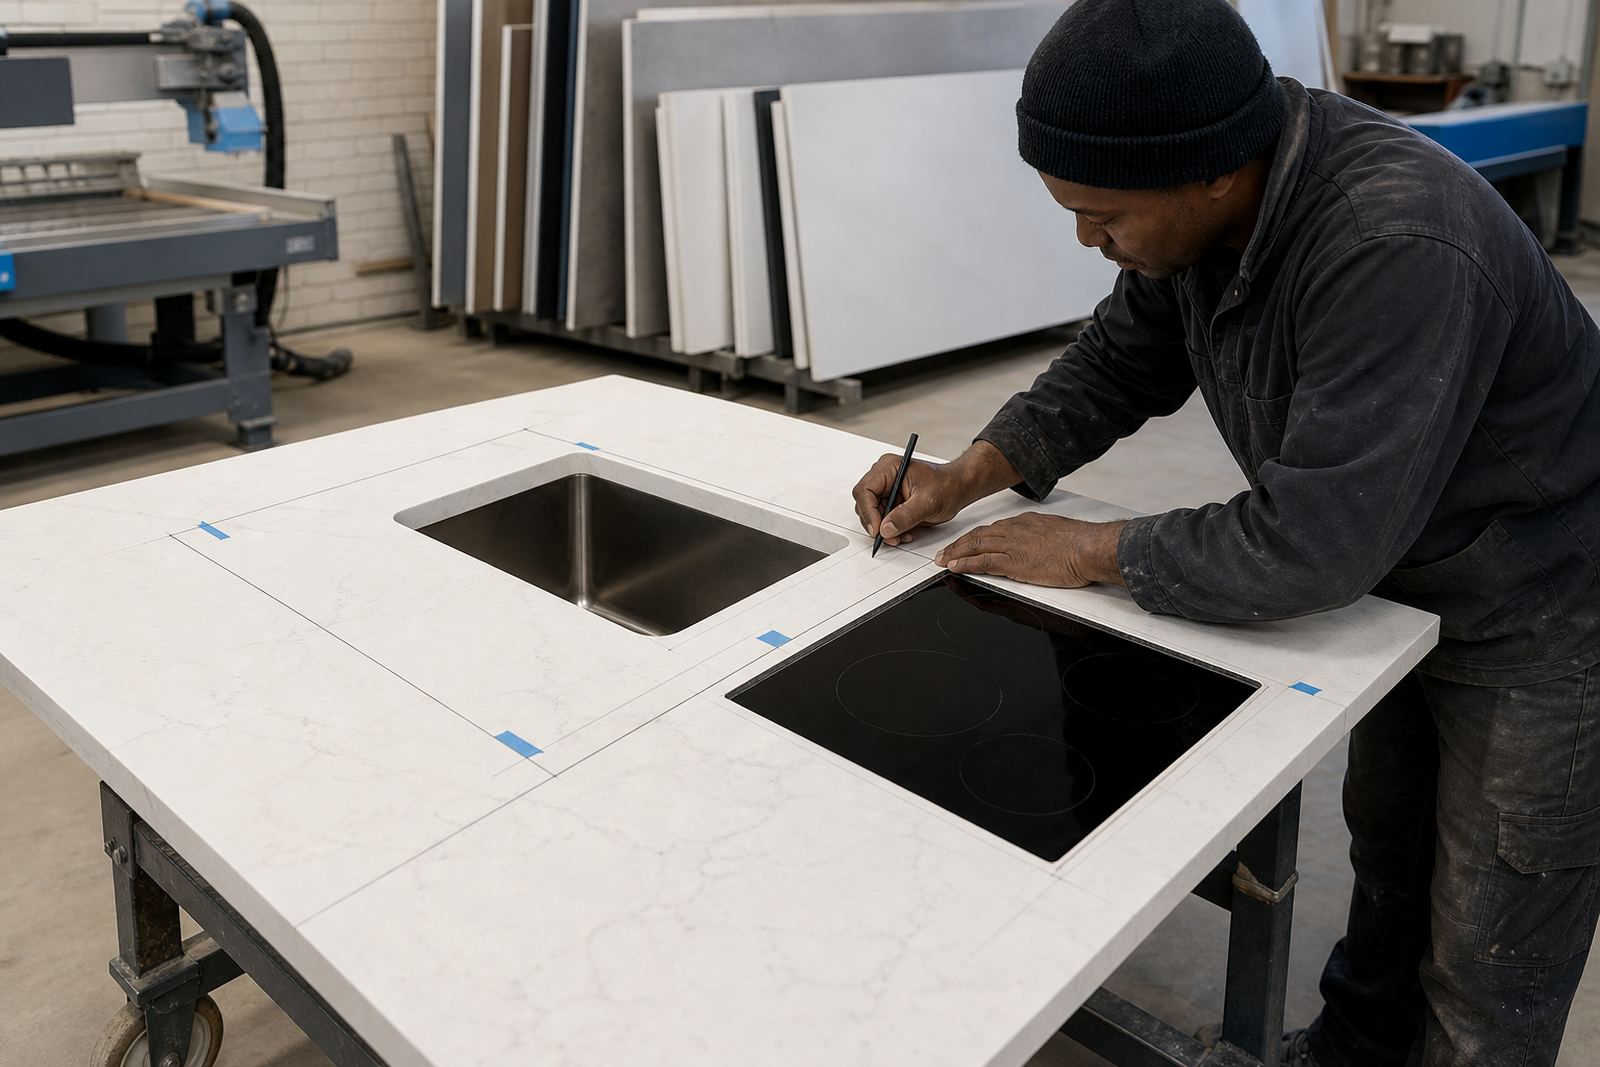
Bathroom and hospitality vanities call for tighter thinking around bowls, taps and splashbacks. A vanity may look simple on paper, but once the bowl cut-out, tap holes and side returns are marked, the seam options shrink. If the top is wide enough, the join is often safest on the open side of the basin cabinet rather than directly over the bowl opening. That keeps the fixing work cleaner and gives better support under the load of daily use.
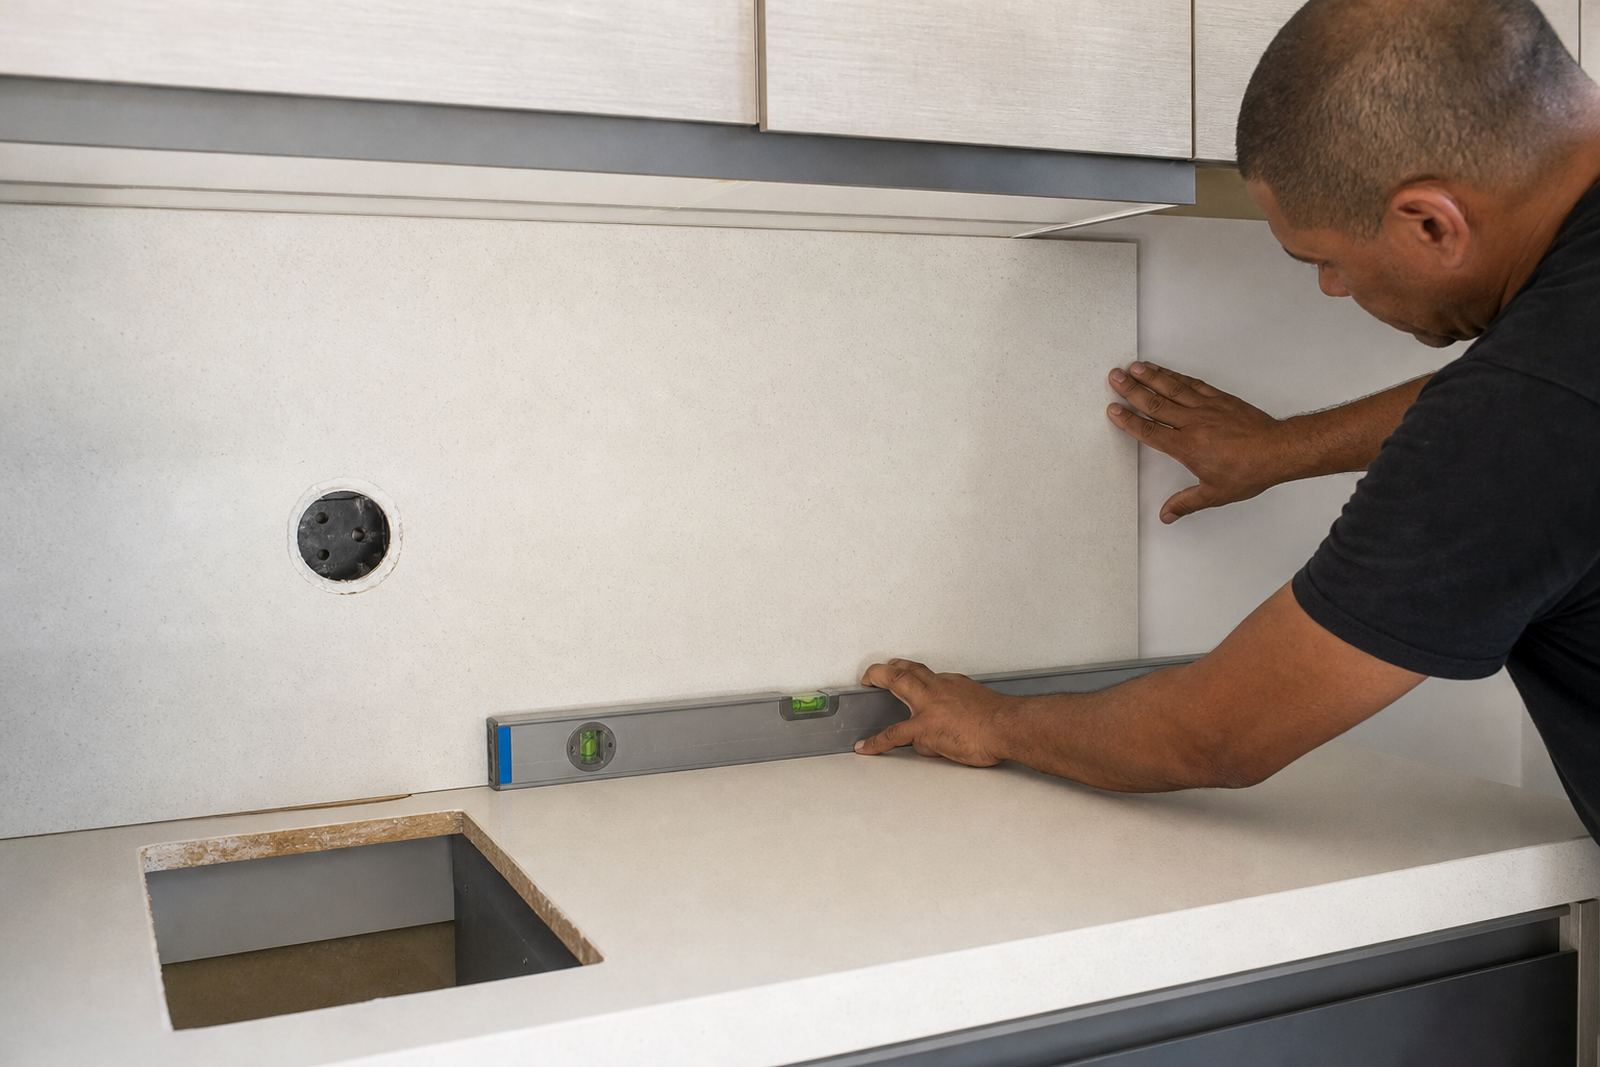
Splashbacks introduce their own line work. Where the top meets the wall, the seam should not compete with tile joints, mirror edges or window reveals. In a coastal Gauteng property or a humid bathroom with regular steam, a tidy joint and proper seal detail matter more than a decorative flourish. Seams in vanity areas should also allow for expansion and a little movement at the wall, because very rigid placement can show stress later.
- Single bowls need more careful seam positioning than double bowls.
- Wall-mounted taps may change where the joint can be cut safely.
- Return panels and side cheeks can hide a join in plain sight.
- Good sealing keeps moisture from tracking into the joint line.
Templating tells us what the eye will forgive
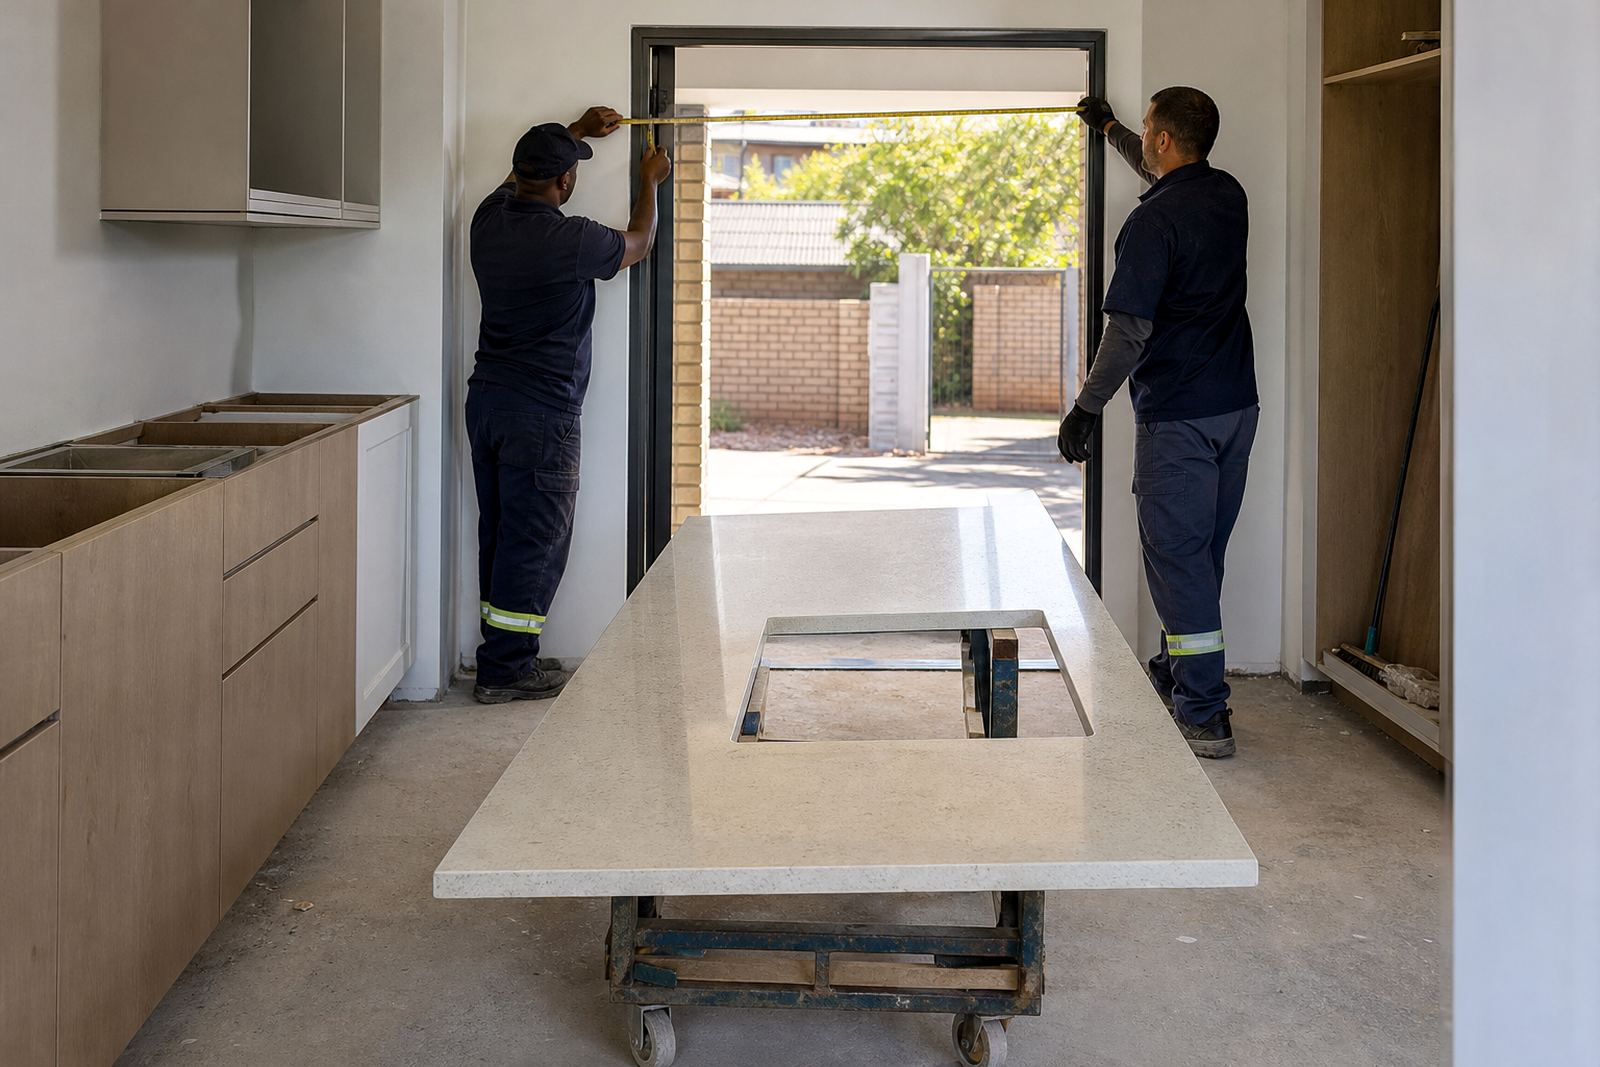
Accurate templating is the stage that decides whether a seam will feel natural or awkward. Measurements from drawings alone seldom reveal the small things that matter: an off-square wall, a tiled splashback that drifts, a window cill that bites into the run, or a floor that falls away by a few millimetres. Digital measuring and site templating help the workshop place the joint where the actual room allows it, not where the plan hoped it would be.
Our lead templater, Johan Ngwenya, often looks at the seam line in relation to doors, handles, appliance edges and the most-used standing position. On a long Randburg kitchen, a seam may be placed where two cabinet carcasses meet so the support below is predictable. In a Pretoria vanity, the joint may shift slightly to miss a basin centre line and keep the front edge visually calmer. Small adjustments like that make a finished top feel deliberate rather than patched together.
The important point is that seam placement is not only a fabricating decision. It starts at the first visit, continues through slab layout planning, and ends only when the top is installed and checked against the room. When each stage is handled carefully, the join sits where the project needed it all along.
Edge profiles, thickness and joint visibility
Thickness and edge choice influence how much a seam stands out. A pencil edge, square edge or mitred build-up can change the way light lands on the front of the top. If the profile is bold, any slight shift in the joint becomes easier to notice. If the profile is understated, the seam may read more softly, provided the installation is level and the faces are aligned without a lip.
Engineered quartz slabs are commonly used in thicknesses that suit kitchens and vanities, but the actual job may call for built-up edges at openings or exposed ends. Those sections must be planned so the join does not sit in a weak point. Solid-surface tops allow more freedom with formed edges, yet they still need clean seam work at corners, returns and sink areas. The finish should always match the function of the room, not only the appearance of the surface.
- Sharper edges show poor alignment faster than rounded ones.
- Mitred build-ups need careful grain and colour matching.
- Seams near front edges demand extra checking during fitment.
- Support under long overhangs helps prevent movement at the joint.
A Fourways island and a Sandton vanity are not the same job
A Gauteng kitchen job shows how that decision works in practice. A Fourways kitchen island with seating needed one seam, but the room layout left very little room to hide it. The join was moved to sit between two cabinet modules, away from the main sitting edge and clear of the sink run. That choice meant the island looked calmer from the living side, while still allowing proper support below the top.
By contrast, a Sandton vanity project with a wide basin and wall mirror called for the seam to sit off-centre, where it would not clash with the mirror line or the tap position. The room had a narrow entry and a polished finish, so even a small visual break would have been noticed. In both cases, the job was not only about fabricating a strong top. It was about reading the room, the use pattern and the way water, heat and daily cleaning would affect the surface over time.
That is where aftercare advice matters too. A seam should be kept clean, wiped with the right products and protected from harsh scouring. Heat pads, chopping boards and sensible wiping habits keep quartz and solid-surface joints looking better for longer, especially in busy homes and shopfitters work where the counters see constant use.