Outlet positions decide the panel before the saw ever starts
When a kitchen wall is being finished with a splashback, the socket location drives the panel size and the joint positions. A neat sheet can look wrong if the outlet lands too close to an edge, or if the cut-out lands across a seam where the fixing plate still needs room behind it. In homes around Randburg and Sandton, this often shows up on renovations where the old electrical points stayed where they were, but the new cupboards and counter line moved by 20 or 30 mm.
Engineered quartz and solid-surface panels are both cut from flat material, yet they behave differently around openings. Quartz is harder and more brittle, so the opening needs clean corners, proper support and careful handling during fitting. Solid-surface can be worked with a little more freedom, especially where a socket opening needs a larger reveal or a soft edge around the faceplate. Either way, the electrician, templater and installer need the same reference points, preferably before the final cut list is set.
- Measure from finished floor level, not from loose tiles or a rough screed.
- Mark the centre of each outlet, then confirm the back box depth.
- Allow for the faceplate cover so the cut-out is hidden, but not tight.
- Check whether the socket sits over tile, plaster or another panel junction.
How templating handles real wall conditions
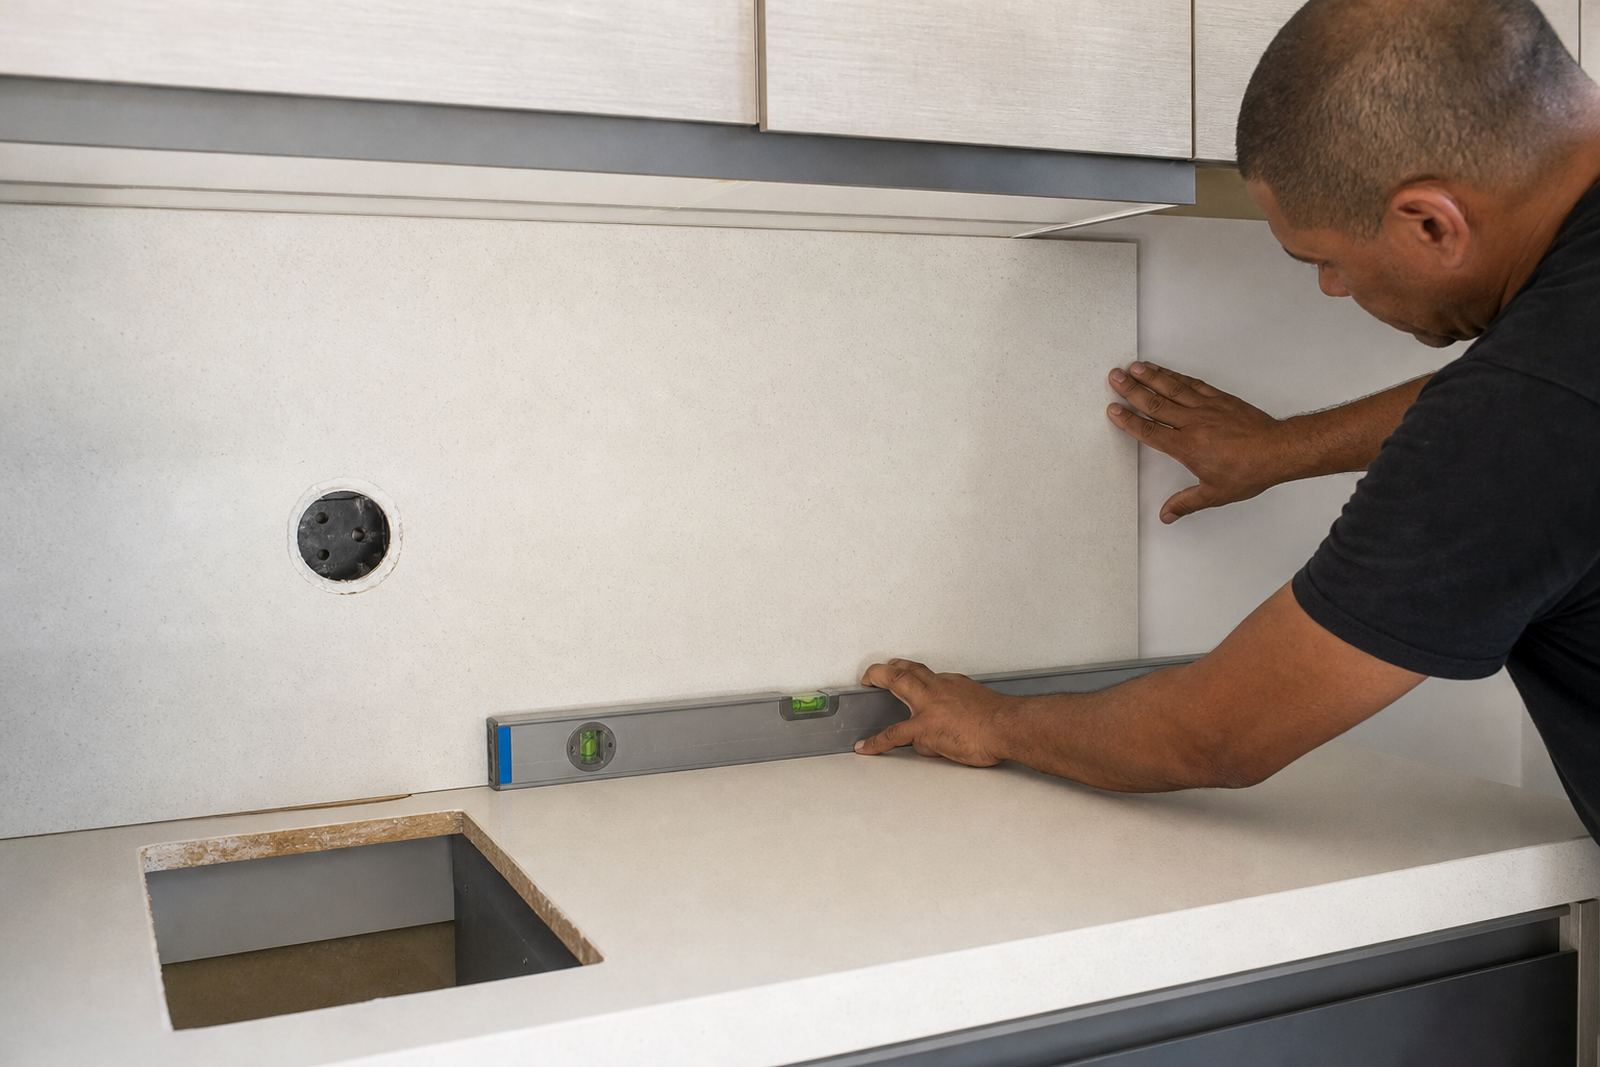
Site templating is where small errors get found early. Walls in Johannesburg and Pretoria homes are rarely square end to end, and splashback runs often meet uneven plaster, slightly bowed walls or a window reveal that steals a few millimetres from the usable span. A templater must read those conditions before the workshop cuts the sheet, because a socket opening that looks fine on a sketch can land badly once the panel is trimmed to the true wall line.
For socket cut-outs, digital measuring helps with the broad dimensions, but the on-site check still matters. The installer has to confirm the distance from the finished countertop to the centre of the outlet, the left and right setbacks from corners, and whether the outlet cluster sits in a straight run or shifts with the wall. A splashback behind a hob, a prep sink, or a coffee station may need a different cut strategy from a plain wall panel, especially where a double socket sits close to a vertical joint.
At Plastone, the process starts with slab layout planning so the cut-outs do not sit in weak areas or awkward offcuts. That matters on both quartz and solid-surface jobs, because the cleanest layout is not always the shortest one. Sometimes the better choice is a slightly wider panel with a better socket position, rather than forcing a narrow strip around an outlet and risking a weak corner.
- Use a clear centre mark for each outlet, not a rough box outline.
- Confirm whether the faceplate will be flush or raised.
- Record any staggered heights for plugs, switches or data points.
- Note any nearby silicone joints, trims or tile edges that affect the opening.
Quartz needs a cleaner cut and a calmer hand
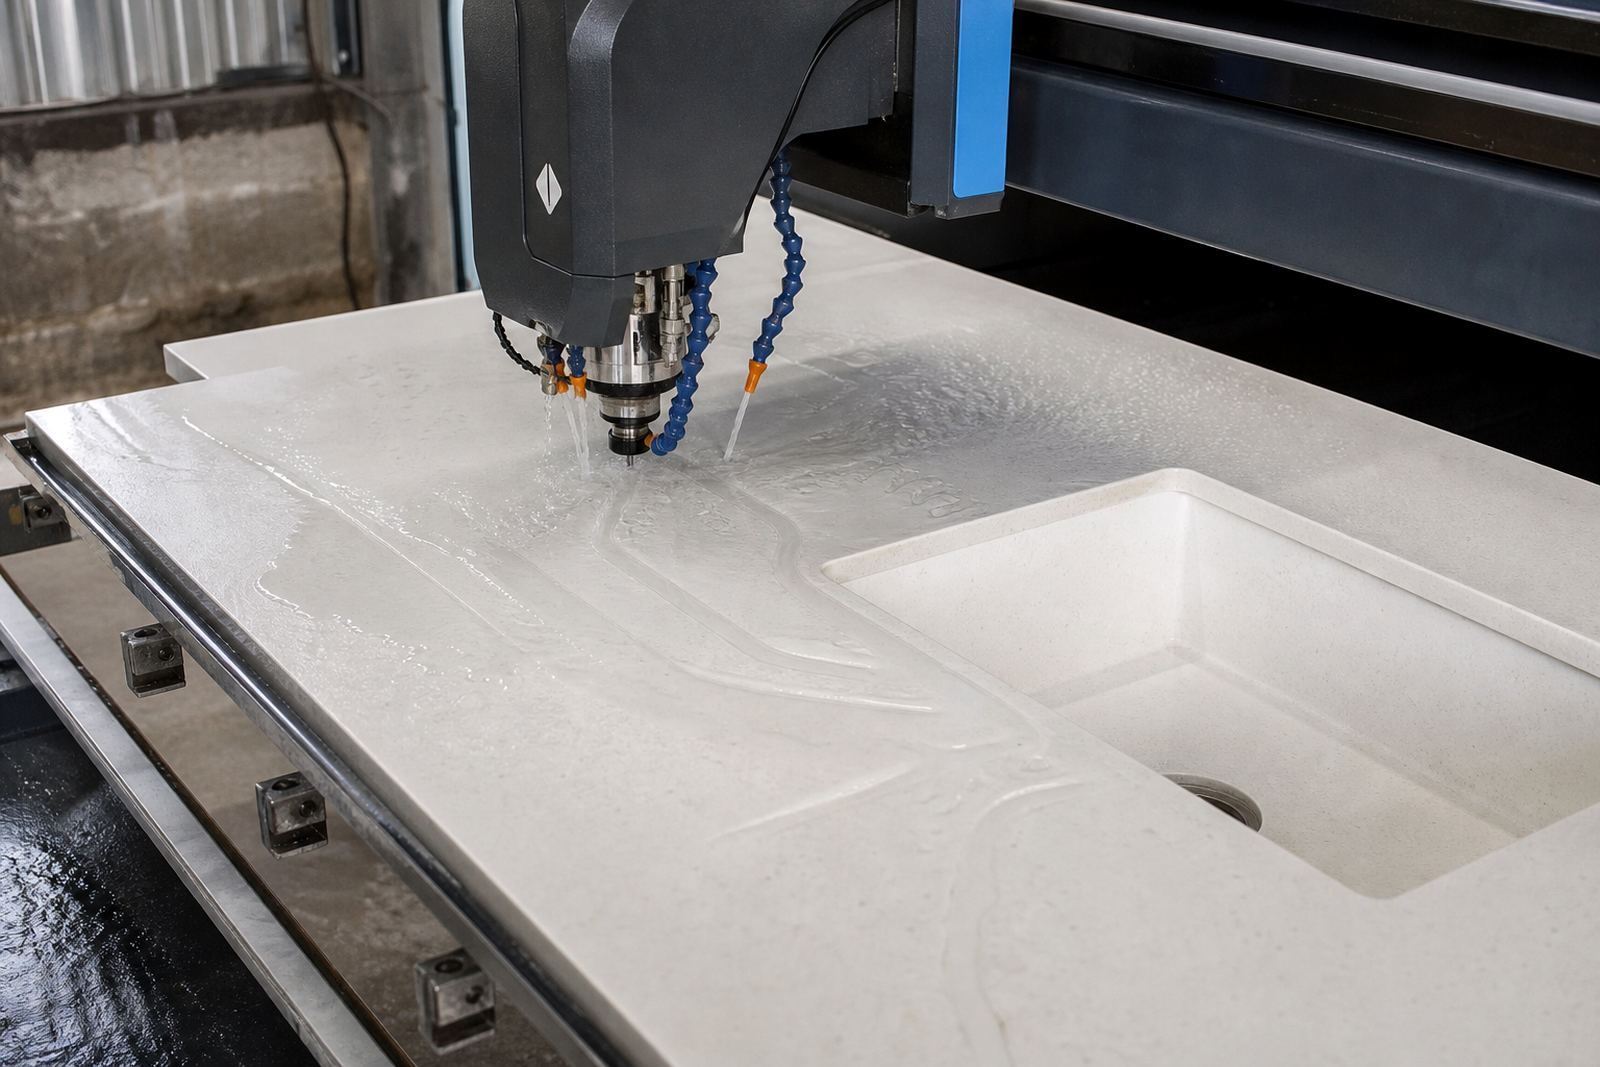
Engineered quartz is dense and hard, which is part of its appeal on countertops and splashbacks. It also means socket cut-outs need careful drilling and cutting, with room for the tool to work without chipping the face. A rushed opening can leave a rough edge that shows under the cover plate, or worse, cause a fracture line that only appears after fitting. For wall panels in kitchens, laundry rooms and office tea stations, the safest result comes from marking every outlet clearly and avoiding late changes on site.
Solid-surface material is more forgiving, but it still needs proper planning. Because it can be worked and refinished more easily, installers can refine a face opening or edge line with less drama, though the fit still has to look deliberate. On both materials, the socket opening should leave enough support around the faceplate and enough clearance for the electrical box, wiring and screws. If the opening is too tight, the plate can sit proud, and if it is too loose the finish looks careless.
In coastal-feel kitchens, or in busy office pantry areas where steam and fingerprints are common, a well cut opening helps the panel stay easy to wipe down. Stains tend to gather around the edges of poorly finished cut-outs, especially where silicone has been left uneven or where the plate was fitted against a chipped edge. The finish around the socket should be smooth, sealed where needed and easy to keep clean.
The socket needs the faceplate, the cabinet line and the seam to work together
A socket opening should never be planned in isolation. The cut has to sit comfortably with the cabinet fronts below, the splashback height above, and any seam in the panel layout. If a seam is too close to the outlet, the installer may have no room to fasten the plate neatly or the join may become too visible. On larger runs across a kitchen wall in Midrand or Fourways, the layout often needs one or two trade-offs so the outlet group lands in the calmest part of the board.
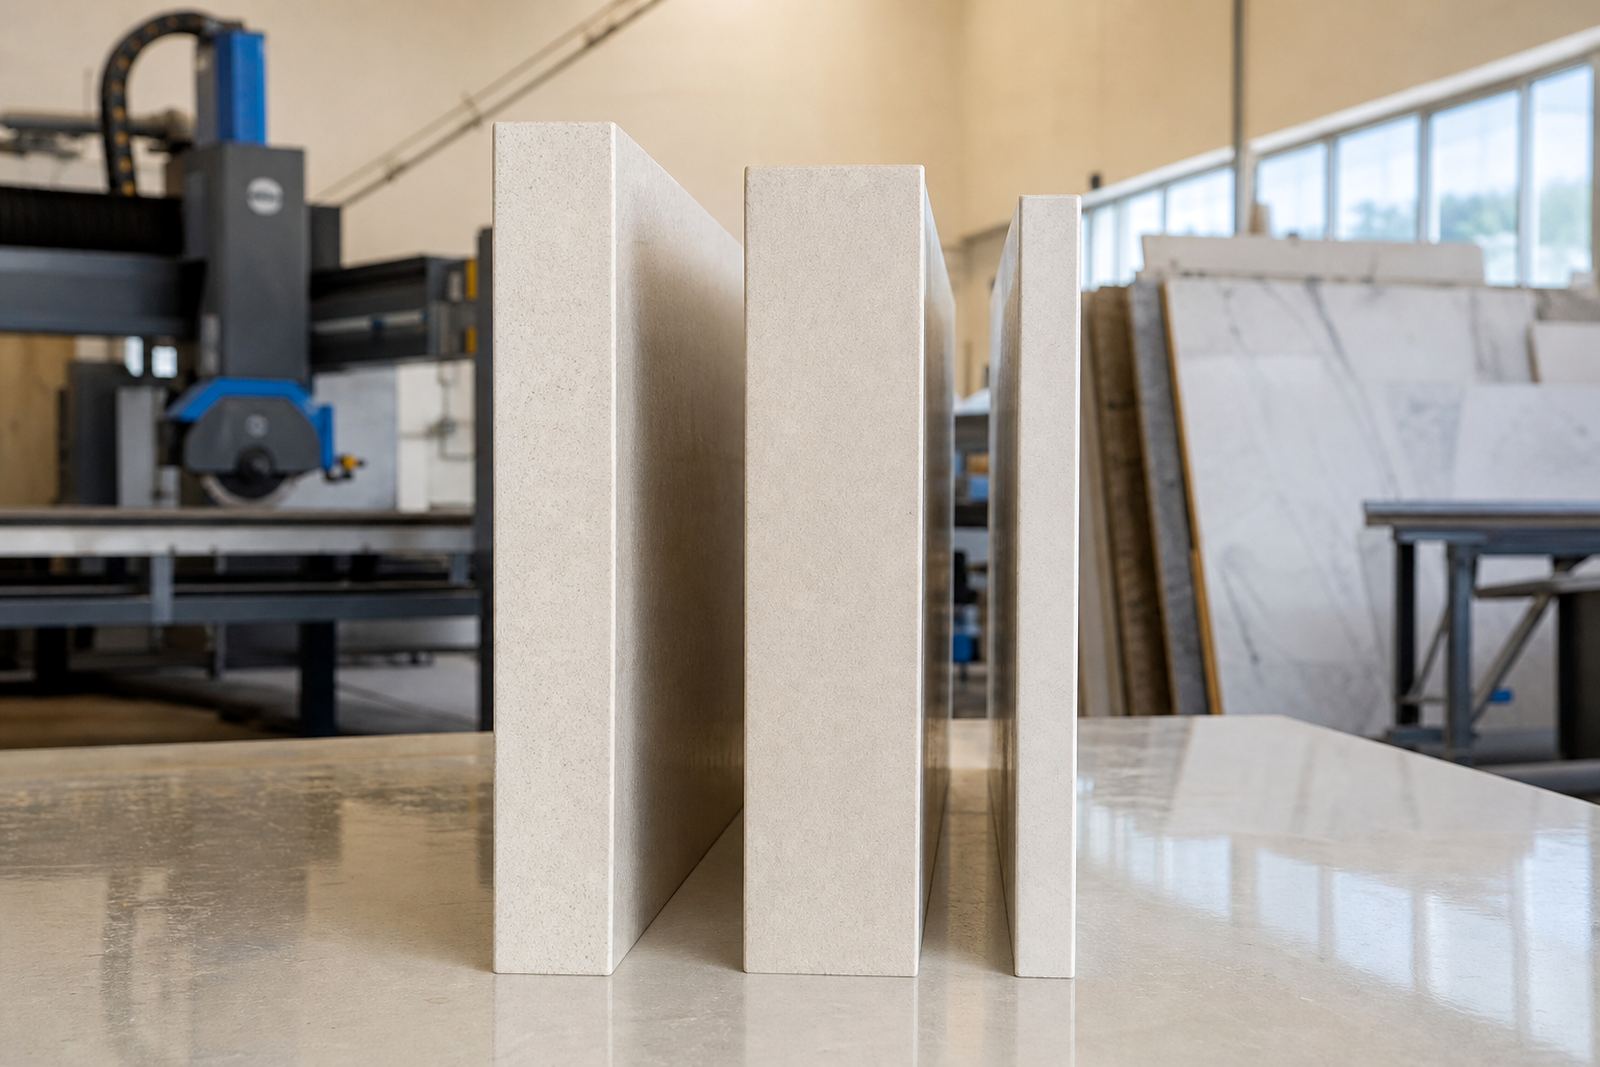
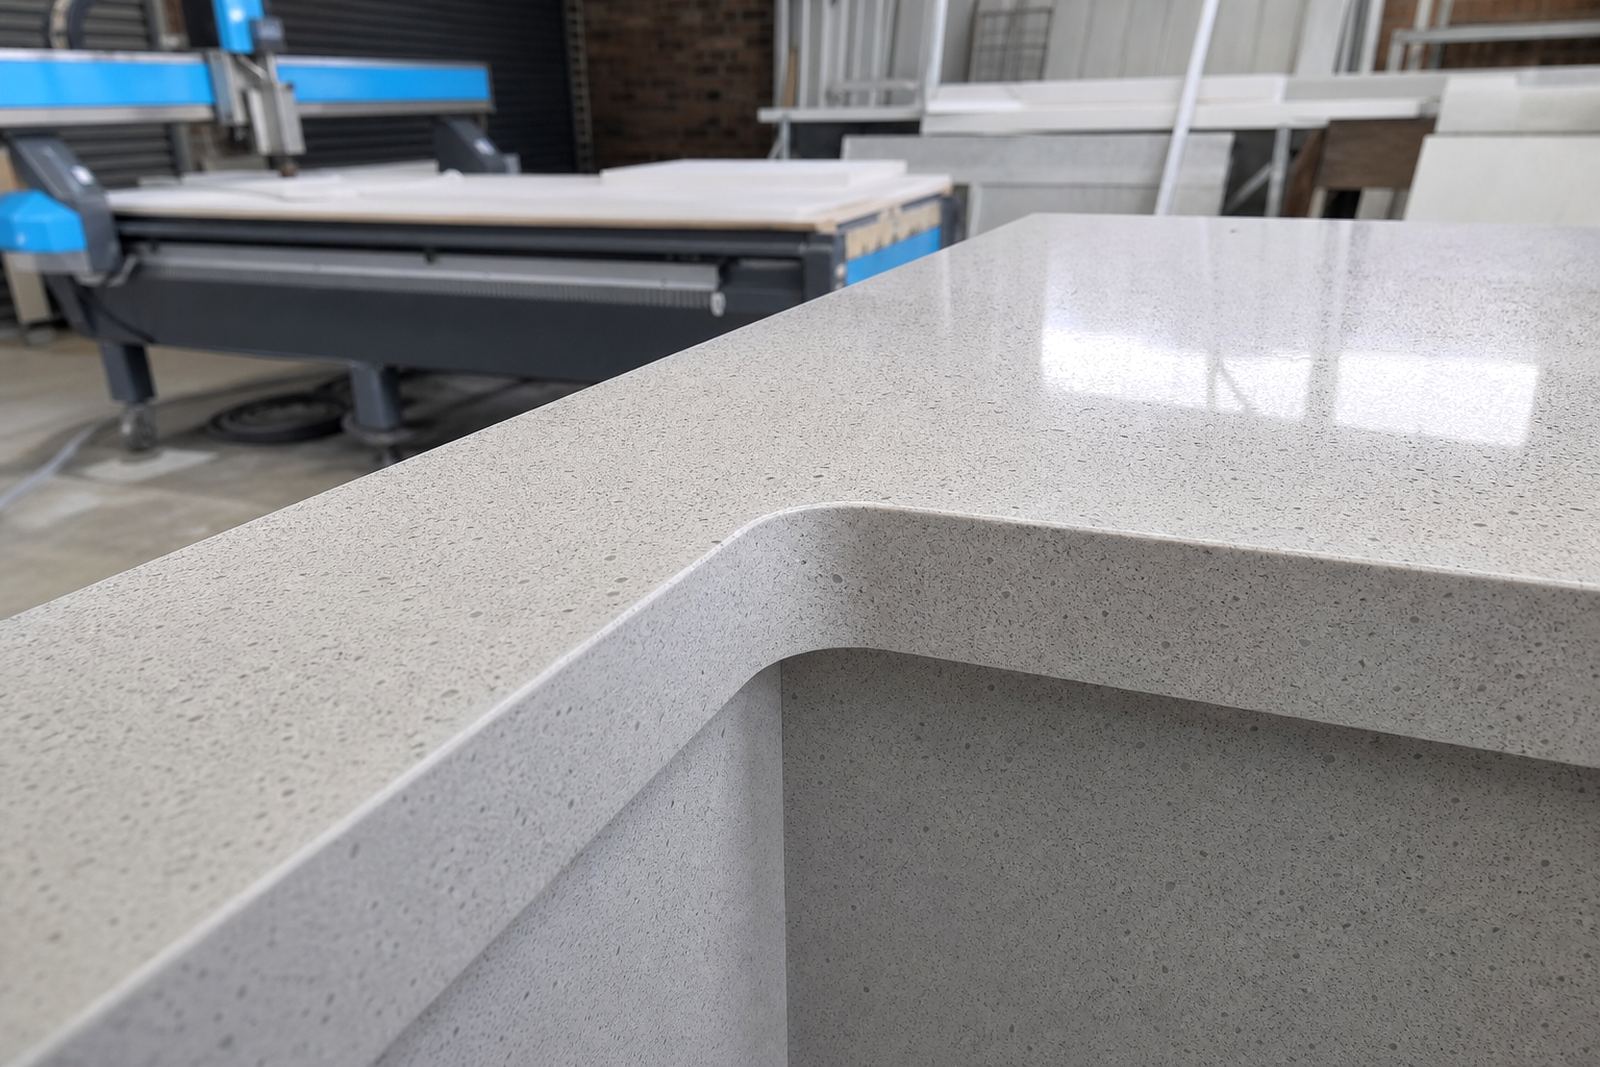
Edge profiles also matter. A square edge, a soft eased edge or a more defined profile changes how the panel reads around the outlet opening. On a thin backsplash panel, the opening must look balanced and not overworked. On a thicker vanity splash or a countertop upstand, the faceplate can sit differently against the wall and may need a slightly different cut depth. Socket work belongs in the templating stage, so it is set out before installation day.
Where multiple outlets sit in one line, the spacing between them should be checked against the actual layout of the room. A row of sockets near a sink needs more care than one in a dry pantry wall, and a wall in a shopfit may need better access around display lighting or small appliances. The final look depends on the whole run, not just the opening itself.
- Keep socket cut-outs clear of visible seam lines where possible.
- Match the opening to the actual plate size.
- Check the edge profile around the opening for a balanced finish.
- Allow room for silicone finishing without crowding the faceplate.
Randburg workshop splashback socket cut-outs
In Strijdom Park, a kitchen update for a Randburg home can shift the outlet positions once the new cupboards and counter are set out. A common case is a splashback behind a prep area where the existing sockets sit too low for the new panel height. If the opening is cut before the templater has confirmed the finished line, the faceplate can end up half covered by the panel edge or too close to the counter top. That is the sort of problem that looks minor on paper, then becomes obvious once the room is fitted out.
On a recent style of job in the area, the better answer was to record the finished counter line, confirm the socket centres against the wall, and adjust the splashback panel height before cutting. The outlet opening then landed cleanly inside the plate cover, with enough room for the installer to seal the perimeter neatly. The same method works on office tea points and shopfit counters across Gauteng, because the load on the wall can differ, but the measurement discipline does not.
For homeowners and fit-out teams, the lesson is plain. If the outlet position is known early, the panel can be cut to suit. If the electrical point is still shifting, the splashback needs to wait until the layout is settled. That applies to quartz, solid-surface and combined runs with vanity sections too.
Aftercare around the opening keeps the finish tidy
Once the socket cut-out is in place, the care routine is simple but worth following. Wipe around the faceplate with a damp cloth, avoid dragging hard scrapers across the opening, and keep silicone joints intact where the panel meets tiles or painted wall areas. Quartz does not like harsh treatment near a cut edge, while solid-surface benefits from prompt cleaning so grime does not sit around the plate line.
Heat and stain care matter as well. A socket close to a kettle, toaster or coffee machine may gather steam, grease or splash marks, so the surface around it should be checked often. The panel itself does not need special drama, only regular cleaning with the right cloth and a careful eye on any movement around the opening. If a plate comes loose or a finish begins to mark, it is smarter to check it early than to wait until the edge wears.
Plastone handles countertop, vanity and splashback work from templating through installation and aftercare advice, with socket openings measured into the job before fabrication begins. That keeps the cut where it should be and the wall line neat when the room is done.