Laundry room measurements
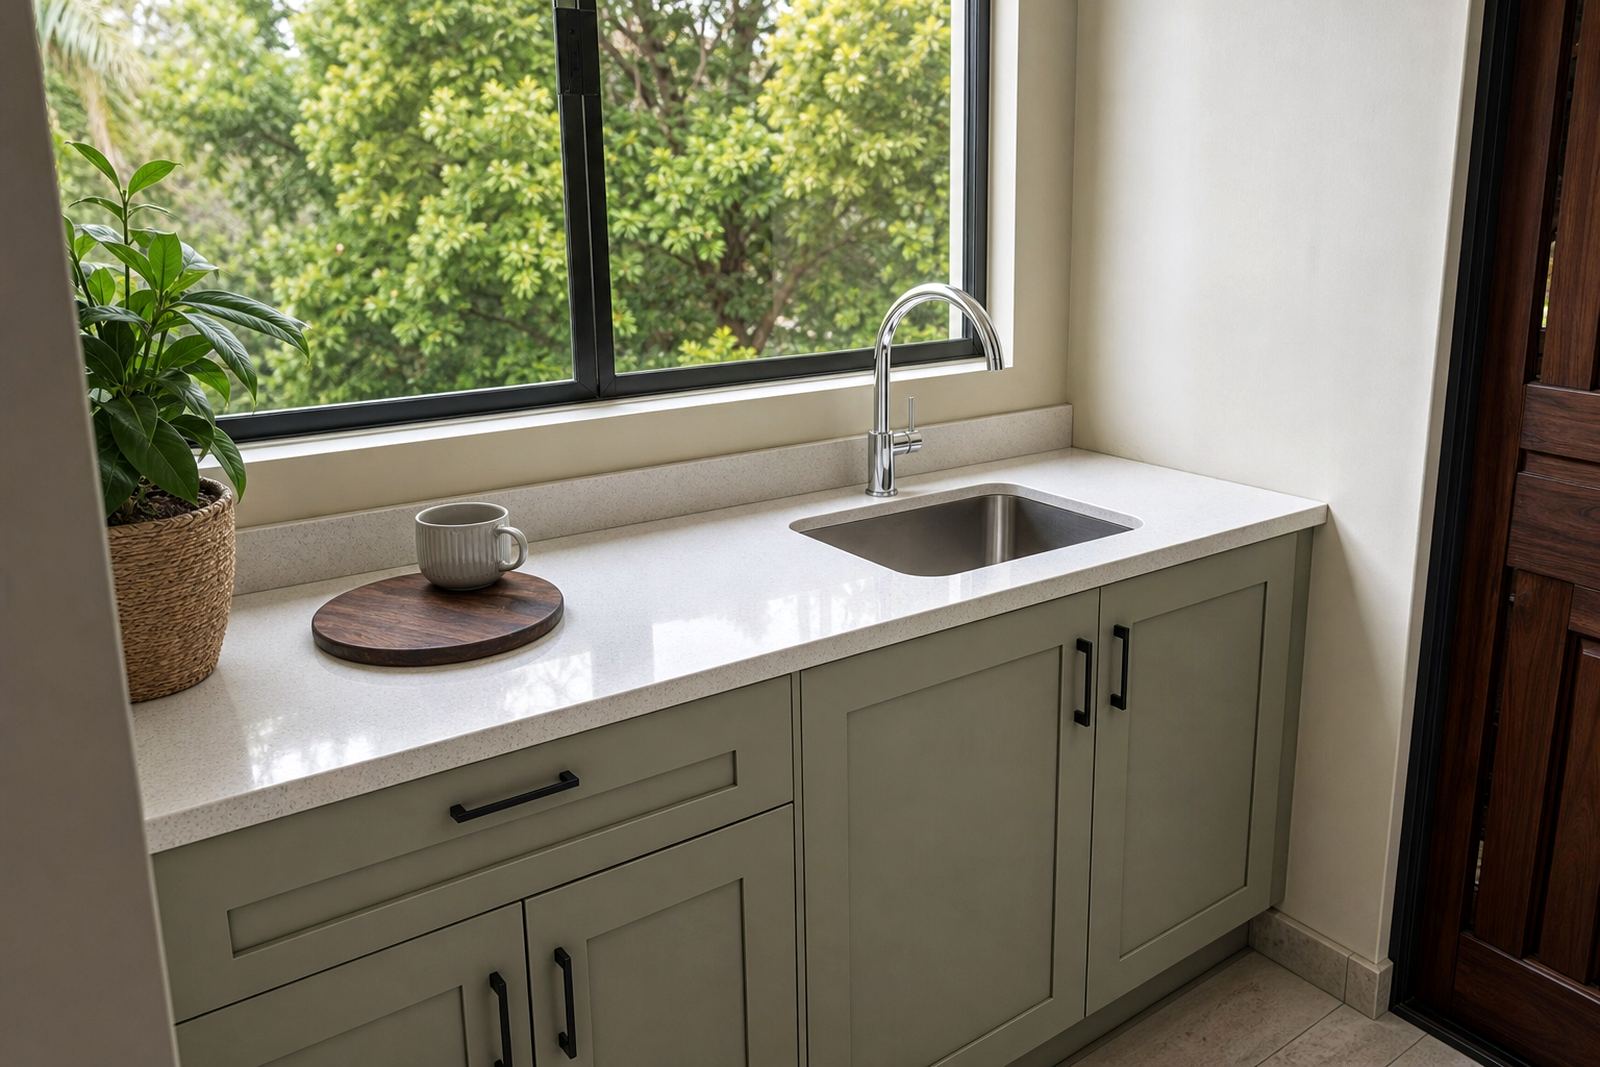
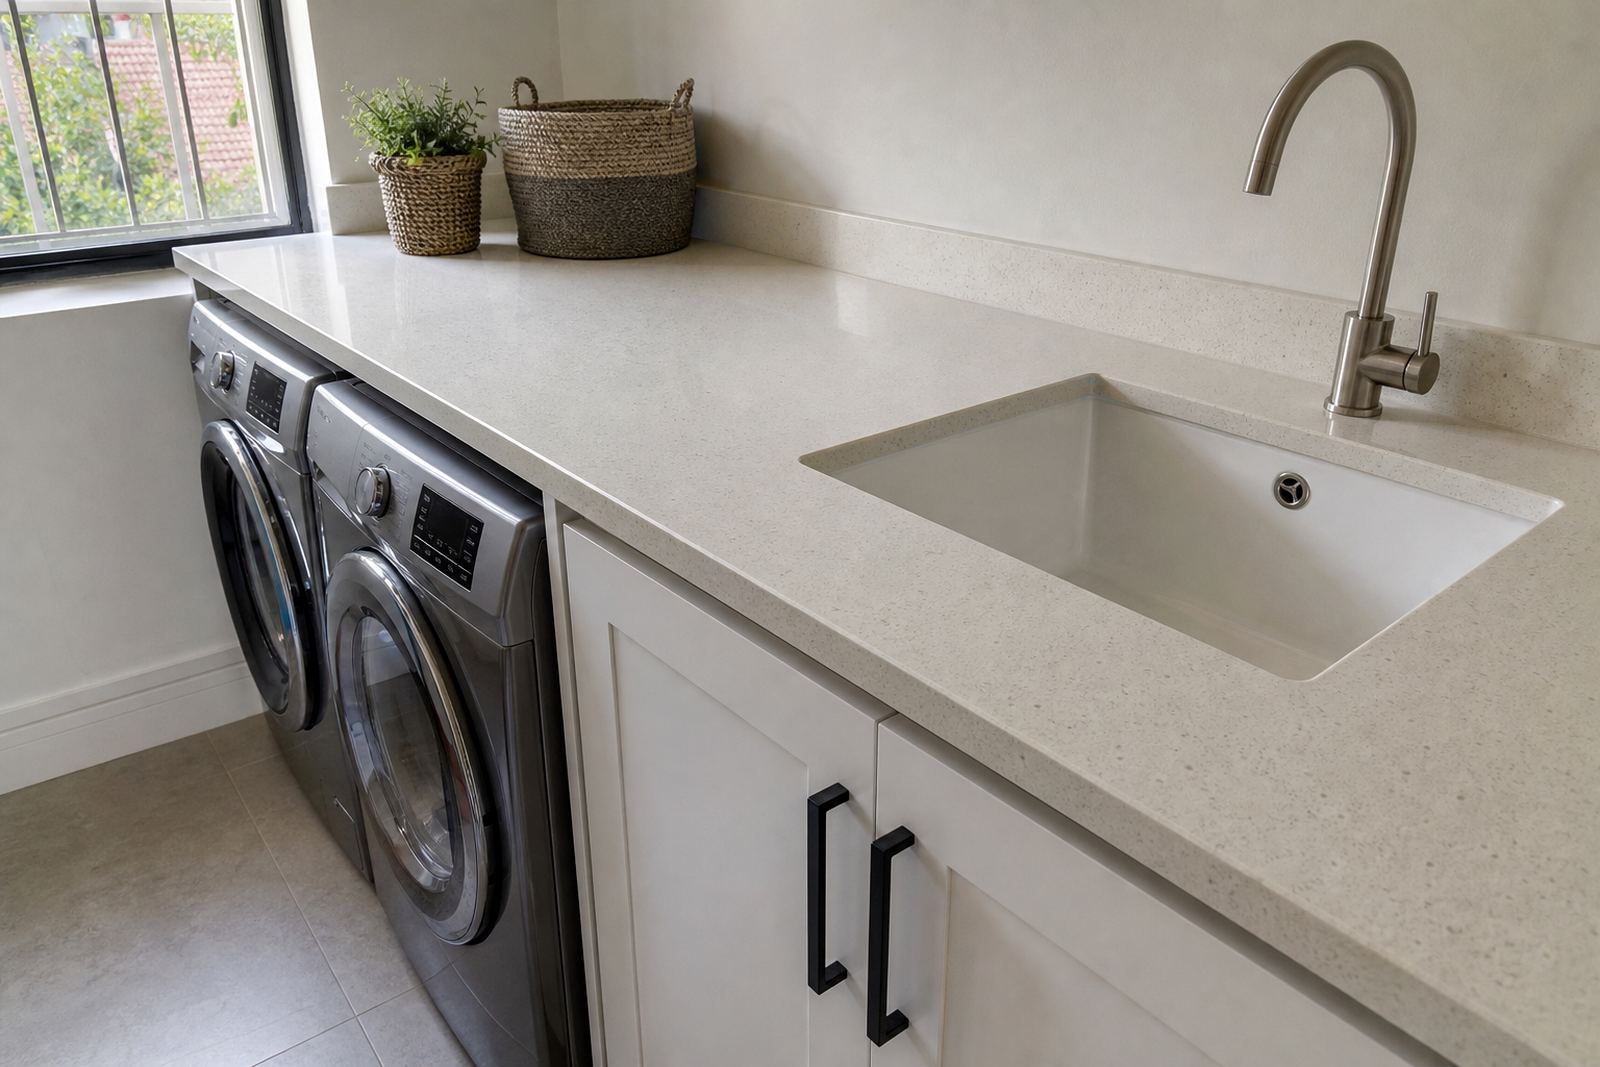
The client was a homeowner in Bedfordview reworking a compact laundry area where the top had to sit over appliances and still leave a clear working line to the wall. The room had a practical layout, but the existing surfaces were uneven and the sink position needed to carry through into the new top without shifting the plumbing points.
We started with site templating so the finished top matched the actual walls, appliance edges and service clearances, not only the drawing. In a room like this, a few millimetres can change how a washing machine lid clears or how neatly the side returns sit, so the template had to follow the room exactly.
- Town: Bedfordview
- Client type: private homeowner
- Work area: utility laundry room
- Primary finish: engineered quartz
- Service detail: sink opening with easy-clean edge treatment
Material choice for water, detergent and daily wiping
Engineered quartz was the right fit because the surface is dense, consistent and easy to keep looking tidy in a wet room. It handles splashback from sinks and bottles, and the sealed nature of the material helps when the top gets wiped down often with mild household cleaners.
We specified a practical slab thickness for a utility application, then kept the profile clean rather than heavy. The client did not need a decorative edge with many turns, just a finish that would not trap lint, soap residue or grime at the front lip.
- Material: engineered quartz
- Typical slab thickness used: 20 mm for a crisp utility finish
- Edge profile: eased edge for easier wiping
- Surface use: laundry folding, sorting and wet-area tasks
- Care note: use a soft cloth and avoid harsh abrasives
Shaping the sink cut-out around the basin position
The sink opening had to be measured around the actual bowl, tap positions and under-top support points. That meant careful digital measuring, followed by workshop cutting so the opening sat square and the visible rim line stayed even all round.
We also checked the underside for appliance clearance and service access. Laundry tops can hide small complications, especially where hoses, traps and wall fittings sit close to the back edge, so the cut-out and the rear line were planned together rather than separately.
The seam position was kept away from the sink opening to reduce visual interruption and to make the worktop easier to keep clean. A neat joint matters in a utility space, because standing water and repeated wiping will show a poor join very quickly.
Workshop work that kept the run straight
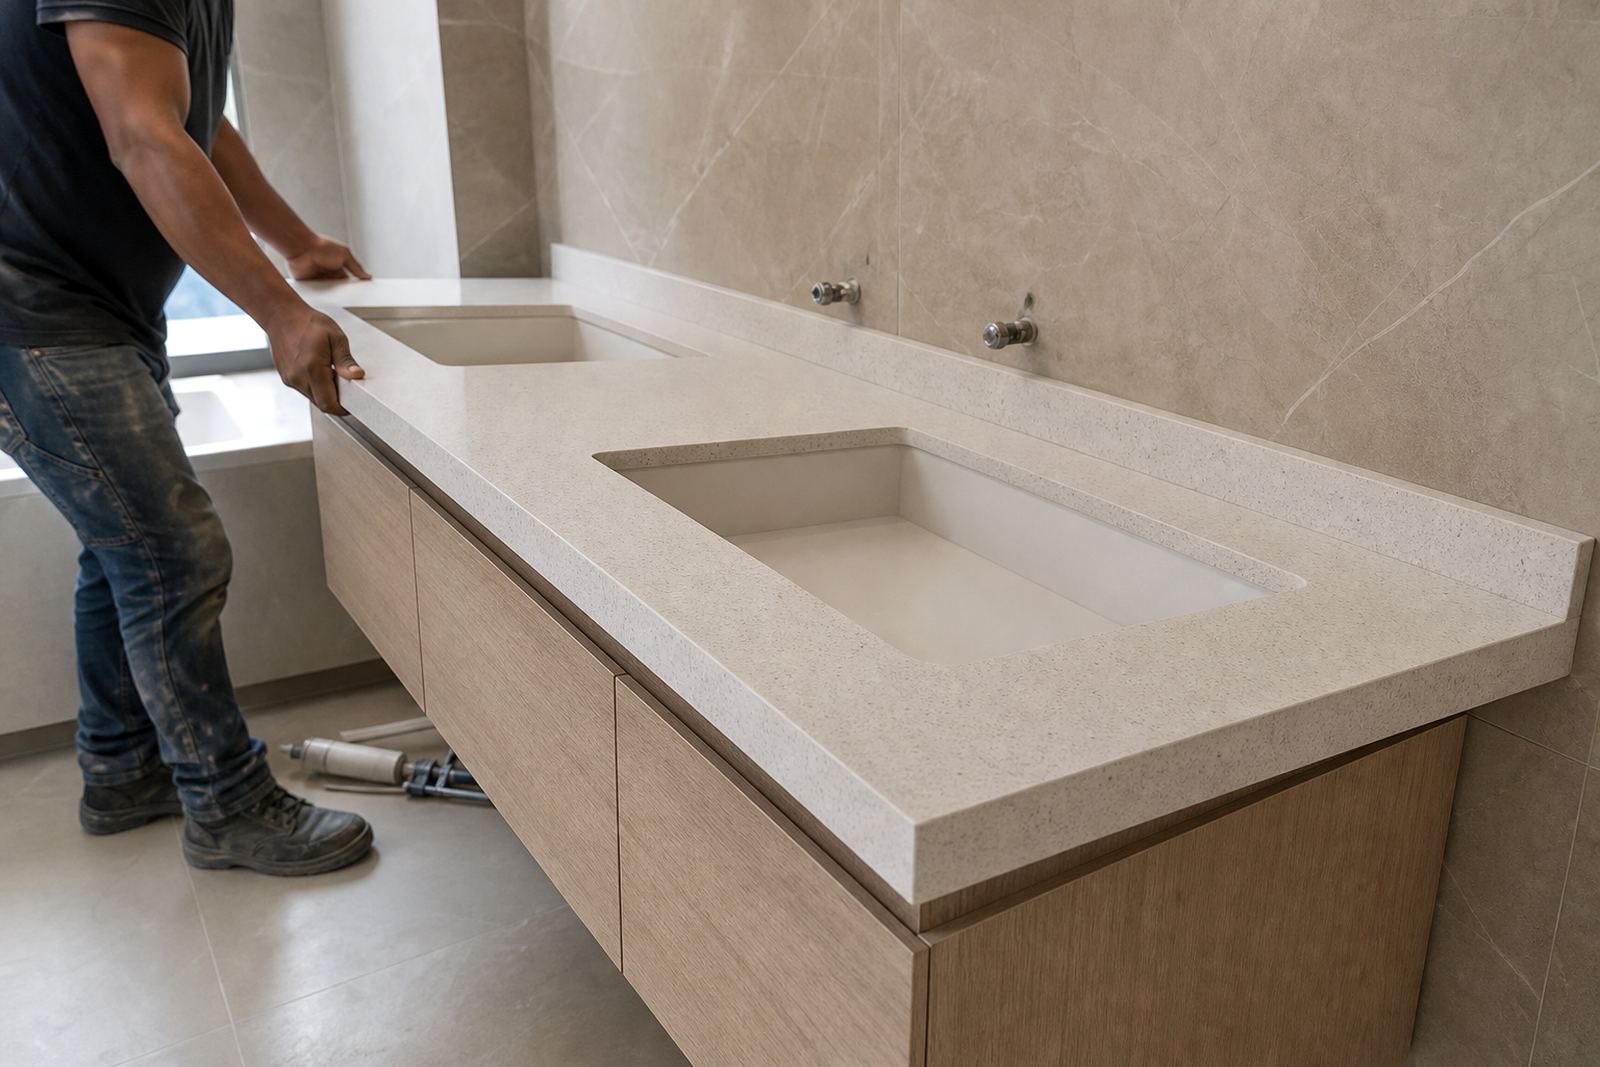
Once templating was complete, the workshop team laid out the slab to keep the grain movement and cut lines calm across the length of the run. The fabrication included trimming, profiling, sink cut-out work and edge finishing before the pieces moved to site for installation.
We also prepared the back edge so it would sit neatly against the wall finish, even where the wall was not perfectly true. In a laundry room, that rear line matters because it prevents a messy gap where moisture and dust can collect.
- Site templating followed by digital measuring
- Slab layout planning in the workshop
- Cutting and fabrication of the main run
- Sink cut-out service with neat rim clearance
- Seam joining placed out of the main view
Installation day and the fit around appliances
The installation team set the top over the appliance line and checked the level before fixing the sections in place. The front edge needed to read as one continuous line, while the cut-out had to remain true to the sink position once the top was seated.
We worked through the final fit with attention to wall lines, side returns and the contact points around the basin opening. The finished top now reads as a proper utility surface, not a patched-in board, and the room feels more ordered because the lines are straight and the joins are restrained.
For a project like this, the end result is measured by daily use. A laundry top must wipe clean easily, stay visually tidy and allow the sink area to work without splashy corners or awkward edges.
Care notes for a wet room surface
Aftercare advice covered the habits that keep a quartz utility top looking right in a real household. Hot irons, bleach spills and gritty cloths are the things that usually shorten the life of a clean finish, so the guidance focused on ordinary use rather than special treatment.
Engineered quartz does not need sealing like some natural stones, but it still benefits from sensible handling. Keep it dry around the sink base, wipe up stains promptly and use a trivet or mat for anything hot that may sit on the surface for a while.
- Wipe spills before they dry hard
- Use mild detergent and a soft cloth
- Do not cut directly on the surface
- Avoid harsh scouring powders
- Keep standing water away from joints and sink edges
What the Bedfordview job settled into
The project took two weeks from templating through fabrication and installation, with the final fit completed after the workshop pieces were checked and prepared for site. The laundry now has a practical working top with a sink opening, easy-clean edges and a layout that sits comfortably over the appliances.
If we did another Bedfordview laundry job like that, we would follow the same steps: measure on site first, cut the sink opening in the workshop, and set the seam where daily use will not notice it. That approach suits rooms where the surface has to work hard and still look orderly, even after repeated washing, wiping and loading.
The finished result is plain in the best sense. The surface is flat, the edges are simple to clean and the whole run now feels built for the room it serves.
Key facts
| Project | Bedfordview Laundry Top |
|---|---|
| Location | Bedfordview, Gauteng |
| Material | Engineered quartz |
| Thickness | 20 mm |
| Key detail | Sink opening with easy-clean edge profile |
| Project duration | 2 weeks |