A Hyde Park brief with open-plan pressure points
The client was a private homeowner in Hyde Park, working through an open-plan kitchen where the island carries the social side of the room and the perimeter runs hold the day-to-day cooking load. The request was for a single material language across tops and splashbacks, with the joins placed neatly so the kitchen reads as one measured surface rather than separate parts. The layout had to suit a generous entertaining space, but it still needed sensible working clearances around appliances, prep zones and seating.
A few practical points needed attention from the start. Wall lines were not perfectly square, the floor level changed slightly across the room and the sink position had to work with the existing layout. Those details matter on a job like this because a 20 mm or 30 mm top can look effortless only when the templating is accurate and the cut-outs are set out with care. In this case the client wanted a crisp edge profile, low-visual seams and a finish that stayed calm against cabinetry and natural light from the room.
- Client type: private homeowner
- Area: Hyde Park, Johannesburg
- Project type: perimeter tops, island and splashbacks
- Material family: engineered quartz
What we measured before a single slab was cut
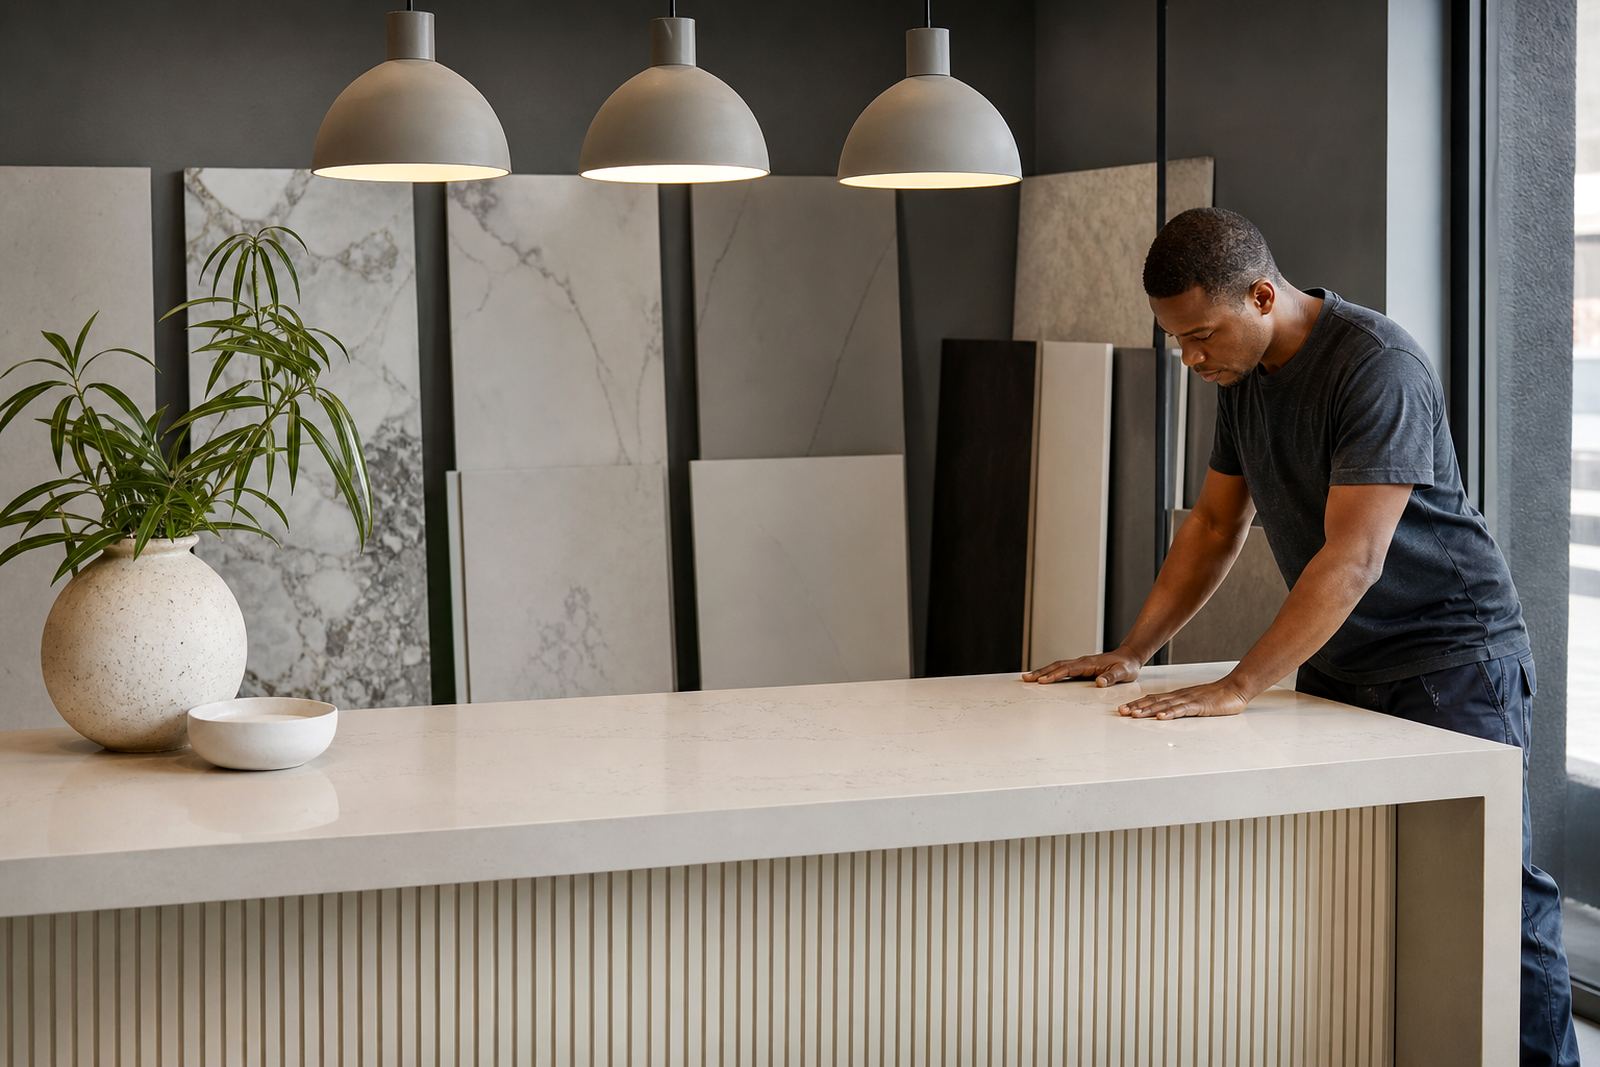
We started with site templating and digital measuring, then planned the slab layout around the longest visible runs so the grain and tone stayed consistent across the kitchen. The island needed careful planning because it had the most public-facing edges, while the perimeter tops had to work around the sink, hob and corner junctions. Once the measurements were locked, the workshop team mapped the cut sequence to limit waste and keep each finished piece true to the room.
The tops were fabricated with clean edge profiling, sink cut-outs and hob cut-outs set to suit the appliances already selected by the client. Seam joining was handled where the room geometry demanded it, not where it was convenient, which made the joins less noticeable once installed. Matching splashbacks were cut to suit the wall heights and the return sections beside the window and tall units, so the whole room kept a steady line from counter to wall finish.
- Site templating for perimeter runs and island
- Digital measuring for tighter fit around walls and openings
- Slab layout planning to control visible pattern flow
- Cut-outs for sink and hob
Quartz choices that suit a kitchen used every day
Engineered quartz is a practical choice for kitchens where food prep, spill control and regular wiping are part of normal life. The surface is dense and non-porous, so it is easier to keep in good condition than many porous stone finishes, especially around the sink and splashback line where splashes are common. For this Hyde Park kitchen the material was selected for its even look and its ability to hold a tidy edge without the cloudy patchiness that can distract from the cabinetry.
The slab thickness was specified to suit the visual weight of the room and the edge profile was kept neat rather than bulky. That approach works well in open-plan homes because the top needs to sit comfortably beside dining furniture and living areas, not overpower them. Heat care and stain care were explained clearly after installation, with the usual reminder that hot pans need a trivet and spills should not be left sitting on the surface for long periods.
- Consistent colour and pattern across large visible areas
- Non-porous surface for easier cleaning around prep zones
- Edge profile chosen to suit the kitchen style
- Care guidance for heat marks, acids and stubborn stains
Installation day inside a working open-plan room
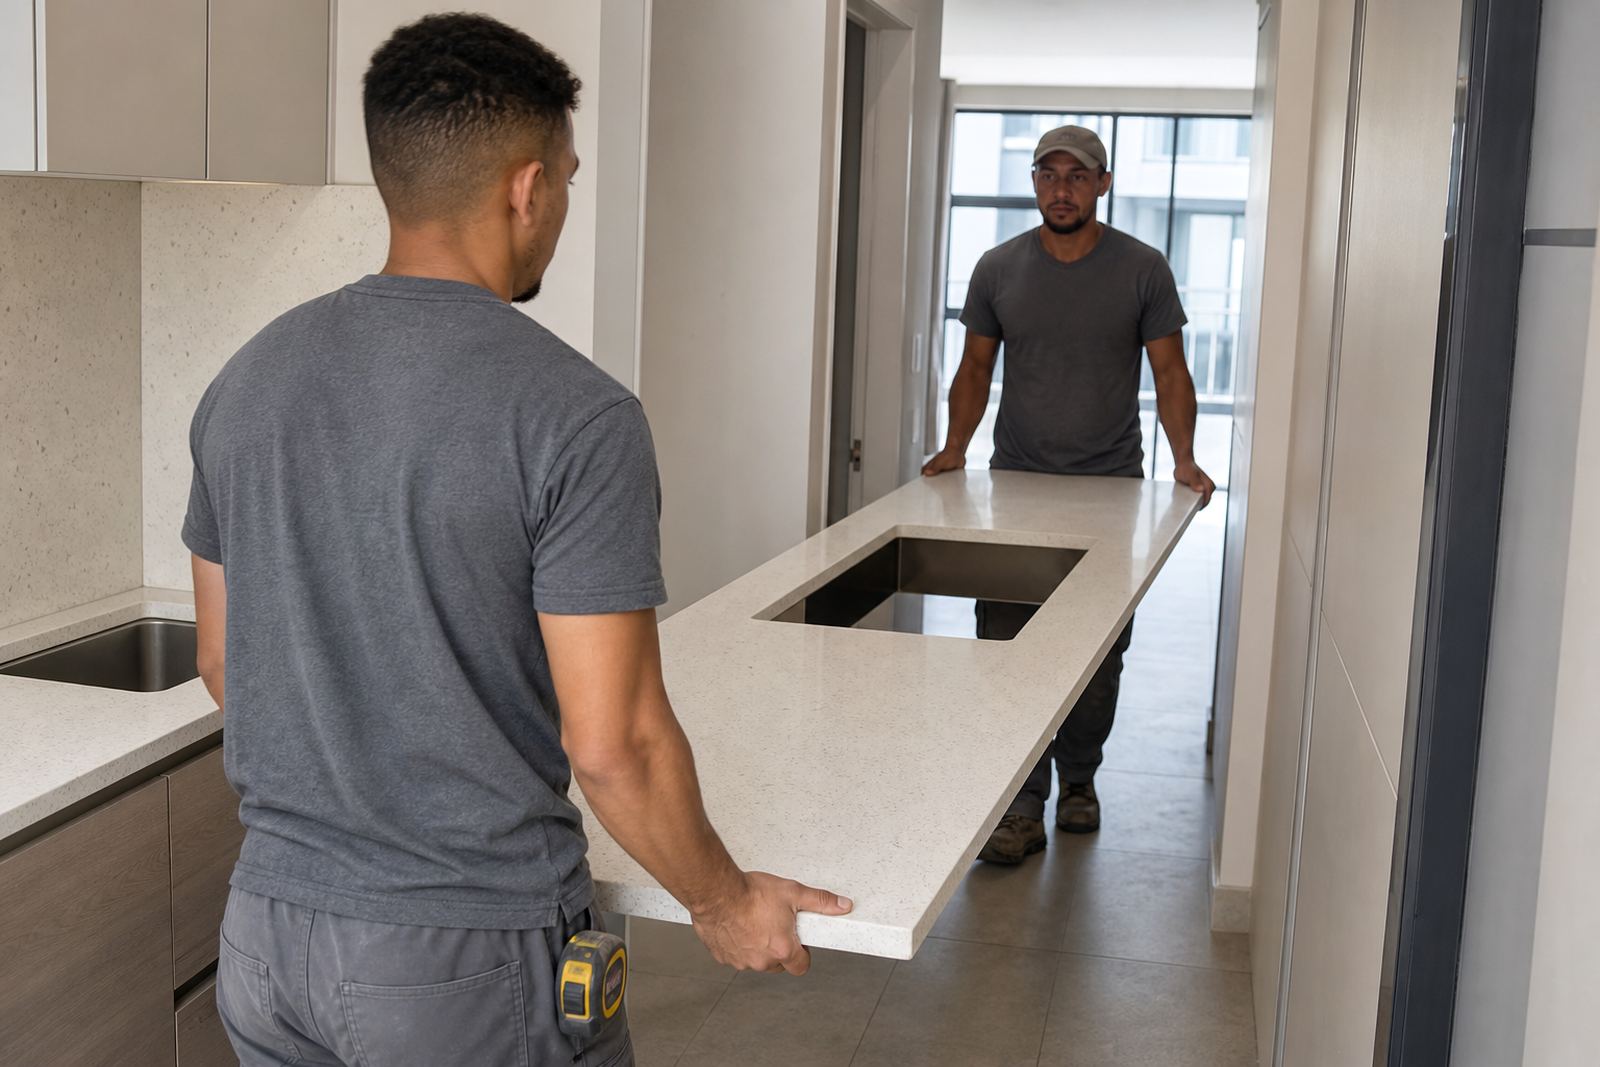
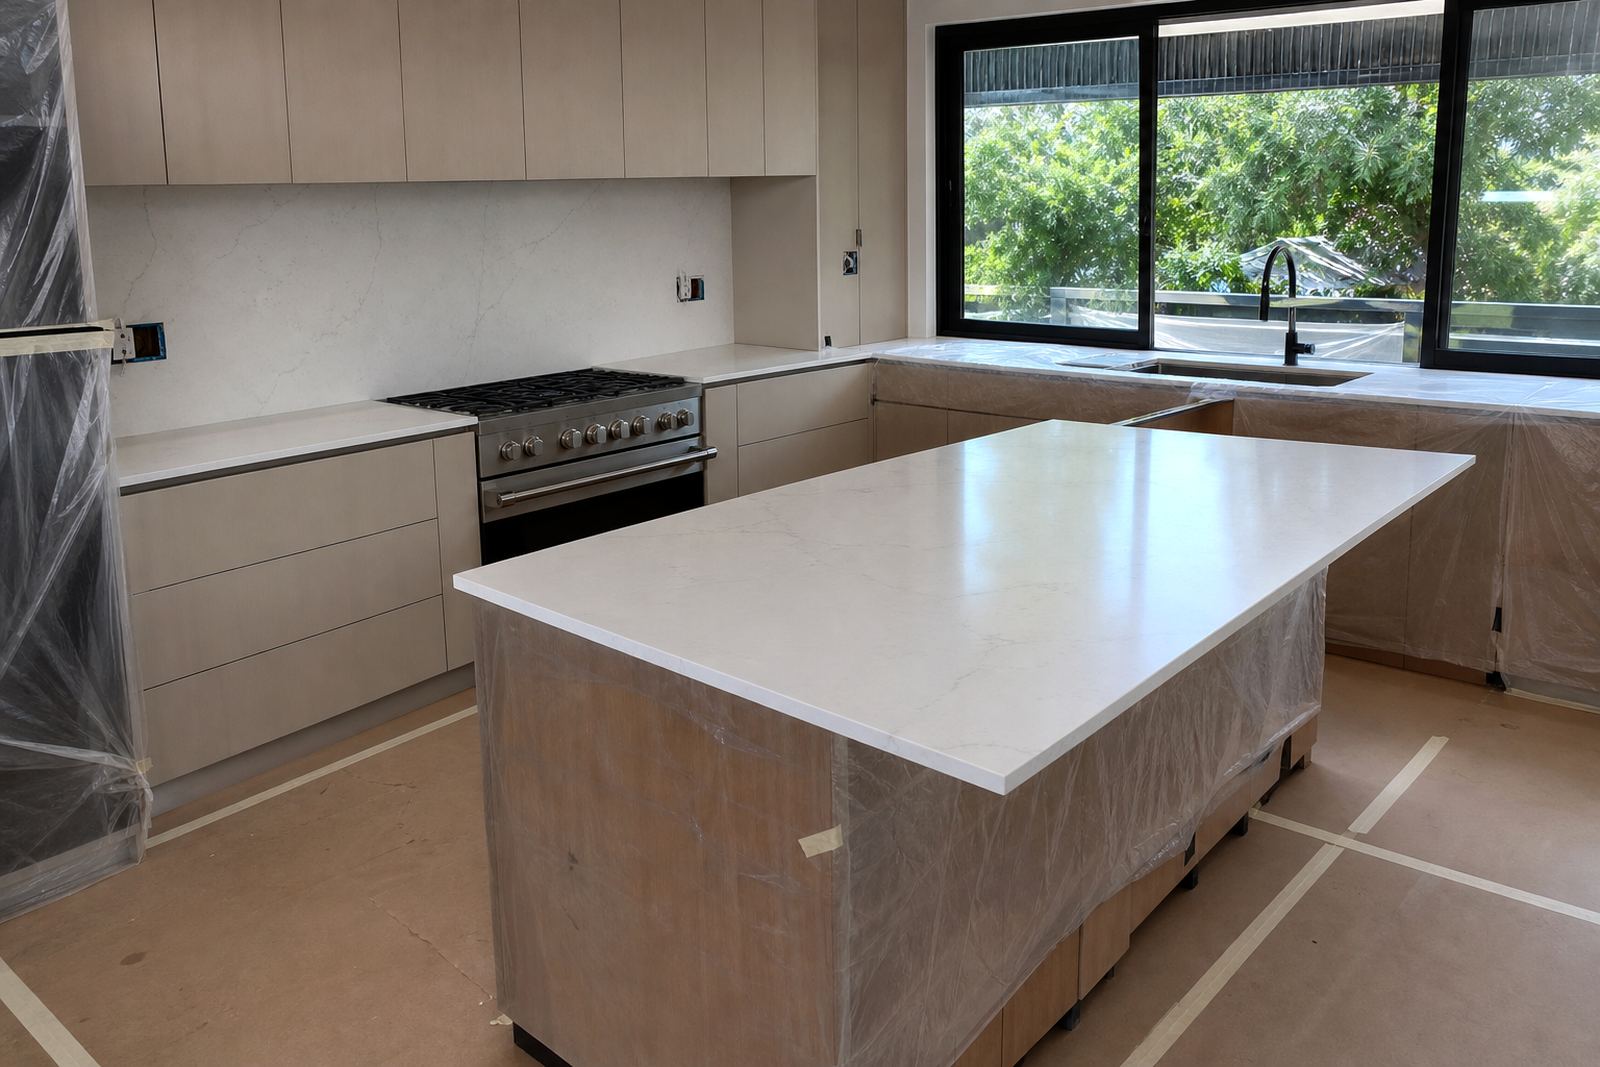
Installation was sequenced so the island top went in first, followed by the perimeter sections and splashbacks. That order helped the team check line, level and reveal spaces before the final pieces were fixed. Around the sink and hob, the fit had to be exact because even a small mismatch shows quickly once the taps, appliances and downlights are all in place. The installer also checked the wall finish for flatness before sealing the splashbacks, since a slight bow in the wall can change how the joints read in the room.
Once the surfaces were set, the final sealing and clean-down were handled with care so the kitchen was ready for normal use without leftover fabrication dust or adhesive marks. The result was a room that felt calm and finished, with the island working as a social anchor and the perimeter counters giving proper workspace on both sides of the cooking zone.
- Island set first to establish the main reference line
- Perimeter tops fitted around wall irregularities
- Splashbacks aligned to keep a steady visual band
- Final seal and clean-down completed after fitting
A kitchen that reads as one continuous surface
The finished room has a clear visual rhythm. The island carries the strongest run of stone, the perimeter tops frame the working areas and the splashbacks tie the whole kitchen together without adding noise. Because the seam positions were planned early, the surfaces do not fight each other. The joins sit where the eye moves naturally, and the edge details stay consistent from one section to the next.
In an open-plan home, that kind of restraint matters. A kitchen can be technically correct but still feel busy if the top lines, splashbacks and appliance openings are all competing. Here the balance was right. The client ended up with a surface package that suits daily cooking, small family meals and larger gatherings, while still looking composed when the room is in full view from the living area.
What we would do on a Hyde Park kitchen job
We would use the same sequence again on a project with this mix of perimeter tops, island and splashbacks. Early templating sets the tone for everything that follows, and the slab layout planning makes a visible difference when a room has long sight lines. On a kitchen like this, it also helps to confirm sink position, hob cut-out location and edge style before the workshop starts cutting, because those details shape both the look and the installation sequence.
Our aftercare advice stays practical and suited to your countertop. Quartz does well with routine wiping, a mild cleaner and a little discipline around hot cookware and harsh chemicals. That is enough for most homes, and it helps the client keep the tops looking settled rather than overworked. For a room in Hyde Park with strong natural light and a large open plan footprint, that combination of neat fabrication and sensible care gave the result it needed.
- Template first, then finalise cut positions
- Plan slab use around visible runs and joins
- Keep splashback heights aligned to wall features
- Leave the client with clear care guidance
Key facts
| Project | Hyde Park Kitchen |
|---|---|
| Area | Hyde Park, Johannesburg |
| Material | Engineered quartz |
| Scope | Perimeter tops, island and matching splashbacks |
| Work completed | Site templating, fabrication, installation and aftercare advice |
| Typical sequence | Measured in weeks from template to fit |