A family bathroom in Linden needed more working room
The homeowner in Linden wanted a vanity surface that looked calm in a shared bathroom but could still take hard use from school mornings, weekend guests and constant wiping down. The cabinet run was already fixed in place, so the top had to suit the joinery exactly, with twin basin positions, tap spacing and a neat edge line that would not feel bulky in a smaller room.
The brief called for engineered quartz because the family wanted a non-porous surface with steady colour and a better daily care routine than a porous stone top. The room had a tight doorway and a few wall irregularities, so the final dimensions had to be checked on site rather than pulled from the cabinet alone. That matters on bathroom work, because a few millimetres at the wall or a slight out-of-square cabinet line can shift every cut-out and seam point.
- Location: Linden, Johannesburg
- Use: Family bathroom vanity with twin basins
- Surface: Engineered quartz
- Scope: Template, fabrication and installation
Measured on site, then set out on the slab
Our lead templater took detailed site measurements before fabrication began, including wall lengths, cabinet depth, basin centres and the exact positions for tap holes and waste openings. We also checked the wall line behind the vanity, because older homes in Johannesburg often carry slight dips or twists that only show up when a straight top is offered up to the room.
Once templating was complete, the workshop team planned the slab layout to reduce visible joins and keep the grain movement steady across the full run. The chosen quartz slab was cut to a practical thickness for a bathroom top, with a clean eased edge profile that reads neat without looking heavy. Sink cut-outs were formed with enough tolerance for fitting, and the underside was prepared so the basins could be secured properly without stressing the rim area.
- Template made from site dimensions for an accurate fit
- Cut-outs set for two basins and matching tap points
- Edge profile kept soft and easy to clean
- Seams positioned to stay discreet in the room
Fabrication details that matter in a bathroom with regular moisture
Bathroom vanities are exposed to more water, toothpaste, soap residue and cleaning cloths than most other tops in the house. For this project we paid close attention to edge finishing and seam joining so the surface would not hold grime in corners or at the basin line. The slab edges were polished evenly, and the joins were checked for tight alignment before installation left the workshop.
The top was also set up with everyday care in mind. Engineered quartz handles normal bathroom use very well, but hot styling tools should not be placed directly on the surface and strong staining agents should not be left to sit. The advice we gave the family covered simple habits like wiping spills early, using a mild cleaner and avoiding rough scourers that can mark the finish over time.
- Engineered quartz surface for a consistent bathroom finish
- Polished edges with a neat eased profile
- Seam joining planned to stay low-key and tidy
- Aftercare guidance focused on heat, stains and daily cleaning
Installation day in Linden, with the room already set
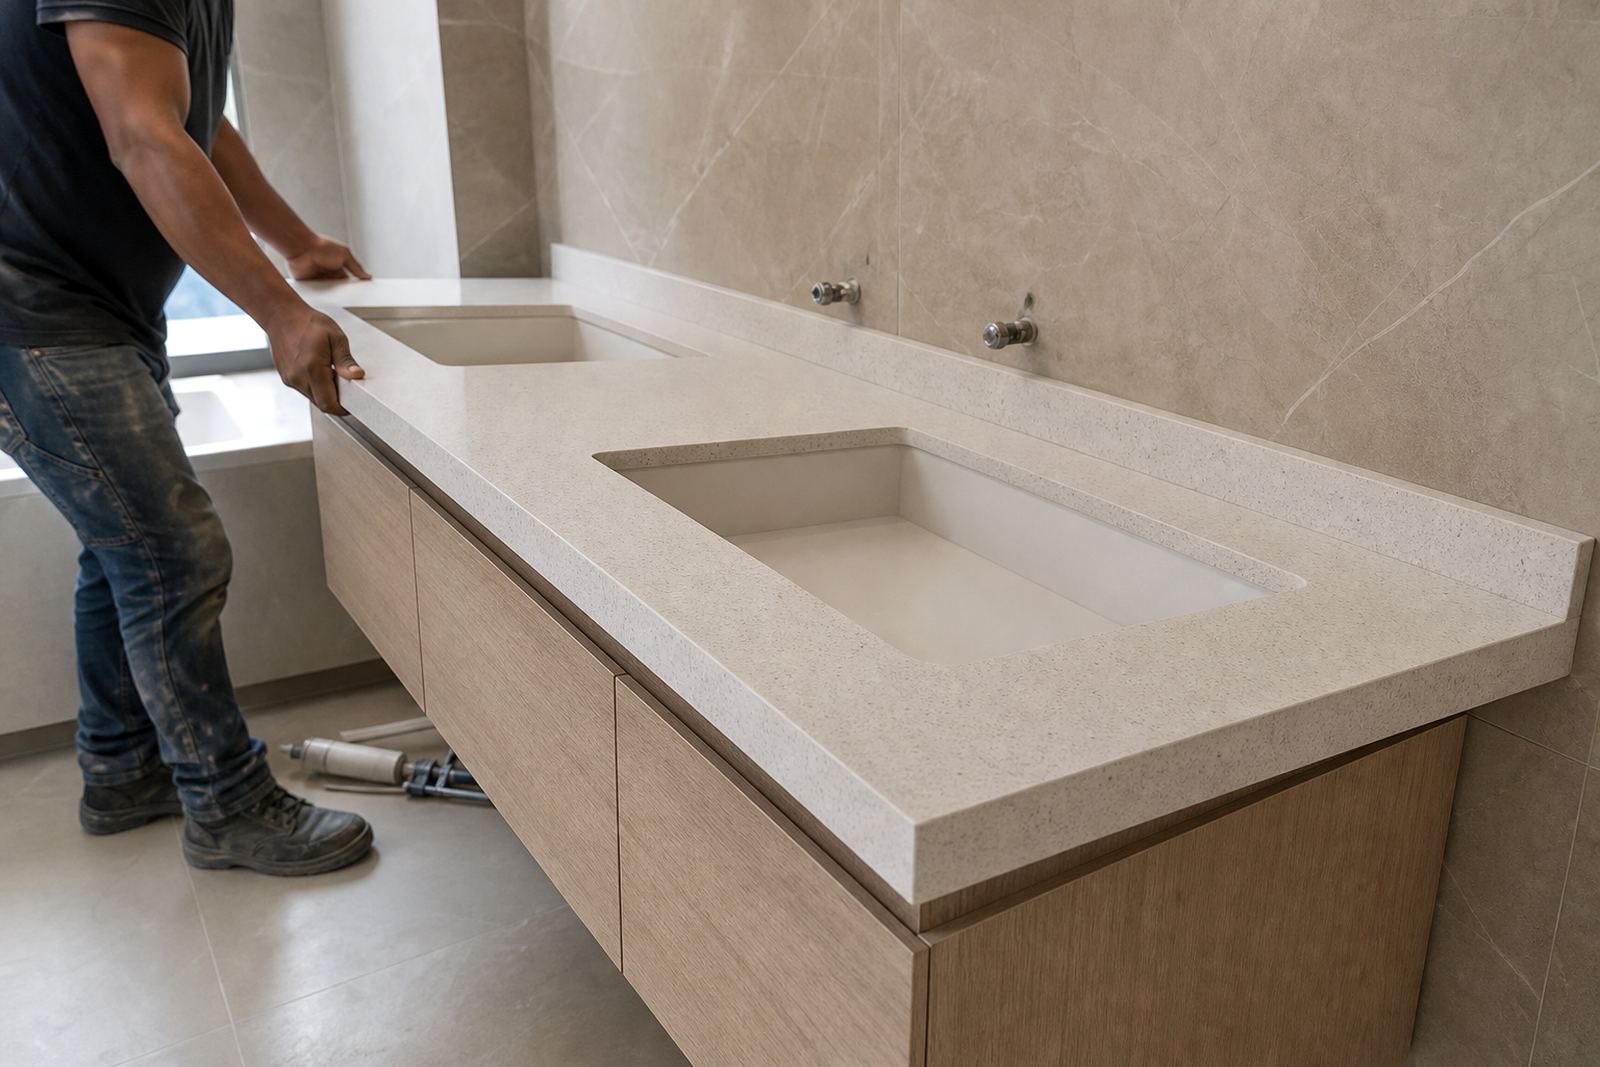
By the time the top reached site, the cabinet base was ready and the layout had been checked. The installation team carried the vanity top into place, settled it onto the support points and checked the basin openings before final fixing. Because the room was a family bathroom, the work had to be careful and orderly, with no unnecessary disruption to the rest of the house.
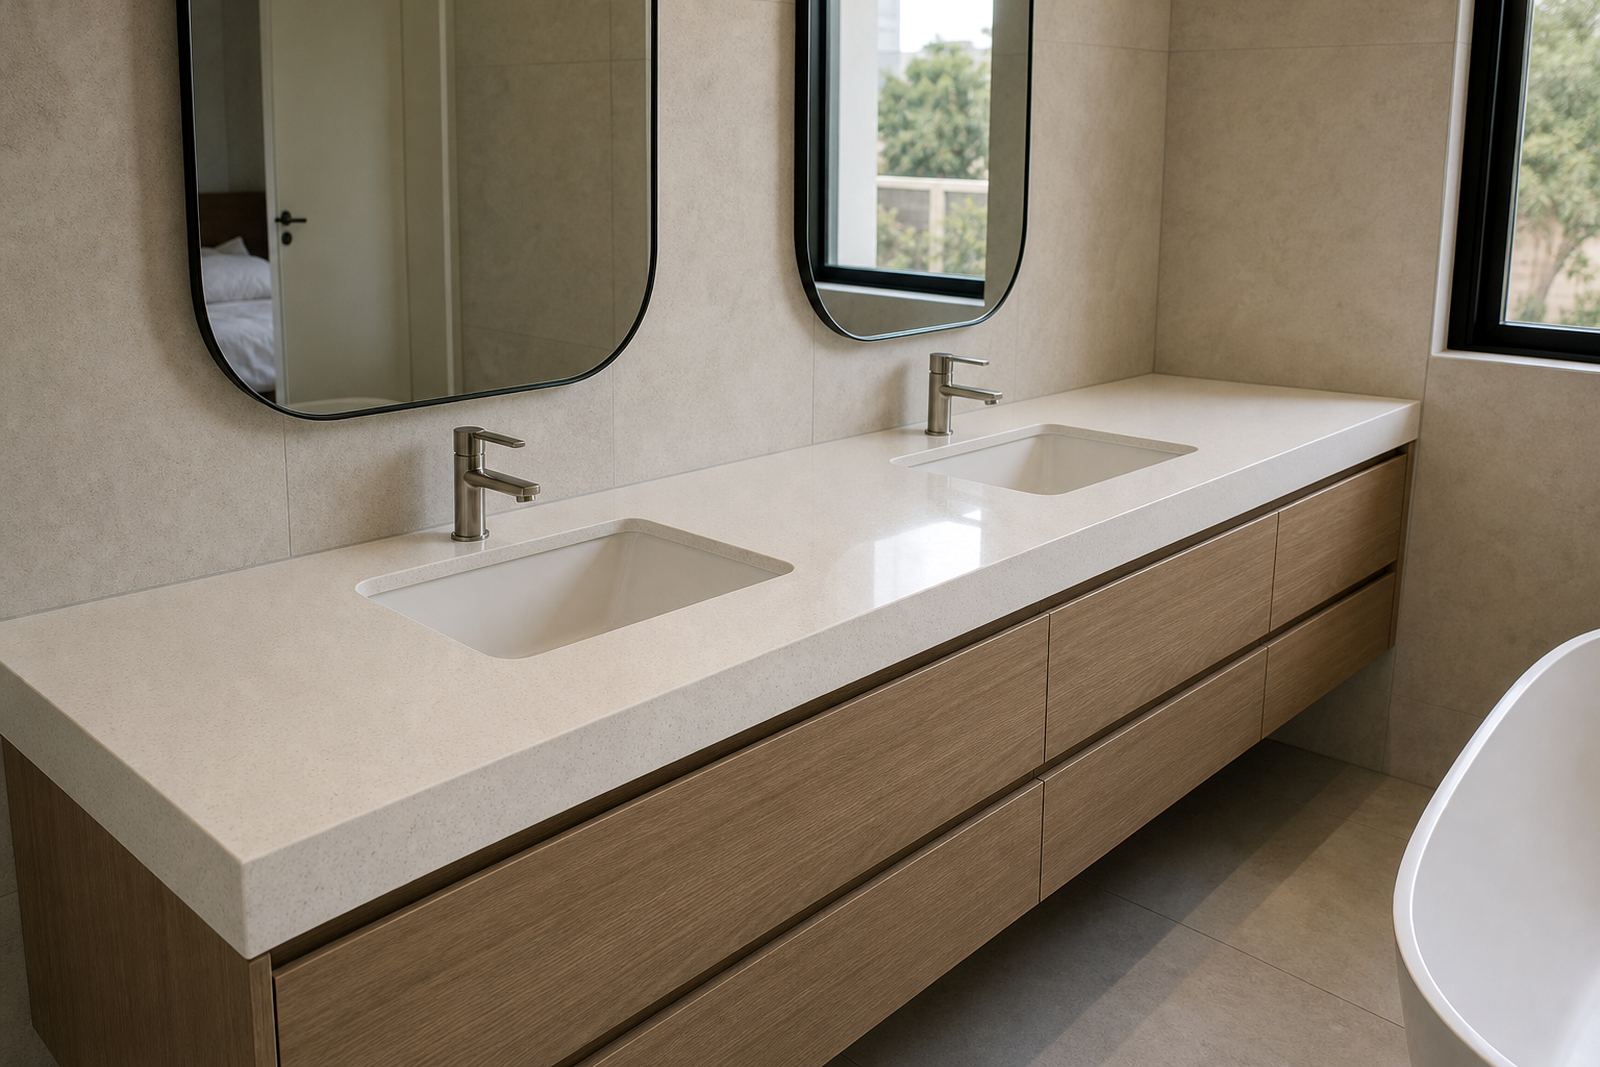
We fitted the vanity surface, aligned the basin positions and sealed the visible edges where water could track down into the join line. The splash area around the back wall was kept clean and tight, so the finished vanity reads as one neat working surface instead of separate pieces. The result gave the room a calmer look and made day to day cleaning more manageable.
- Twin basin layout fitted to the existing cabinet run
- Top levelled and sealed for regular bathroom use
- Wall and basin junctions finished neatly
- Room left ready for normal family use
A smoother morning routine and less fuss at the basin
The finished vanity gave the family more usable counter space around the basins, which is often the real difference between a room that feels cramped and one that works well. The quartz surface brought a clean, steady look to the bathroom and held up well against the sort of daily contact that happens around handwashing, skincare and cleaning up after children.
For us, the strongest part of the result was the fit. The top landed where it should, the cut-outs sat true and the edges looked deliberate rather than overworked. That kind of finish comes from proper templating, clean workshop lines and a site team that understands how a bathroom behaves once water and cleaning products are part of the daily cycle.
What we would use on a similar Linden vanity
On a similar job we would follow the same sequence: measure carefully, template on site, plan the slab around the basin positions, then install with proper attention to the room edges and plumbing details. On family bathroom work, those steps reduce the chance of awkward gaps or heavy-looking joins and keep the finished top practical for everyday use.
We would also keep the advice plain. Wipe spills early, use mild cleaners, protect the surface from direct heat and avoid standing wet containers in the same spot for long periods. That is a sensible routine for quartz in a busy home, especially where more than one person uses the vanity each morning.
- Keep basin centres and tap points fixed before templating
- Plan seams away from the most visible sight lines
- Use edge profiles that clean easily around splashes
- Leave room for normal bathroom maintenance and sealing
Key facts
| Project | Linden Family Vanity |
|---|---|
| Town | Linden, Johannesburg |
| Surface | Engineered quartz |
| Layout | Twin basins on one vanity run |
| Work done | Site templating, fabrication and installation |
| Finish details | Eased edge profile, basin cut-outs, seam joining and splash sealing |