What the fitting team needs on arrival
Our installers work from the final template, so the opening sizes, sink positions and overhangs should already match the approved layout. A clean route into the room helps, especially in apartments, offices and shopfit spaces where lifts, stairs or security counters can slow movement of long slabs.
For a normal kitchen or vanity, the room needs enough clearance for the top to move in flat and settle onto the cupboards or support rails. If the site is on an upper floor in Sandton, Pretoria or Midrand, the access route should be measured before the fitting date so the slabs do not need to be turned in a tight passage.
- Clear the counter area, sink base and appliance openings
- Move fragile items from nearby shelves and window ledges
- Please keep pets and children clear of the countertop fitting area.
- Make sure the cupboards or support structure are fixed and level
How templating shapes the final fit
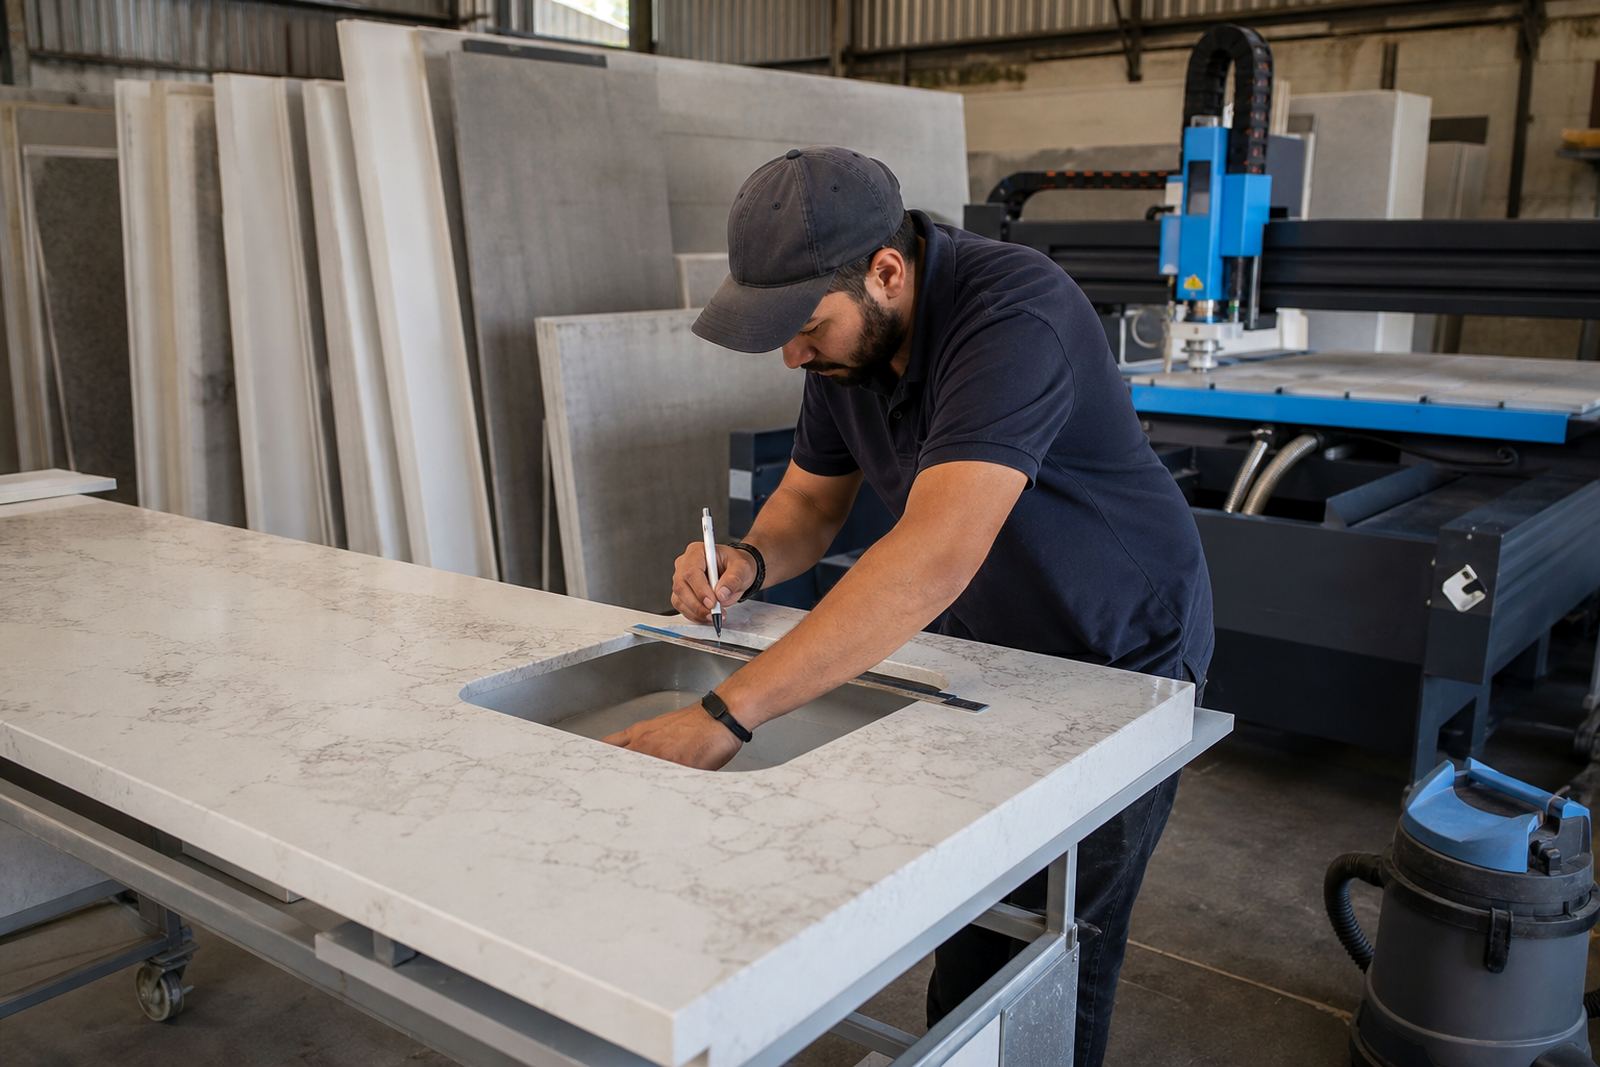
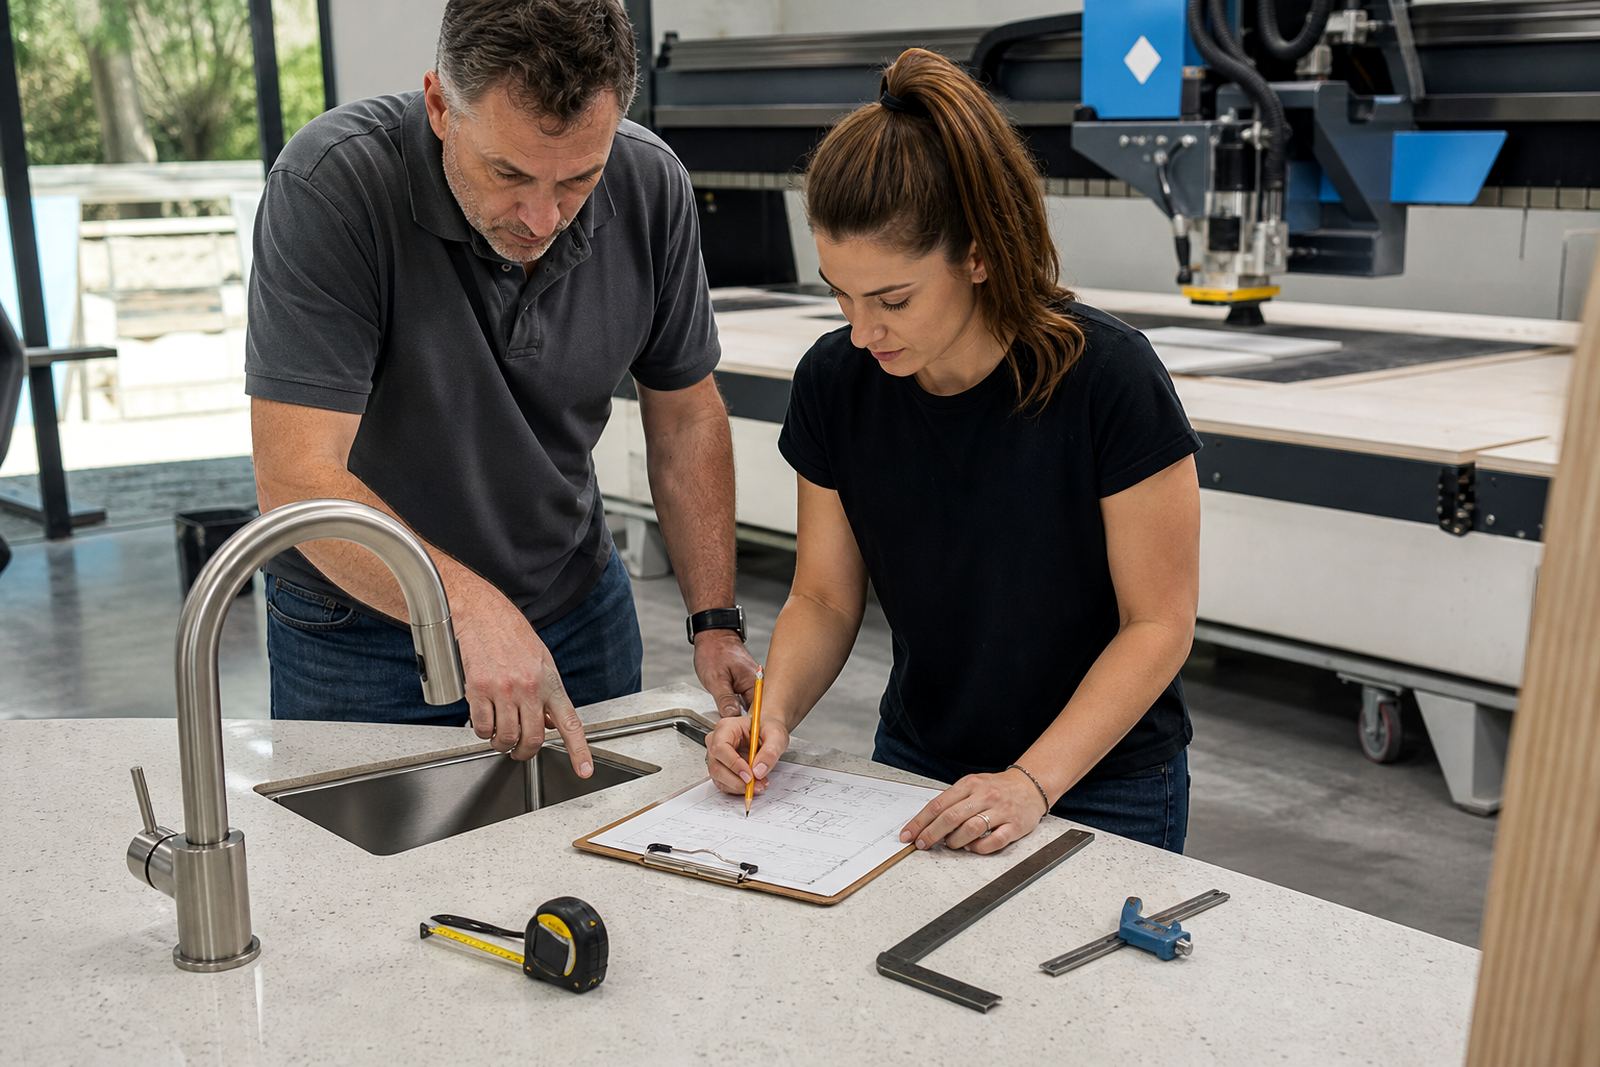
Templating is where the room gets captured properly, including wall bow, corner angles, appliance clearances and the exact line for the front edge. On quartz and solid-surface jobs, this is where small site changes are caught before cutting starts in the workshop.
A good template helps with sink cut-outs, hob cut-outs and the placement of visible seams. It also guides the slab layout, so the grain, colour movement and joint positions suit the room instead of fighting it.
- Check wall angles where two runs meet
- Confirm sink centre lines and tap holes
- Mark any exposed ends that need a finished edge
- Record overhangs for stools, breakfast counters or island seating
Seams, joints and where they usually sit
Seams are placed where the slab breaks make practical sense, often near a corner, behind a sink or along a shorter run. On engineered quartz, the joint line is kept tight and colour-matched as far as the material allows. On solid-surface work, the join can be shaped more freely, which helps in long lengths or curved sections.
The aim is to keep the seam away from the busiest prep area where possible. A straight, well-supported join is easier to keep clean and less likely to draw the eye. In open-plan kitchens and reception counters, the joint plan is worked out during layout so the finished line looks deliberate rather than forced.
Sealing, edge profiles and heat care
Engineered quartz and solid-surface tops are both chosen for practical day-to-day use, but they still need sensible care. Quartz is non-porous and usually does not need the same type of sealing as natural stone, while solid-surface pieces are also low-maintenance but can be marked by hard impact or poor heat control.
Edge profiles vary from square and eased edges to more rounded forms, depending on the room and the look the client wants. Pots, pans and hair tools should not sit directly on the surface when hot. Trivets, mats and cutting boards save the finish and help the top stay neat for longer.
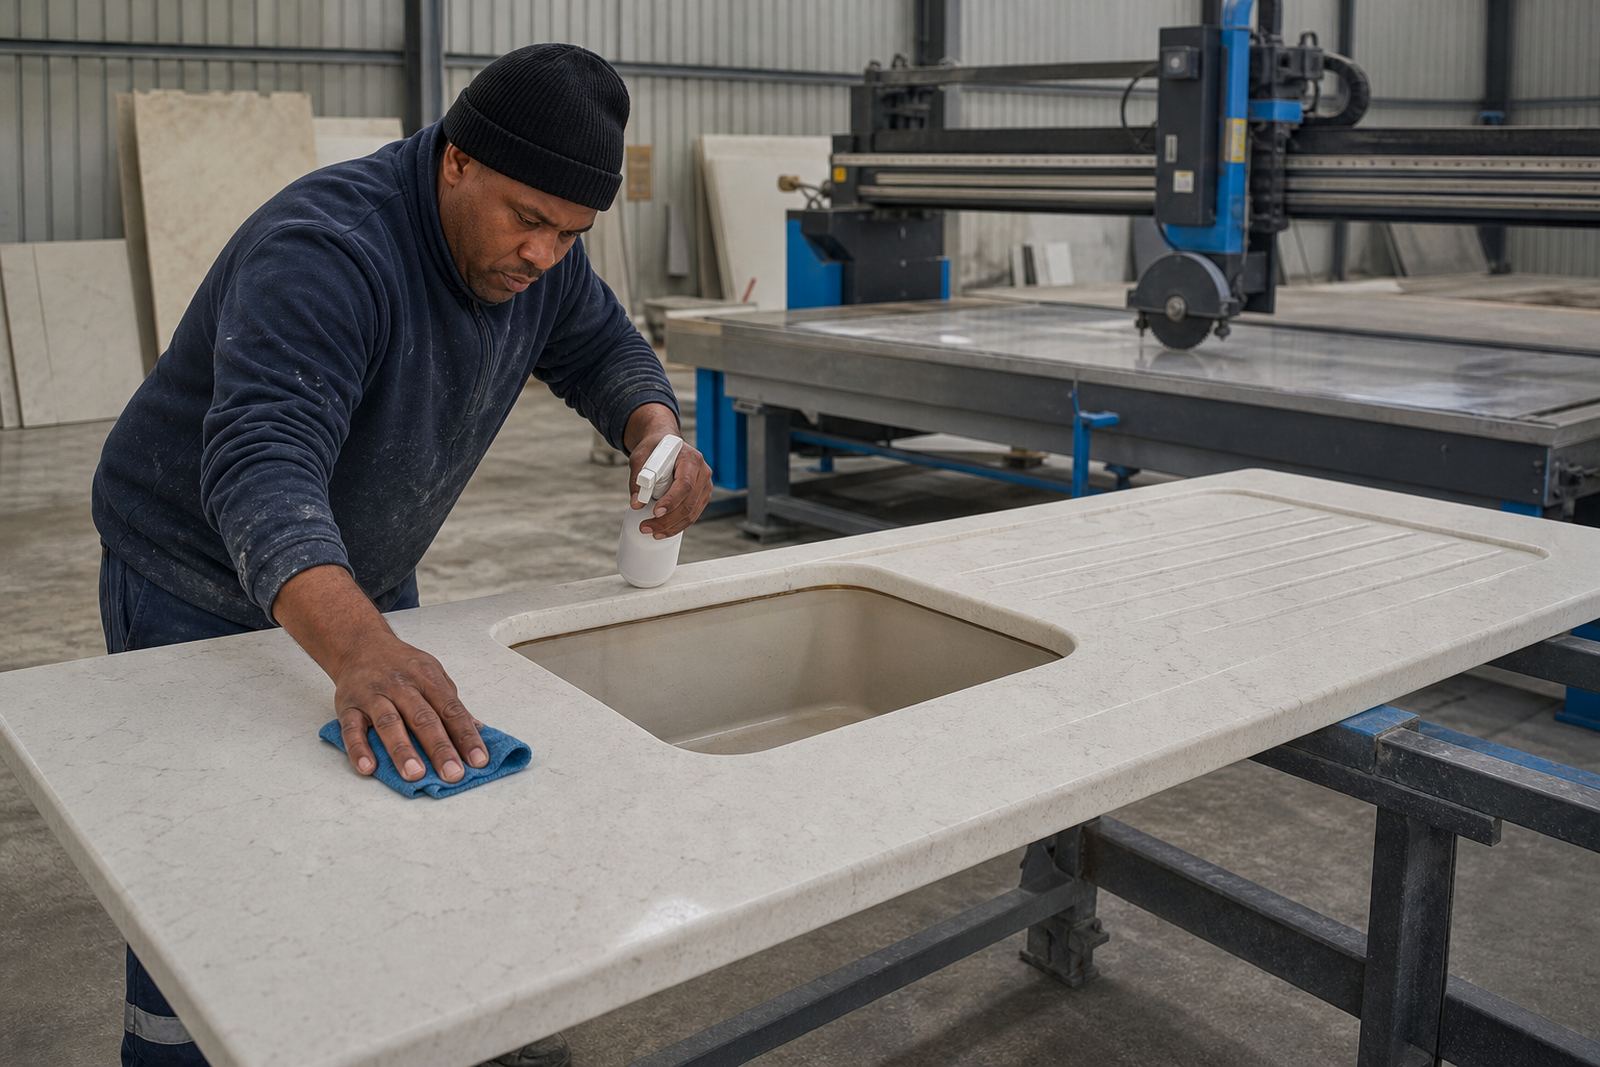
- Use a soft cloth and mild cleaner for daily wipe-downs
- Avoid harsh scouring pads and strong solvents
- Lift heavy pots, do not drag them across the edge
- Wipe up wine, coffee and coloured spills without leaving them to dry
Sink cut-outs, hob openings and splashback lines
Cut-outs need to match the actual fitting hardware, not just the brochure sizes. Undermount sinks, drop-in bowls, hobs and mixer tap holes are all set out from the final template, then trimmed and finished in the workshop. That reduces surprises at installation and keeps the openings neat.
Splashbacks are fitted after the top line is fixed, so the wall and counter meet cleanly. In humid areas and busy prep rooms, a tidy silicone finish at the back edge helps stop water from sitting under the joint. Where the wall is uneven, the splashback line is adjusted to suit the real surface, not an assumed straight wall.
Final sign-off and aftercare advice
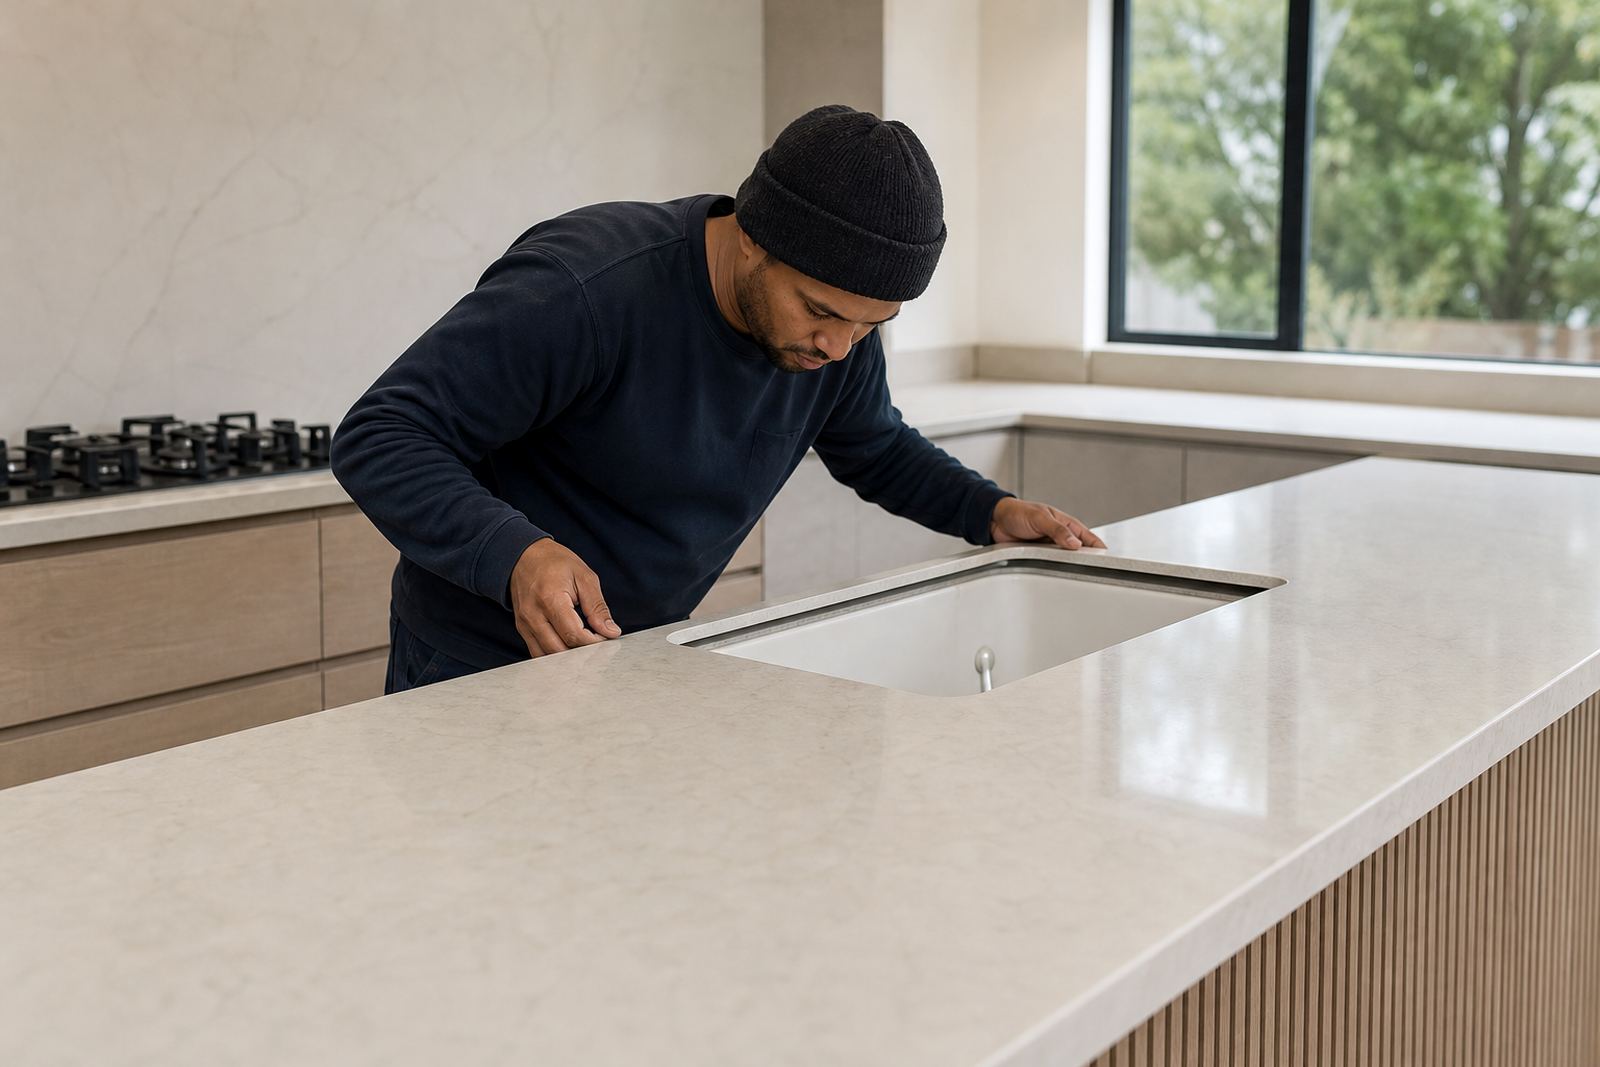
When the installation is complete, the team checks the fit, the joints, the support points and the edge finish. Taps, sinks and hob cut-outs are checked for correct placement, and the site is left with the basic care notes for the material installed. If a detail needs a touch-up, it is easier to handle before the room is put back into service.
Aftercare usually covers cleaning method, stain control, heat protection and what to do if a silicone line needs attention later. For homes, offices and shopfitting projects across Randburg, Johannesburg, Sandton, Midrand, Fourways and Pretoria, this last step keeps the top looking right after the fitting crew has left.
- Keep the signed plan and care notes together
- Wait for sealant or adhesive guidance before heavy use
- Report movement, chips or gaps before the room is fully reoccupied
- Use our contact form for follow-up support on the installed top