Edges that suit the slab, the room and the way it is used
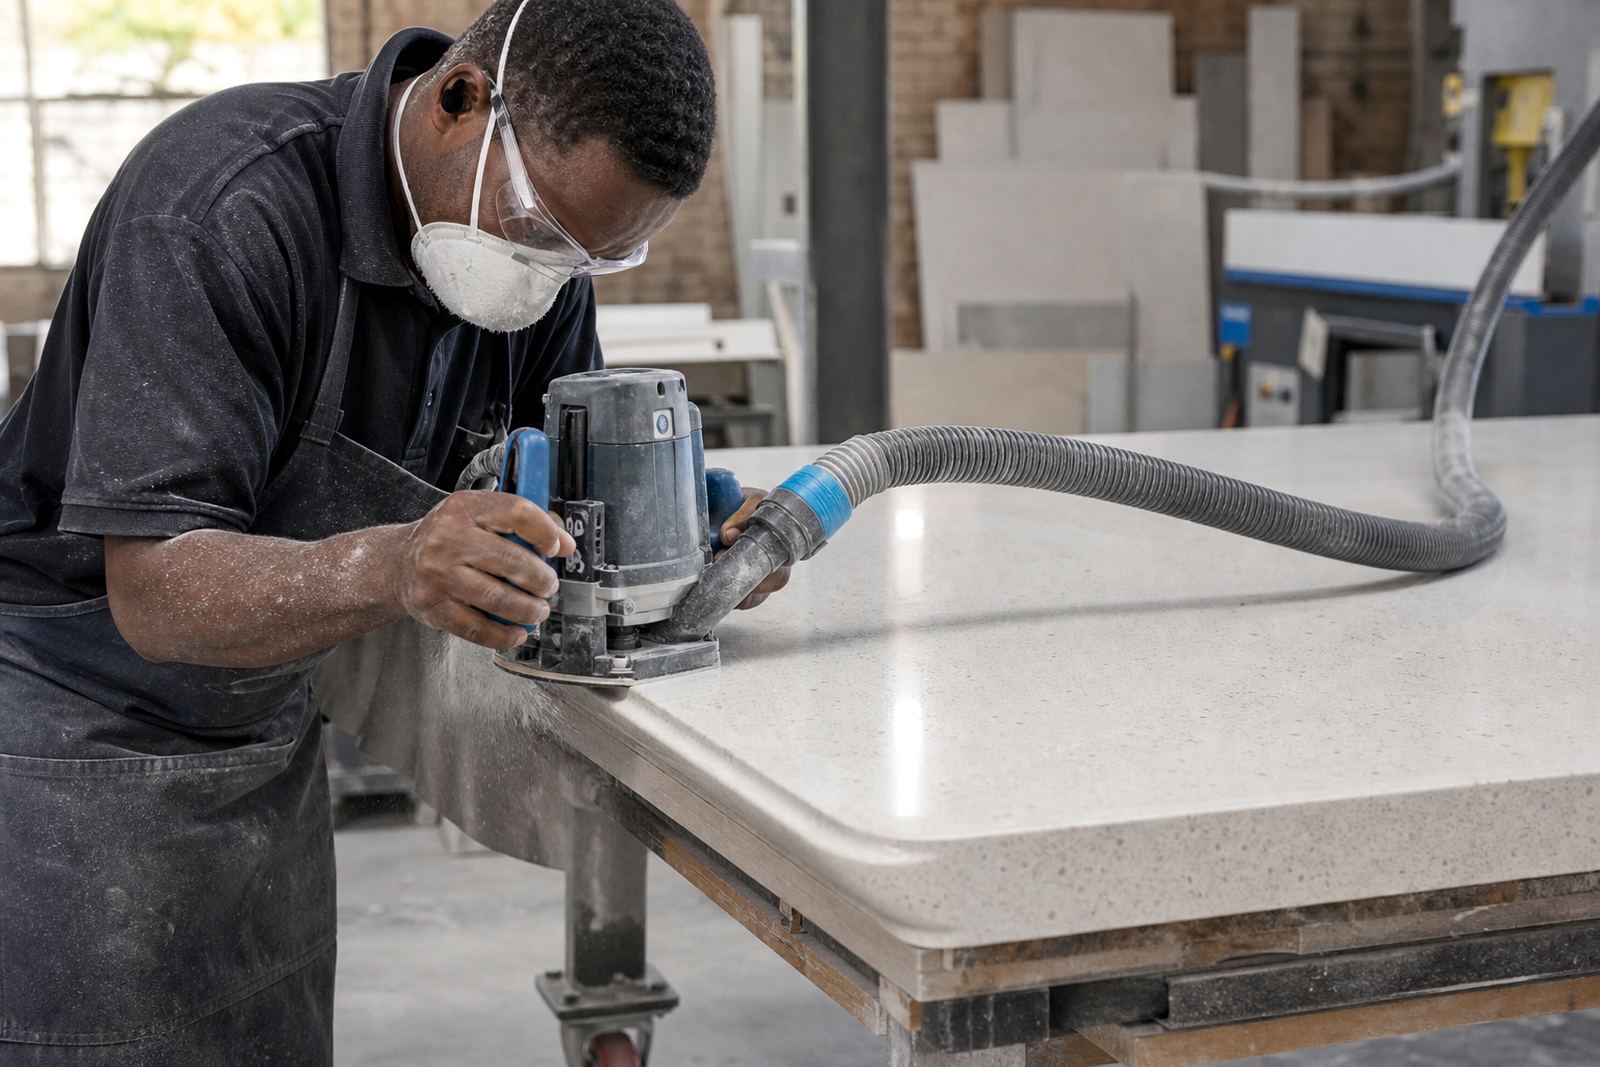
Edge profiling is where a slab stops looking raw and starts looking finished. We route and dress the edge to the detail agreed during templating, then check the line against the full run of the countertop so corners, sink areas and joins read cleanly once installed.
For engineered quartz, the edge detail has to work with the slab thickness and the way the stone is supported along the cabinet run. Common profiles include straight square edges, pencil round edges, slight eased edges and bevelled forms. Solid-surface tops allow more shaping and softer transitions, which is useful on vanities and curved sections where the front edge must feel comfortable in daily use.
- Standard slab thicknesses are usually 20 mm or 30 mm depending on the material selected.
- Edge faces are finished to match the visible top surface and the underside return is cleaned to a consistent line.
- Mitres, corner returns and waterfall-style ends need careful profile matching so the joints do not draw the eye.
- Where a sink or hob cut-out sits close to the front edge, the profile is checked for safe material left in place.
What the edge work includes in our workshop
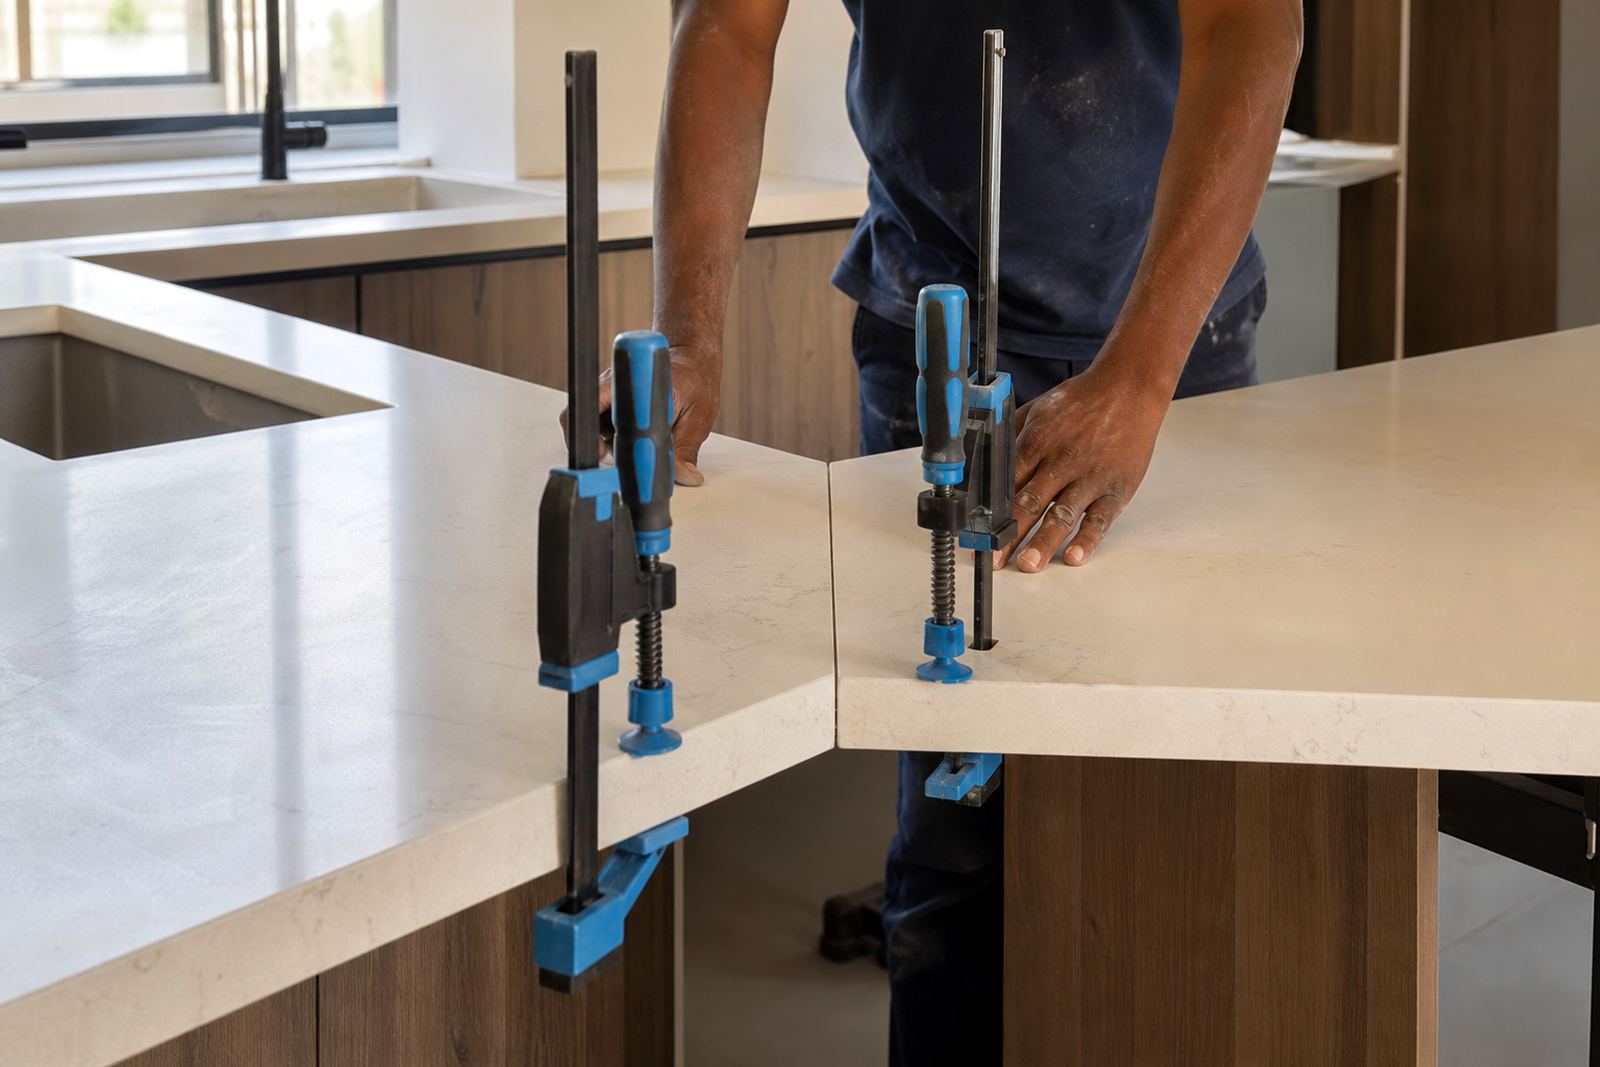
Our workshop team handles the edge from the first cut through to the final polish. That includes trimming the slab to size, routing the profile, sanding the edge, checking the line around sink cut-outs and preparing the surface for seam joining where two pieces meet. On site, the installer still checks the profile against walls, tiles and cabinet fronts because a neat edge can look wrong if the top was templated too tight or too loose.
Edge profiling is often paired with other fabricating work. A straight edge on a kitchen run may sit beside a splashback with a matching finish. A vanity top may need a softer front edge near a basin cut-out, while a shop counter may need a cleaner square line that suits a harder working surface.
- Profile routing for straight, pencil round, bevelled and eased edges.
- Hand finishing to remove small tool marks and stone dust.
- Dry fitting around mitres, corners and end panels before installation.
- Checks for chip-prone points near cut-outs, joints and exposed corners.
How the profiling process moves from template to fit
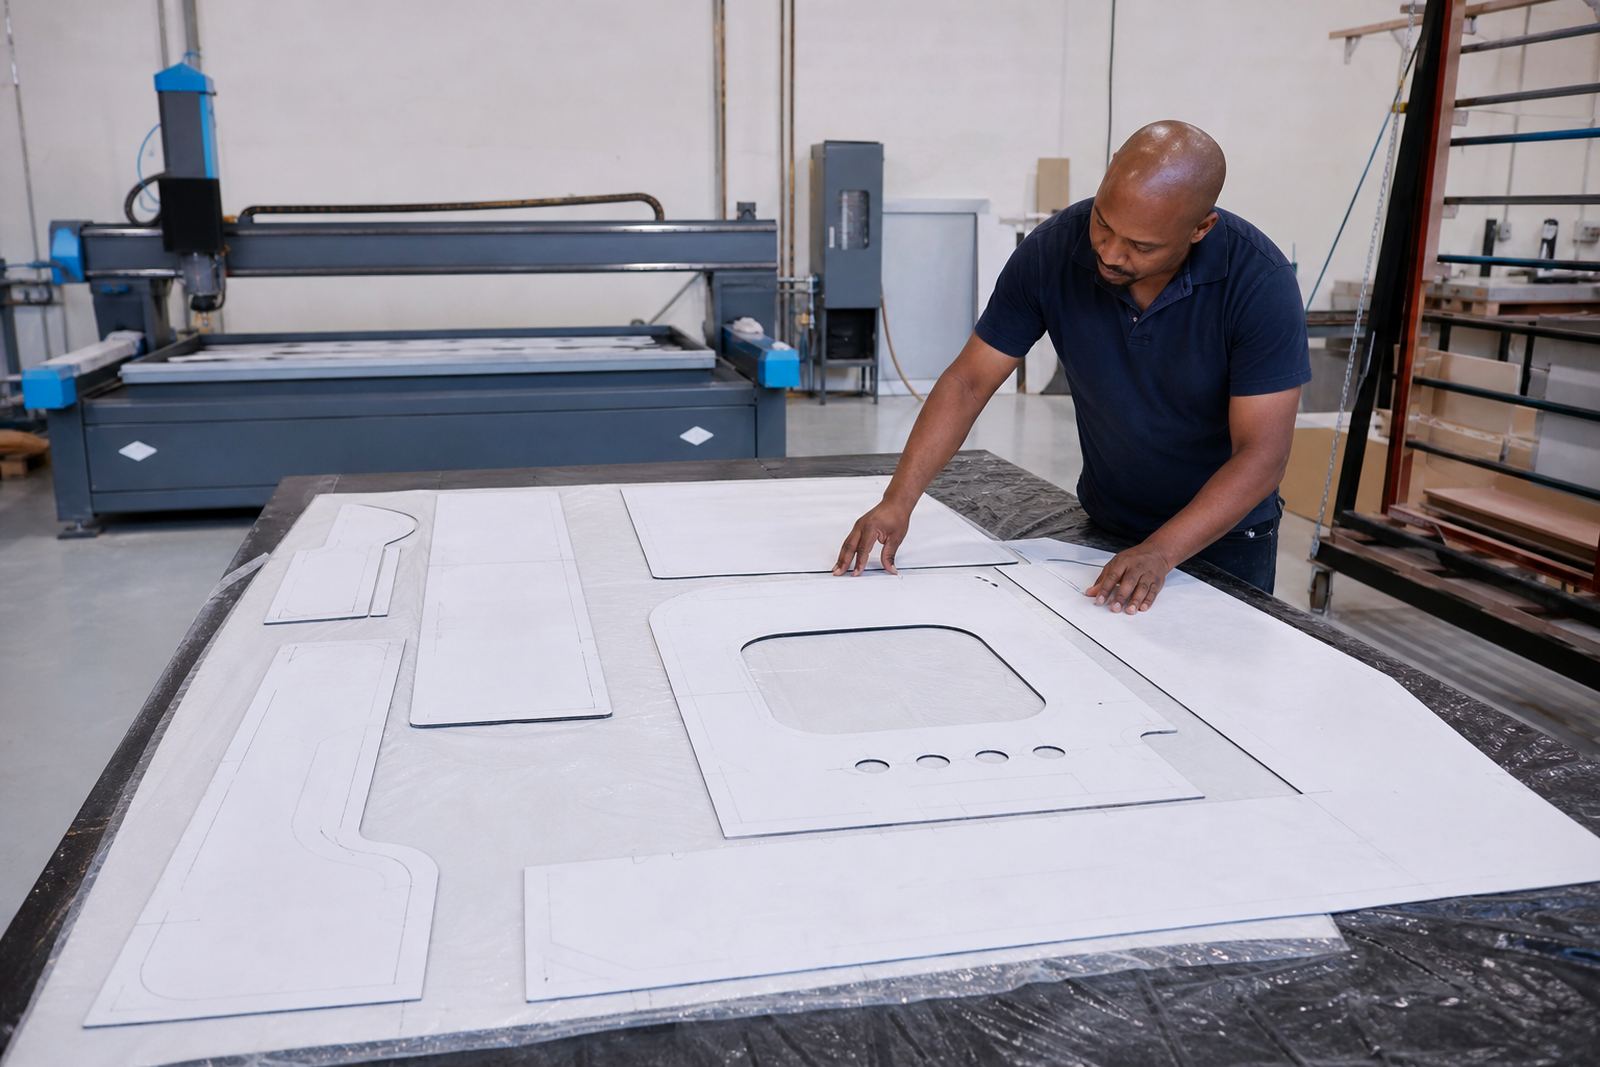
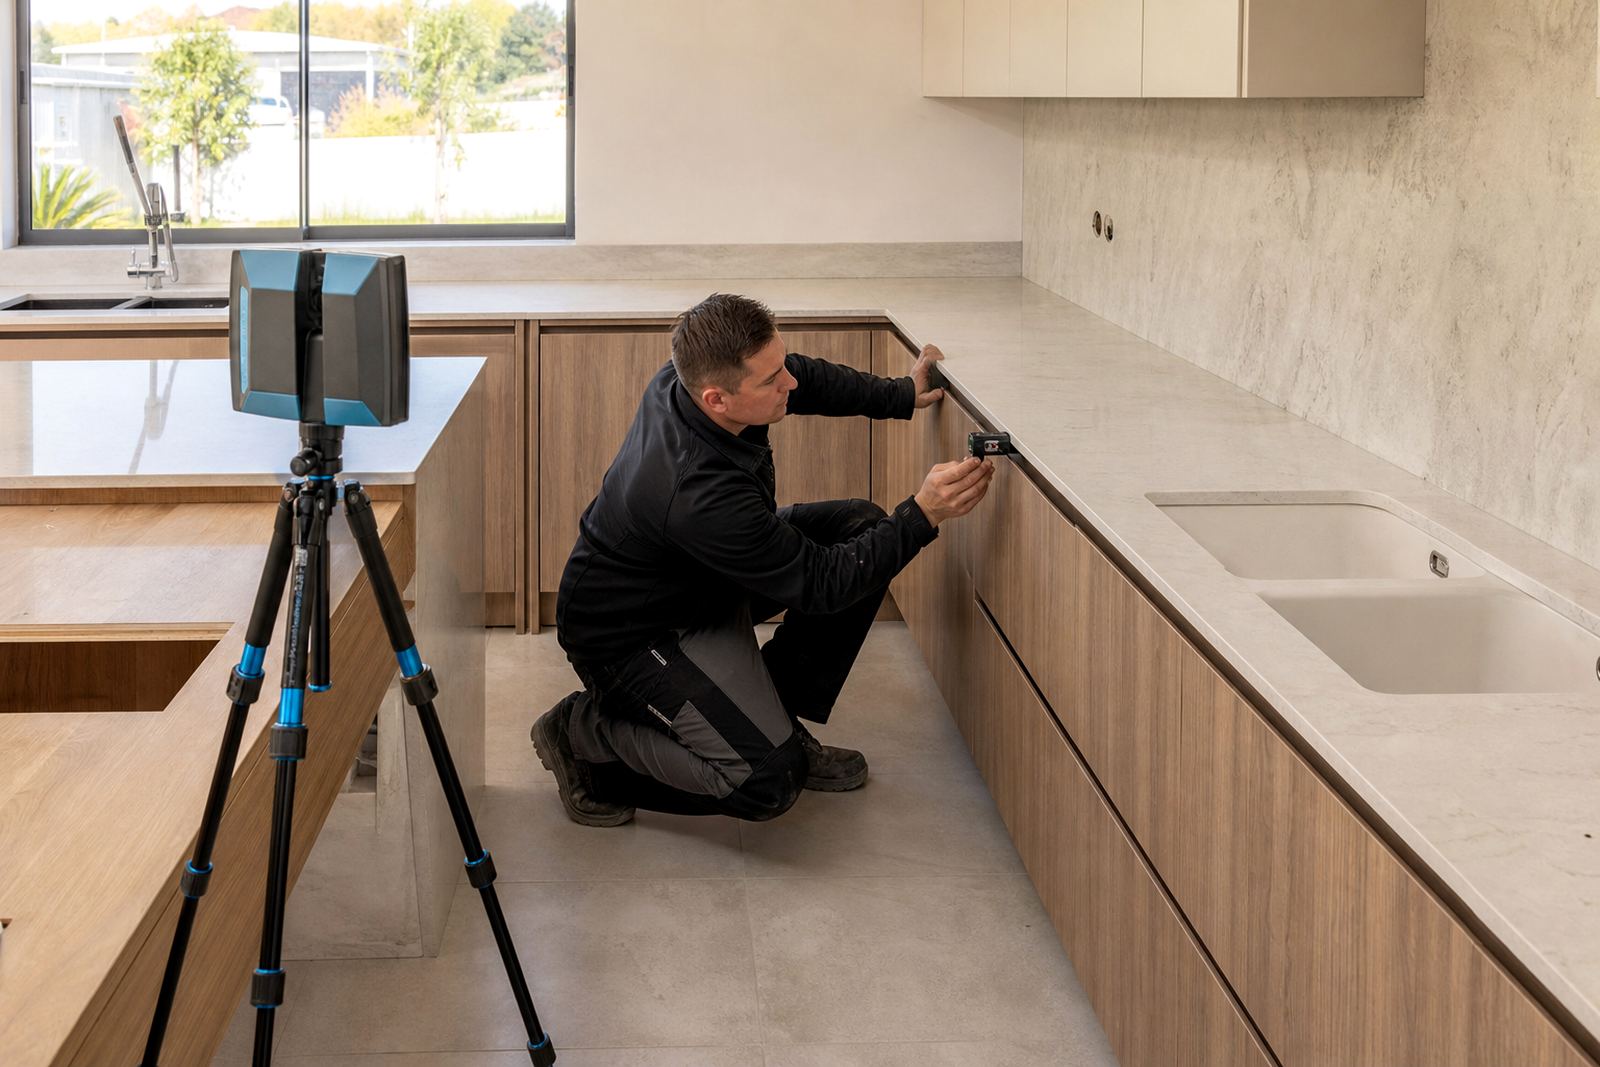
The process starts with site templating or digital measuring, because the edge detail has to relate to the final dimensions, not just a sketch. We note the slab orientation, visible grain movement where relevant, and the way the finished edge will sit against adjoining tiles, walls and appliances. Once the top is cut, the edge profile is formed in the workshop and the piece is inspected before installation.
The work follows a set sequence. The slab is marked, cut, shaped, profiled, sanded and then trial assembled where joints are required. Sink and hob cut-outs are made with enough allowance for fittings and clips. Seams are set out so the profile flows cleanly from one section to the next, especially on long kitchen runs or vanity layouts with returns.
- Template or digital measure captured on site.
- Slab layout planned to reduce waste and keep visible areas balanced.
- Cutting, profiling and seam preparation completed in the workshop.
- Installation finished with final alignment, sealing where needed and a surface check.
Care points for quartz and solid surface edges
Profiled edges need sensible care, especially around cooking, cleaning and daily contact. Engineered quartz handles normal household heat well, but hot pans should still not be placed directly on the top or against a profiled edge. Solid-surface material can be repaired more easily if scratched, yet it still benefits from avoiding sharp impact near corners and cut-outs.
For both materials, mild soap and a soft cloth are usually enough for everyday cleaning. Harsh abrasives, concentrated chemicals and scouring pads can dull the finish over time, particularly on a high-gloss edge. On splashback lines and vanity fronts, water should be wiped down rather than left to dry in heavy patches, because mineral marks show more quickly on darker colours and in coastal humidity.
- Use a soft cloth or non-abrasive sponge for routine cleaning.
- Lift hot cookware off the surface instead of sliding it across the edge.
- Wipe spills promptly, especially tea, coffee, wine and strong cleaning agents.
- Avoid striking the profile with pots, tools or hardware during installation and use.
Turnaround and pricing
Pricing for edge profiling depends on the material, slab thickness, the number of linear metres, the chosen profile and the amount of hand finishing required. A simple straight or pencil round edge is usually less involved than a bevelled or heavily detailed profile. Curves, mitres, waterfall ends and awkward cut-out positions also add workshop time because the edge has to stay consistent through each change in direction.
For projects in Johannesburg, Sandton, Pretoria, Midrand, Fourways and the wider Gauteng area, lead times depend on current workshop load and the details of the job. A kitchen top, vanity run and splashback set may share the same finish, but each piece still needs separate preparation and checking. We price from the measured scope rather than from a rough guess, because small differences in edge length can alter the workshop effort quite a bit.
- Profile type selected from the job brief and site condition.
- Material thickness confirmed before pricing the cut and polish stages.
- Joints, returns and exposed ends counted into the final scope.
- Installation access considered where large slabs must move through tight spaces.
When a clean edge matters most
Edge profiling is not only for show kitchens. It matters on office kitchenettes where corners get knocked by trolleys, on retail counters that carry steady hand contact and on vanity tops where the front edge is seen every morning. A clean profile helps the top feel deliberate, not improvised.
Some clients want the edge to stay quiet and minimal. Others want a slightly fuller face so the countertop reads as a finished furniture element. The right detail depends on the slab, the cabinet line and how the room is used. A short straight edge can suit a modern kitchen, while a softer rounded finish is often better on family bathrooms and places where people lean on the front edge often.
- Homes: kitchens, sculleries, vanities and feature splashbacks.
- Offices: tea points, reception counters and boardroom refresh areas.
- Shopfitters: display counters, service points and cashier surrounds.
- Project teams: matching profiles across multiple rooms or units.
After the job is fitted and finished
After installation, the edge should be checked at the join lines, around sinks and along exposed corners. If a small chip, scuff or joint mark is noticed early, it is easier to address before everyday use settles in. We give practical aftercare advice for the specific material and profile chosen, because a square edge, pencil round edge and bevelled finish all wear a little differently.
For solid-surface work, minor surface marks can often be treated more easily than on harder stone-look materials. For engineered quartz, keeping the edge free of grit and wiping away abrasive dust helps preserve the finish. Our advice is based on the actual top fitted and the profile and room conditions.
- Inspect the edge after cleaning and normal use starts.
- Keep cutting boards and trays in place where chopping or appliance movement is common.
- Report any visible movement at seams or corners before it becomes a bigger repair.
- Follow the care notes issued for the exact material and finish installed.
Key facts
| Service area | Strijdom Park, Randburg with installations across Gauteng |
|---|---|
| Materials | Engineered quartz and solid-surface countertops, vanities and splashbacks |
| Edge profiles | Straight, pencil round, eased and bevelled forms |
| Typical thickness | 20 mm and 30 mm slab options, subject to material selection |
| Related work | Sink cut-outs, hob cut-outs, seam joining and countertop installation |
| Contact | Contact form on our contact page |