Where a seam belongs, and where it should not
Seams are part of many countertop projects, especially where long runs, L-shaped layouts, island pieces or stair-stepped plans need more than one section. In engineered quartz, a seam must be placed with care because the joint line can show if the slabs are not matched for colour movement, thickness and edge detail. Solid-surface sections are more forgiving in some layouts, but they still need accurate cutting and a steady hand during bonding and finishing.
We look at the run, the sink position, hob clearance, overhangs and the way light falls across the surface. That helps us place the seam where it is least likely to catch the eye and where the joint can be supported properly underneath. A clean join is not just about glue. It depends on layout, support, clamp pressure and the final polish at the joint.
- Engineered quartz sections are usually joined in planned lengths, not forced into awkward positions
- Solid-surface seams can be blended more readily, but still need accurate levelling
- Visible joins become more noticeable near sink lines and bright window light
What our seam joining service includes
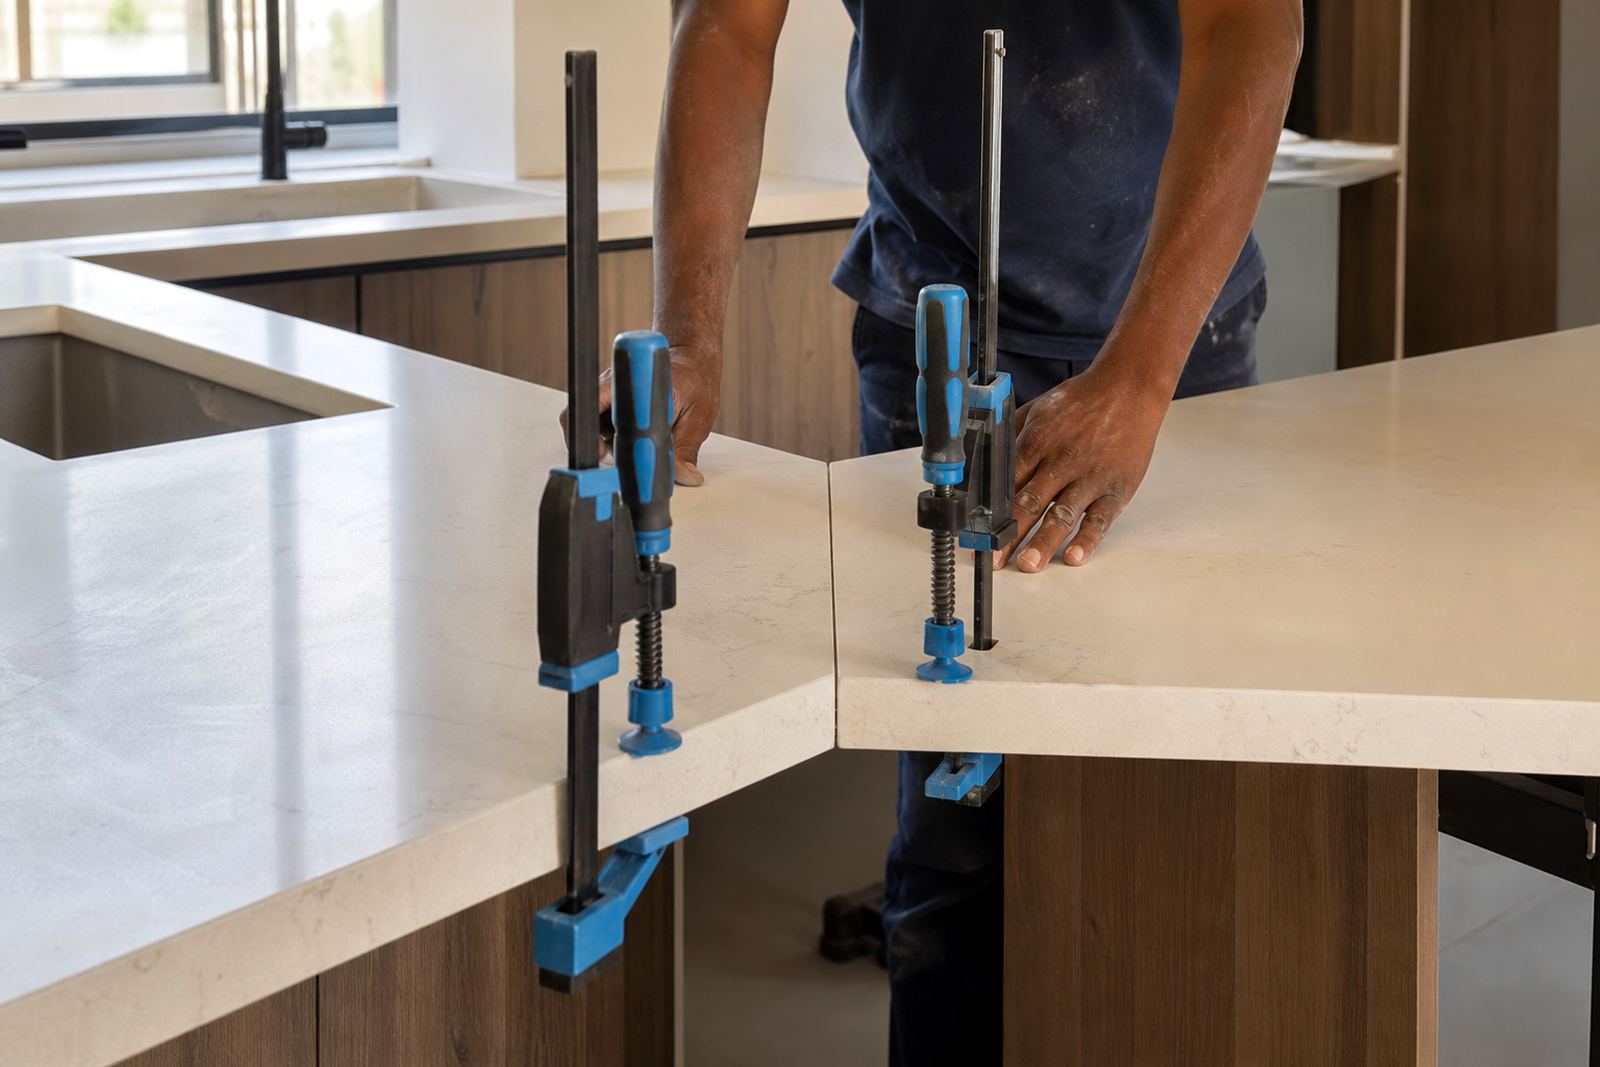
Our seam joining service covers the steps needed to bring two fabricated sections together for a tight, even finish. That includes checking the slab layout, preparing the cut edges, dry fitting the pieces, aligning the heights and joining the sections with the correct adhesive for the material type. For quartz, the join is set with careful colour matching and support beneath the seam. For solid-surface, the join is finished so it can be sanded and worked into the surrounding surface.
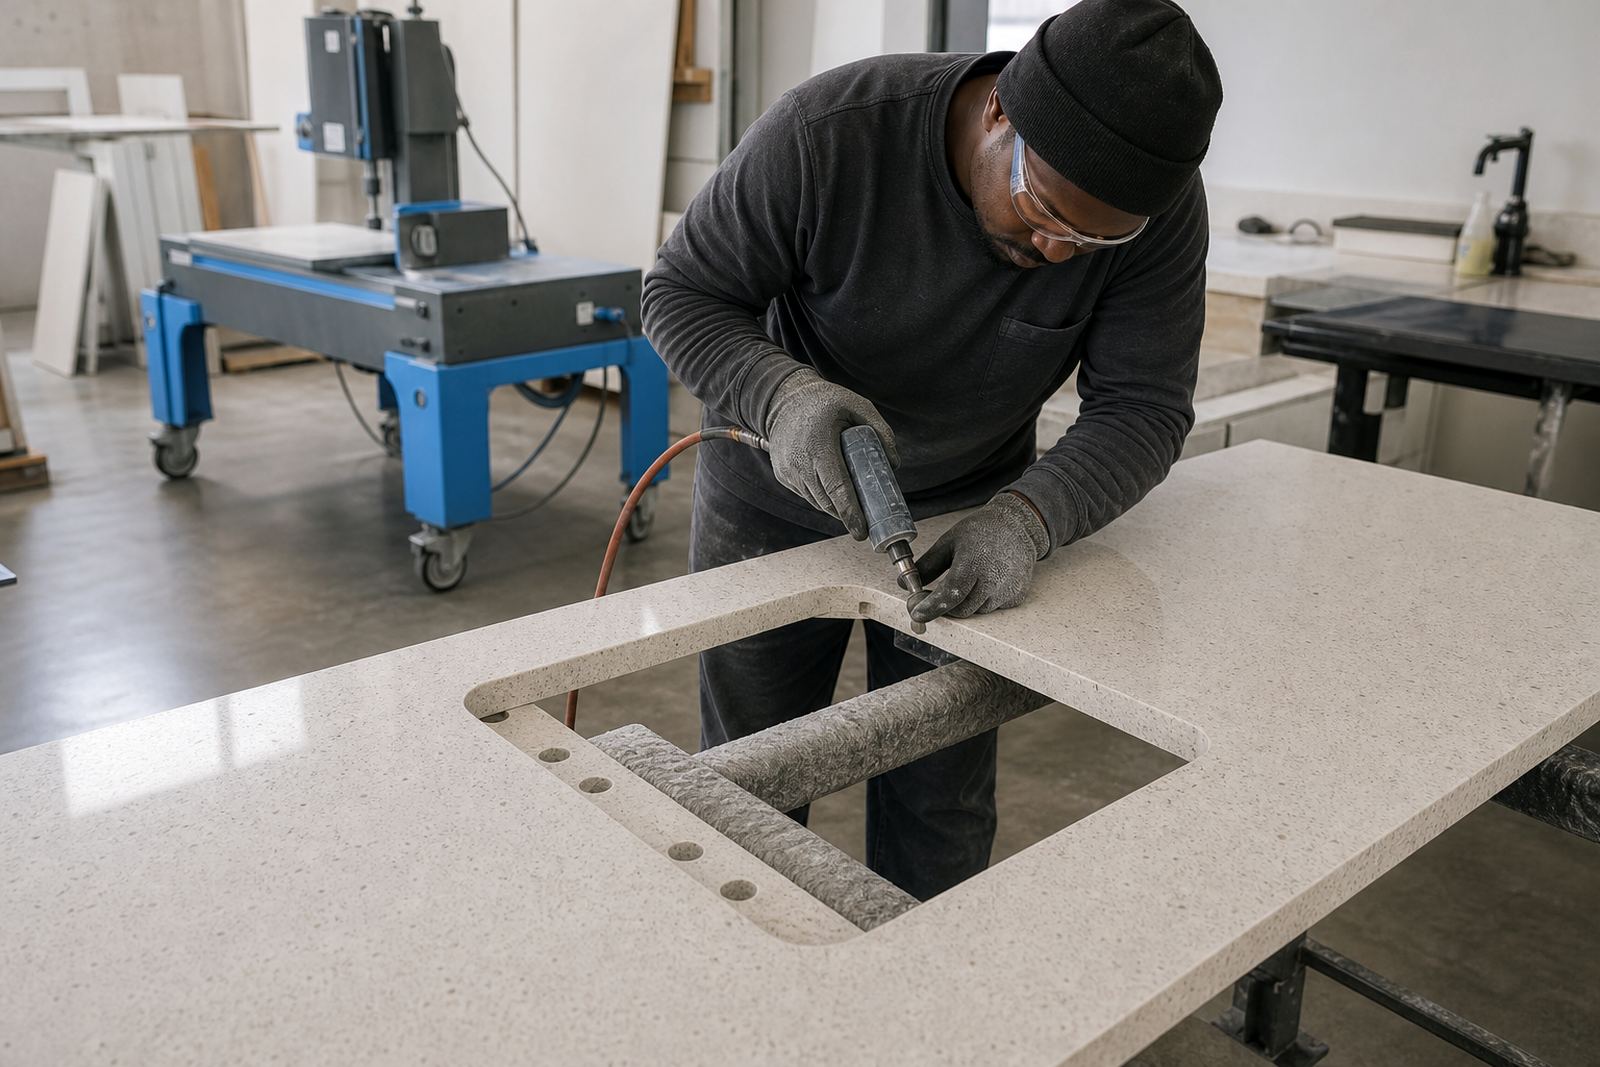
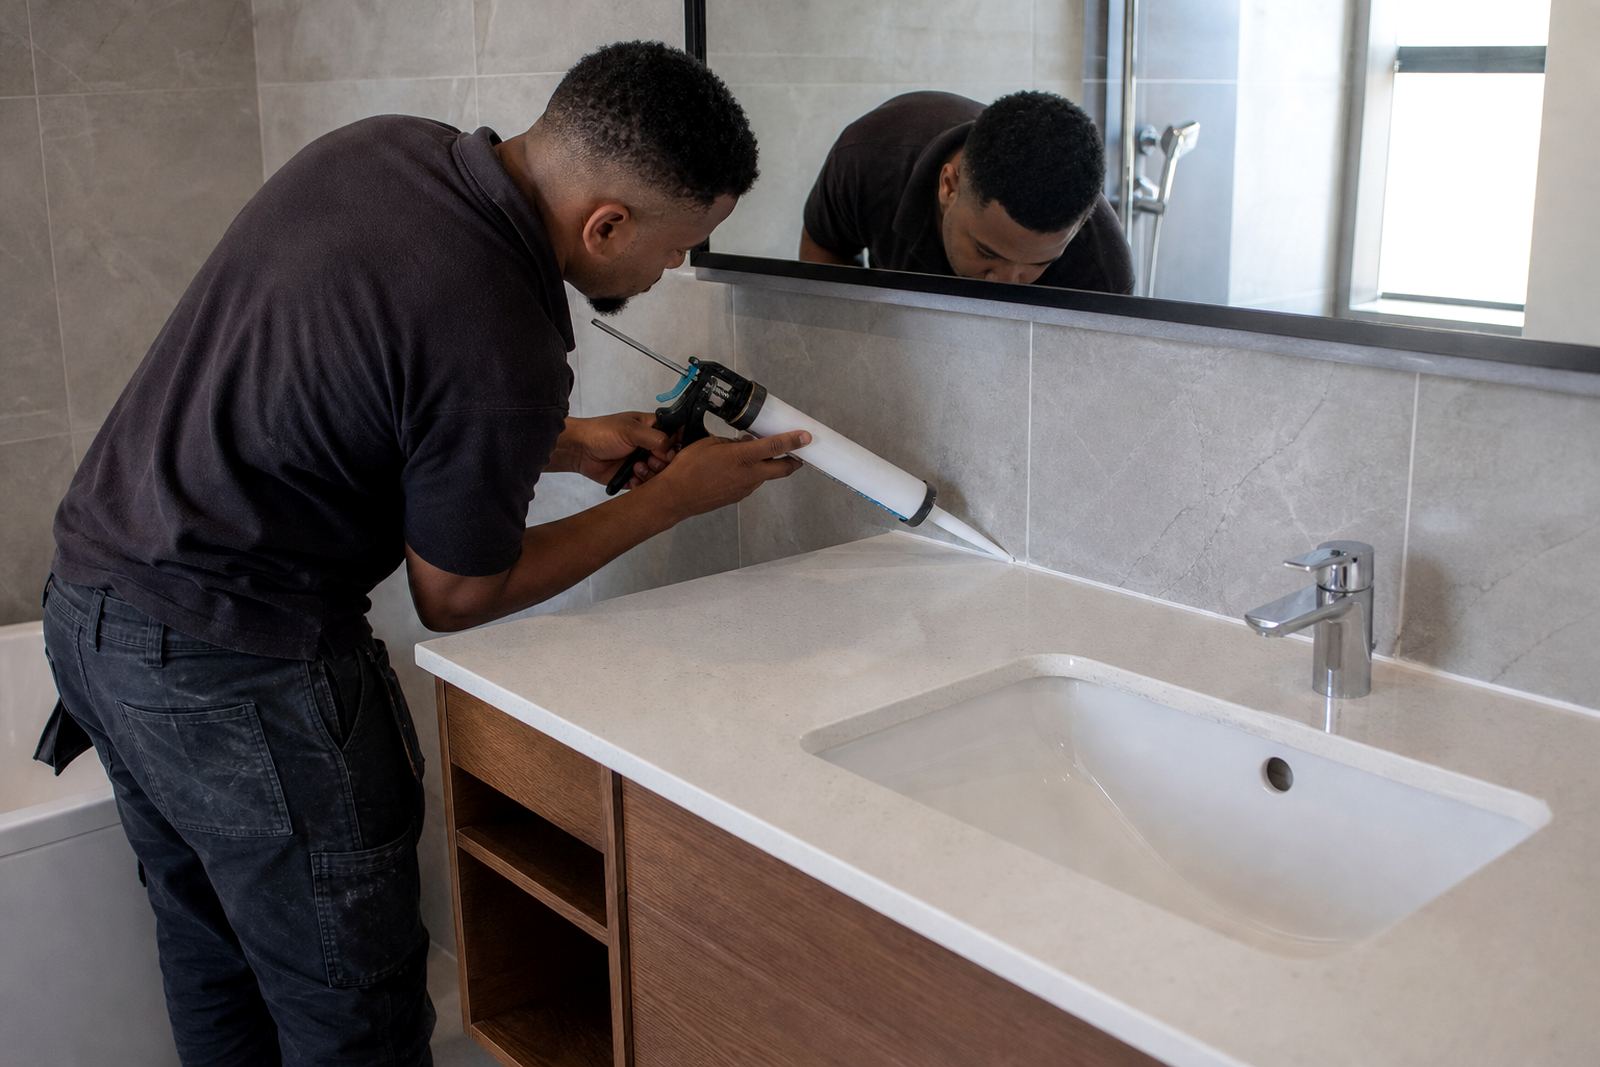
We also look at the surrounding fabrication details. If a seam passes near a sink cut-out, hob cut-out or corner return, the cut edges must be clean and square. Edge profiles are kept consistent so the joint does not stand out for the wrong reasons. On some jobs, seam placement is linked to splashback fitting or vanity installation, where the join must line up with walls that are not perfectly true.
- Dry fit and alignment before bonding
- Joint preparation and surface cleaning
- Support checks under the seam line
- Finish work around nearby cut-outs and edges
How the join is planned before the slab is cut
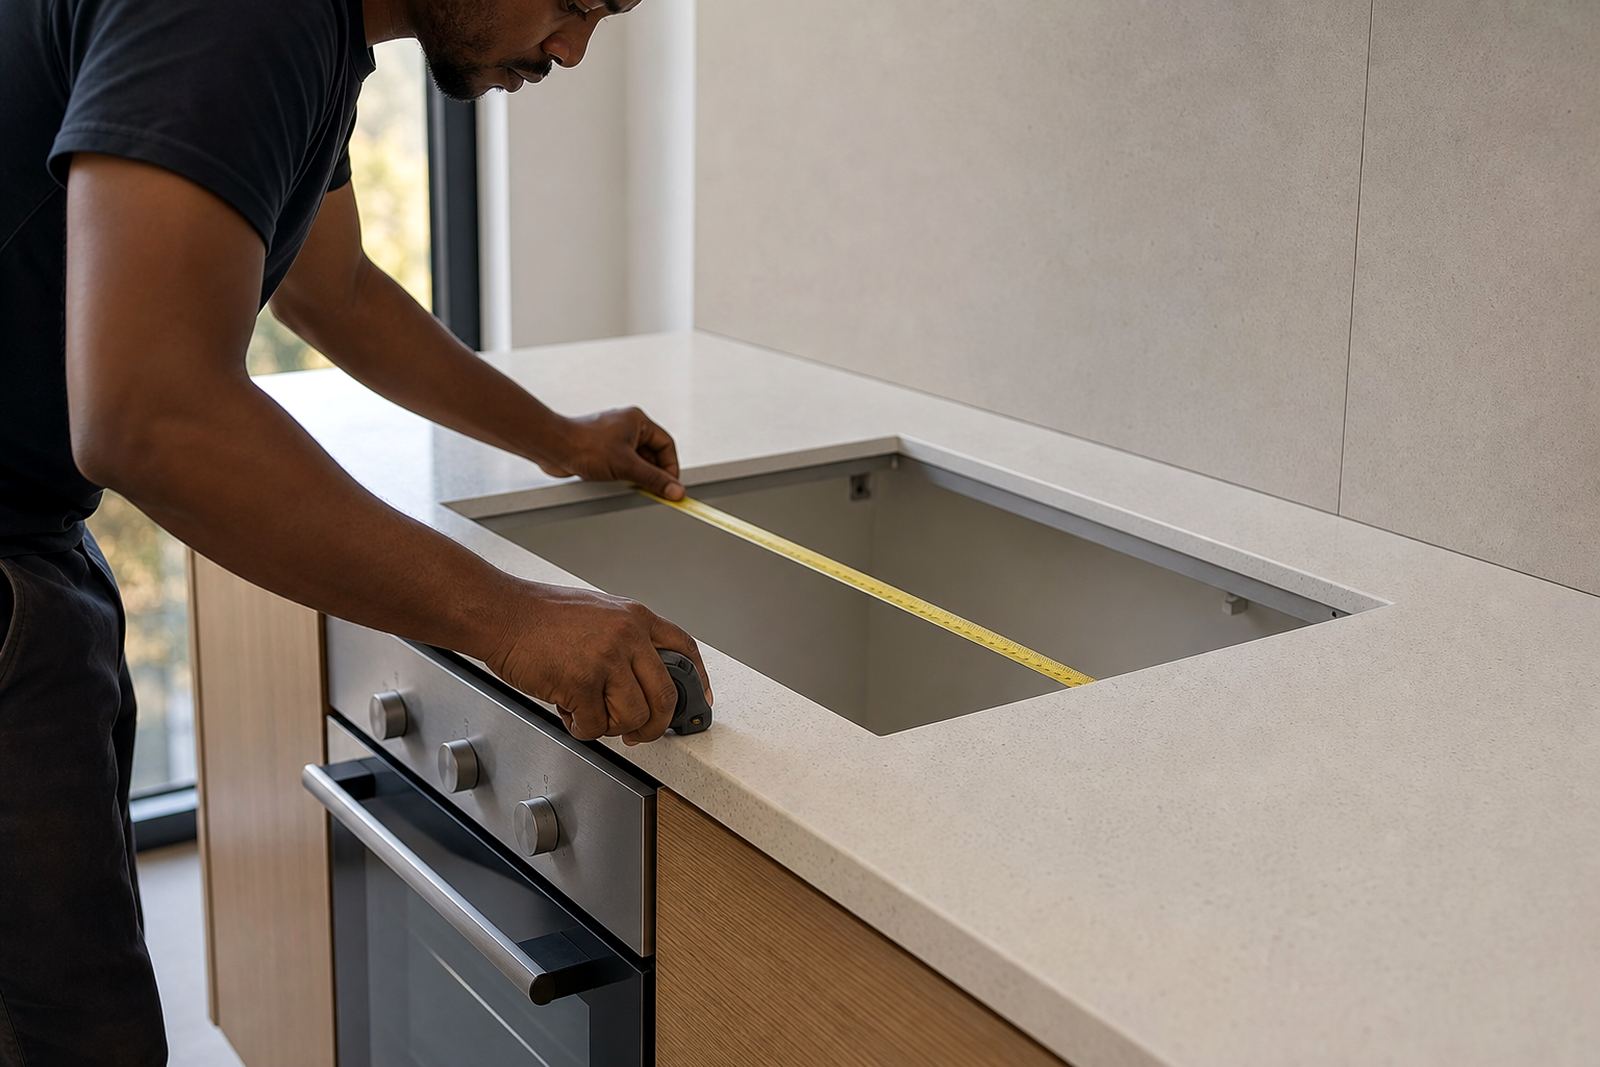
Good seam work starts before fabrication. During site templating and digital measuring, we mark the dimensions of the room, the position of walls, corners and fixed fittings, and the point where the countertop needs support. Slab layout planning then decides how the sections will be taken from the sheet material, so the seam sits in a sensible place rather than landing where it is likely to be seen first.
The thickness of the material matters here. Common engineered quartz and solid-surface tops are used in thicknesses such as 12 mm, 20 mm and 30 mm, depending on the design and structure below. The edge profile also changes the feel of the seam, whether it is square, eased or more shaped. When the joint is prepared from the start, the finish is neater and there is less pressure on the installation team when they are on site in Johannesburg, Sandton, Midrand, Fourways or Pretoria.
- Site templating supports accurate seam placement
- Slab layout planning reduces waste and awkward joins
- Thickness and edge profile are matched to the project design
A careful process from workshop to site
Once the sections are cut and edged, the workshop checks the joint faces for straightness and finish. Any sink opening or hob opening nearby is measured again against the template so the seam does not drift during installation. On site, the countertop is levelled, dry fitted and marked before the bond is made. The join is then clamped or held in place while the adhesive sets and the surface is cleaned down.
After the bond has cured, the seam is dressed and polished as needed. In solid-surface work, that can include more visible blending into the surrounding top. In quartz, the goal is usually a neat, thin line with the surfaces brought to the same height. The result depends on the original board pattern, the join position and how much light falls across the counter. A seam across a straight run can be nearly invisible from one angle and easier to spot from another, so we aim for the most discreet outcome practical for the material.
- Workshop checks before delivery to site
- Dry fitting before the adhesive is used
- Levelling, bonding and final dressing at the joint
Turnaround, pricing and what changes the job size
Seam joining is priced within the full fabrication and installation brief, with the material, cutting and fitting kept in view. The final cost depends on how many joins are needed, whether the material is quartz or solid-surface, the length of the run, the edge profile, cut-outs and whether the seam must be worked around a sink, hob or corner return. Transport and site access in areas such as Randburg, Roodepoort and Centurion can also affect the scope where heavy sections need extra handling.
Jobs with long straight runs are usually easier to plan than layouts with multiple corners, islands and returns. For shopfitters and offices, the seam plan may need to suit front-of-house counters, display units or reception areas where appearance matters from both sides. We keep the pricing approach tied to the actual fabrication work, so the quote reflects the material, the cutting and the fitting rather than a one-size-fits-all figure.
- Material type changes the finishing method
- Longer runs and extra joins add workshop time
- Cut-outs, edging and site access affect the scope
Care after the seam is in place
Aftercare matters, especially where the seam sits close to sinks, hot cookware or daily spill areas. Quartz and solid-surface tops both need sensible care with mild cleaning products and non-abrasive cloths. Hot pots should not be placed directly on the surface, and acidic spills are better wiped up rather than left to sit on the joint. If the seam line is ever exposed to standing water for long periods, the bond area should be kept dry and inspected for movement in the surrounding support.
For solid-surface counters, minor marks near the seam can often be dressed out more easily than on quartz, where the finish is harder and less forgiving of rough treatment. Either way, the aim is to protect the alignment, the edge and the polished surface around the join. Our aftercare advice covers everyday use in homes, offices and shopfitted spaces, including vanities and splashbacks where moisture and cleaning habits differ from one room to another.
- Use mild cleaners and soft cloths
- Keep the seam area dry after spills
- Avoid direct heat on the countertop
- Report movement, lifting or edge damage for assessment
Key facts
| Material types | Engineered quartz and solid-surface |
|---|---|
| Typical slab thicknesses | 12 mm, 20 mm, 30 mm |
| Join methods | Dry fit, align, bond, level, dress |
| Related fabrication | Sink cut-outs, hob cut-outs, edge profiling |
| Service areas | Strijdom Park, Randburg and Gauteng installation areas |
| Project types | Kitchens, vanities, shop counters and office tops |