What gets mapped before the first cut
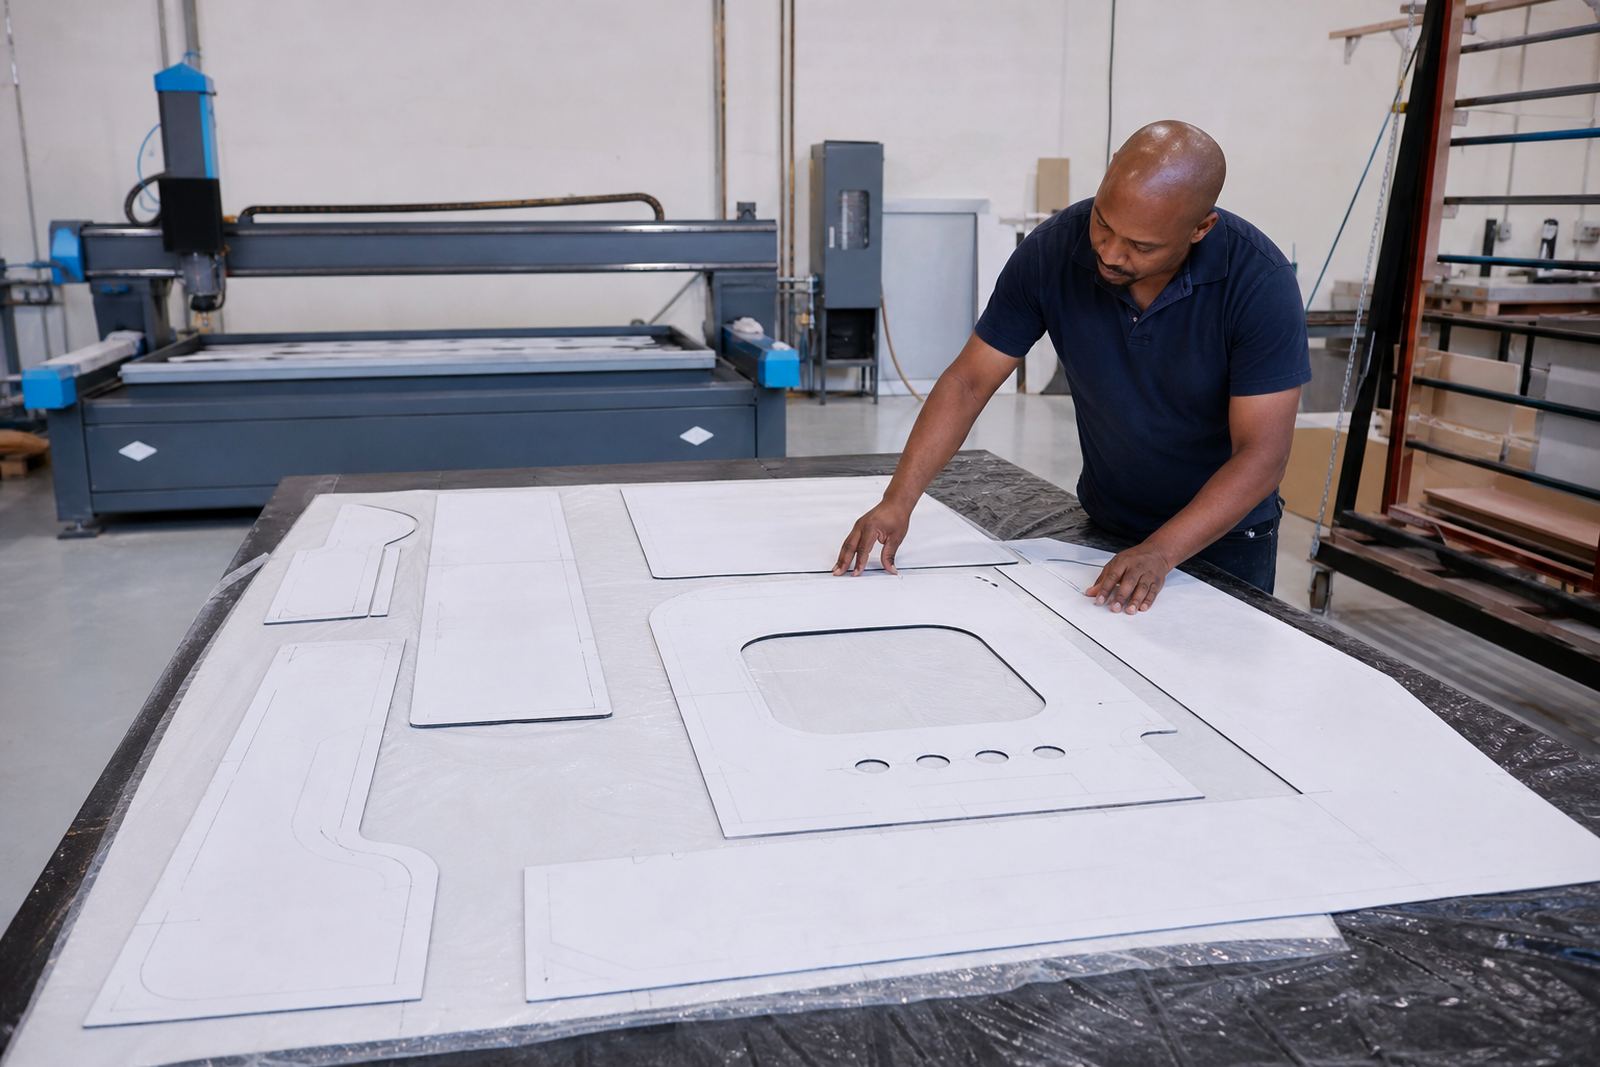
Slab layout planning starts with the measured room, the slab size and the way the material will sit on the cabinets or support structure. We look at run lengths, corner returns, breakfast counters, islands and raised sections, then mark where joints can be placed without fighting the eye line. On patterned quartz, the direction of movement matters as much as the size of each piece.
For solid-surface tops, the layout still needs care, even though the visual effect is usually softer. We plan around sink positions, hob openings, drainer grooves where needed and any visible front edges. The aim is a layout that is practical to cut, practical to fit and sensible for long-term use in homes, offices and shopfit projects.
- Seam positions are set before fabrication starts
- Pattern direction is checked against the room layout
- Large spans are broken into manageable sections
- Cut-outs are placed where the slab can carry them properly
How the layout is worked through on our side
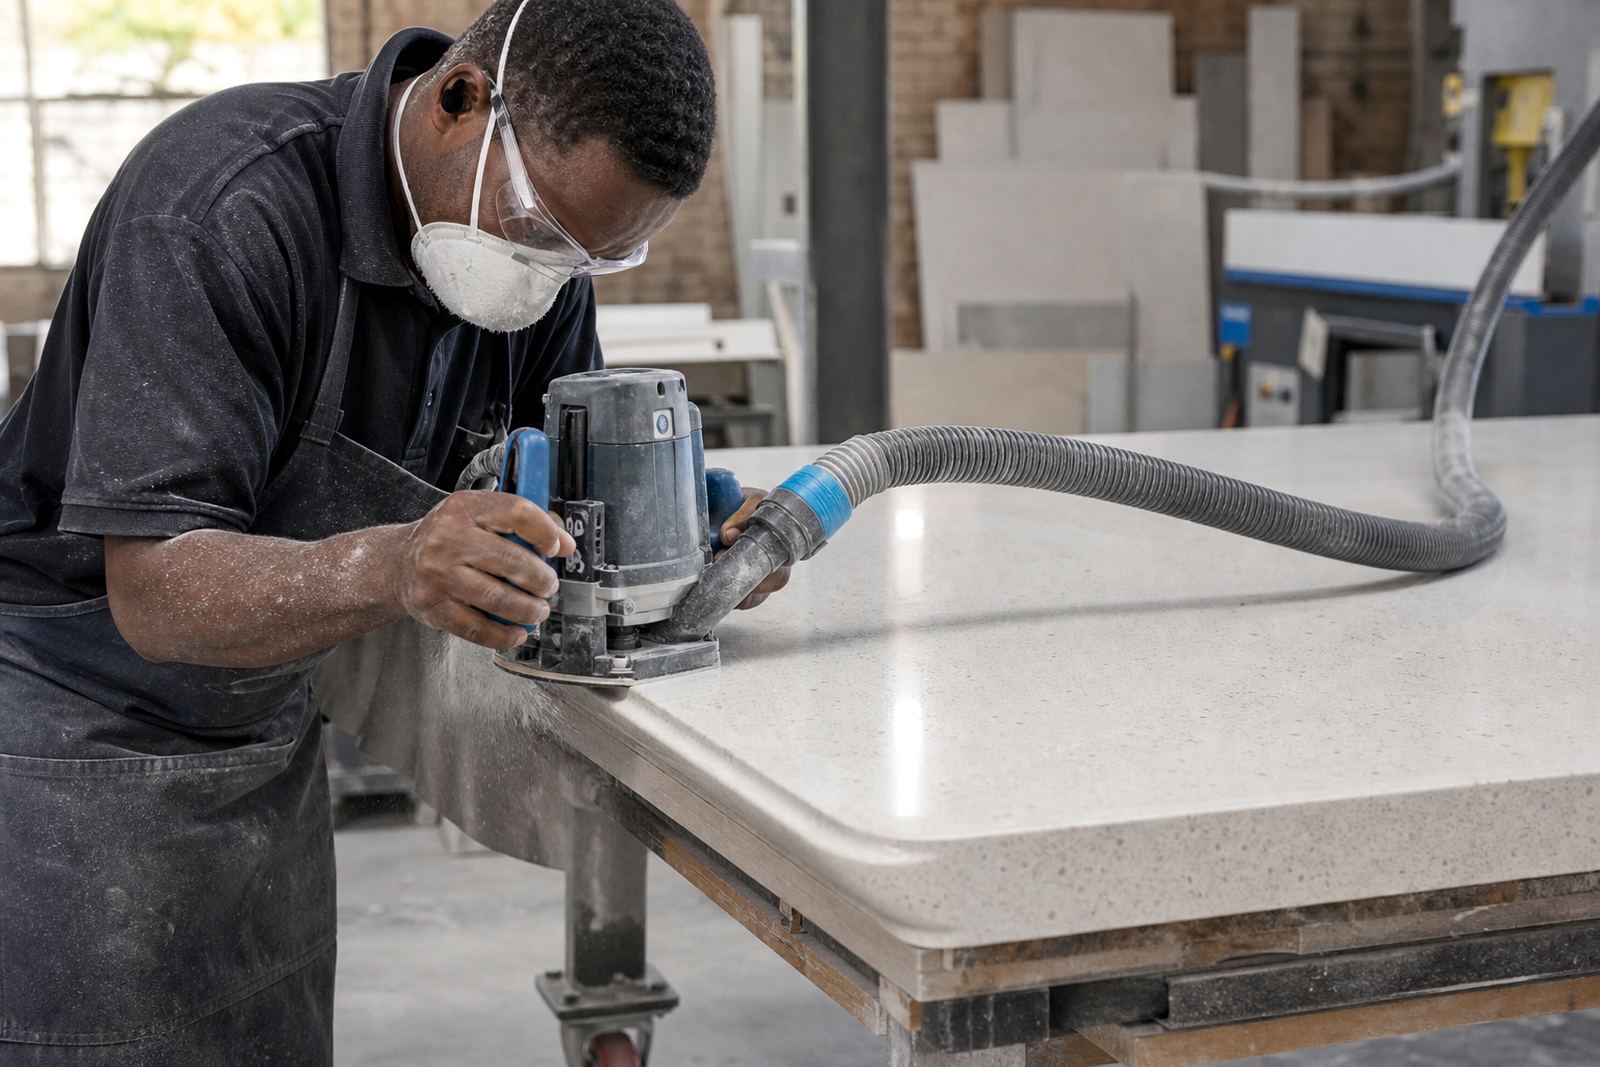
The process begins after site templating or digital measuring, once the opening sizes and final cabinet lines are clear. Our team reviews the room shape, overhangs, mitre details, splashback heights and any wall movement that affects the final fit. A slab plan is then drawn up for the workshop so cutting can follow a sensible sequence.
Johan Ngwenya leads templating input, while Sibusiso Mdlalose checks how the workshop sequence will affect the finished pieces. That back and forth matters on jobs with long island tops, waterfall returns or tricky corners, where one poor seam can throw off the whole face of the installation.
- Template or digital measure comes first
- Room geometry is checked against slab size
- Visible seams are positioned with the finished view in mind
- Fabrication notes are passed to the cutting table and fitting team
Specs that shape a cleaner layout
Engineered quartz is usually supplied in slab thicknesses of 12 mm, 20 mm or 30 mm, with 20 mm being common for kitchen and vanity work. Solid-surface sheets are often used in similar thickness ranges, though detailing can vary depending on the profile and build-up needed at the front edge. Where extra body is required, the layout can include laminated edges or stepped details so the finished face reads as one solid piece.
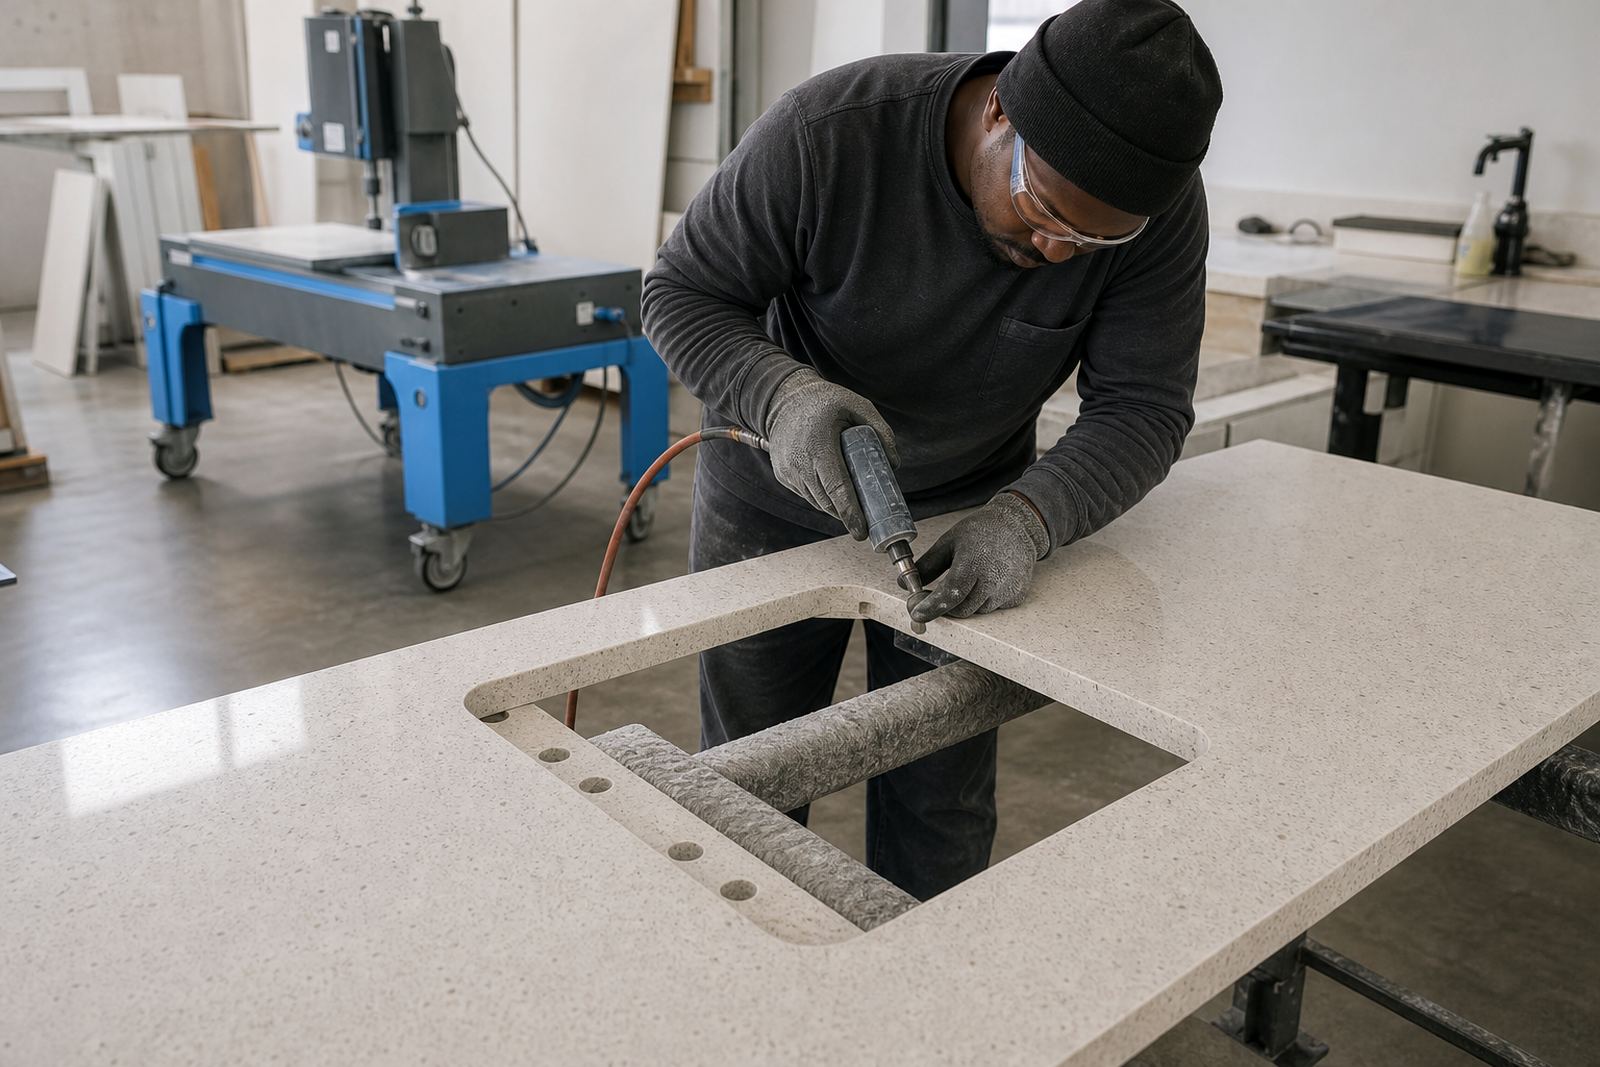
Sink cut-outs and hob cut-outs need extra material around the opening, especially where the client wants a clean undermount finish or a flush set-in result. Seam placement should avoid weak points close to cut-outs. Where possible, the layout keeps joins away from the tightest stress areas and away from the most obvious viewing positions.
- Thickness options are checked against the proposed profile
- Edge build-up can be planned for a fuller front face
- Sink and hob openings are allowed for in the cut map
- Seams are kept clear of high-stress points where practical
Where the seams go, and why that matters
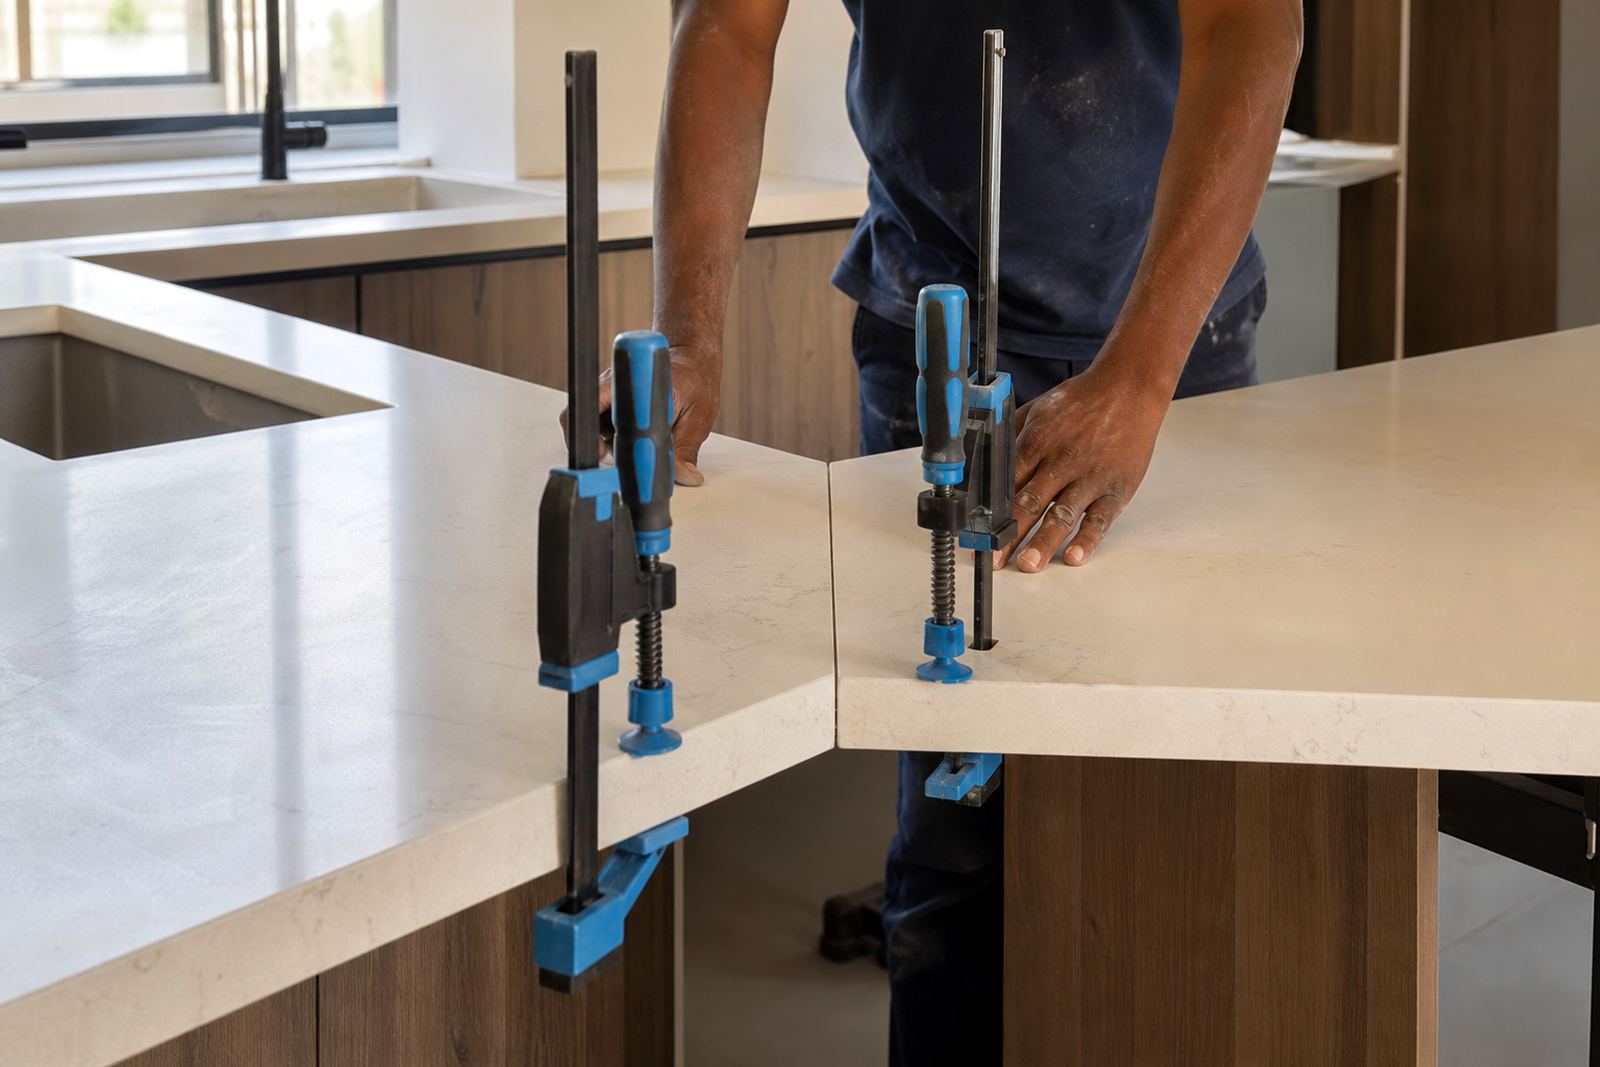
A good seam is the one you notice least. In layout planning, we place joins where the eye naturally breaks, such as behind a sink line, at a cabinet change, or across a less visible return. That does not mean hiding poor workmanship. It means using the geometry of the room to the job’s advantage, so the surface feels intentional.
Patterned quartz needs extra attention because veining and flecking can pull the eye across a room. A seam placed across a strong vein break can feel wrong, while a joint aligned with the pattern movement looks calmer. For plain solid-surface finishes, the joint can be more discreet, but it still needs to be planned with the cabinet layout and installation sequence in mind.
- Seams are planned around natural sight lines
- Pattern break points are checked against the slab face
- Joint positions are matched to cabinet changes where possible
- Installation access is considered before the workshop starts
Turnaround and pricing approach
Slab layout planning is usually bundled into the wider measuring and fabrication workflow, rather than treated as a loose extra. The actual time needed depends on how many pieces the job carries, whether there are mitres, splashbacks or island returns, and how much pattern matching is needed across the slab.
Pricing is shaped by the amount of planning time, the complexity of the cuts and the number of coordinated pieces that must line up on installation day. A straight vanity top with one cut-out is far simpler than a large kitchen with an island, waterfall panels and matching seams. We keep pricing tied to the drawing and fabrication work that the job needs.
- Simple tops need less layout time than multi-piece kitchens
- Pattern matching adds planning work
- Mitres, waterfall returns and splashbacks affect the layout schedule
- Final figures depend on measured dimensions and fabrication detail
Aftercare that protects the layout you paid for
Once the tops are installed, the layout still benefits from sensible use. Engineered quartz handles daily kitchen work well, but hot pans should not be placed directly on the surface and abrasive cleaners should stay off the finish. Solid-surface counters are easy to maintain too, though sharp scrubbing pads and harsh chemicals can mark the face if used carelessly.
Keep an eye on sealant lines around sink edges and splashbacks, and wipe up standing water near seams rather than leaving it to sit. If a joint or edge detail begins to show movement after installation, it is worth raising early so the correct repair or adjustment can be assessed. Thabo Rademeyer handles aftercare guidance for the completed work.
- Use trivets or heat pads for hot cookware
- Wipe spills, especially tea, wine and cooking oils
- Avoid scouring pads on polished faces
- Report edge movement, joint gaps or lifting as soon as they are noticed
Key facts
| Service | Slab Layout Planning |
|---|---|
| Materials | Engineered quartz and solid-surface |
| Thickness guide | 12 mm, 20 mm and 30 mm options |
| Included work | Template review, seam mapping, cut-out planning |
| Coverage | Strijdom Park, Randburg and Gauteng |
| Use cases | Kitchens, vanities, splashbacks, shopfit and office tops |