What our templating visit checks on site
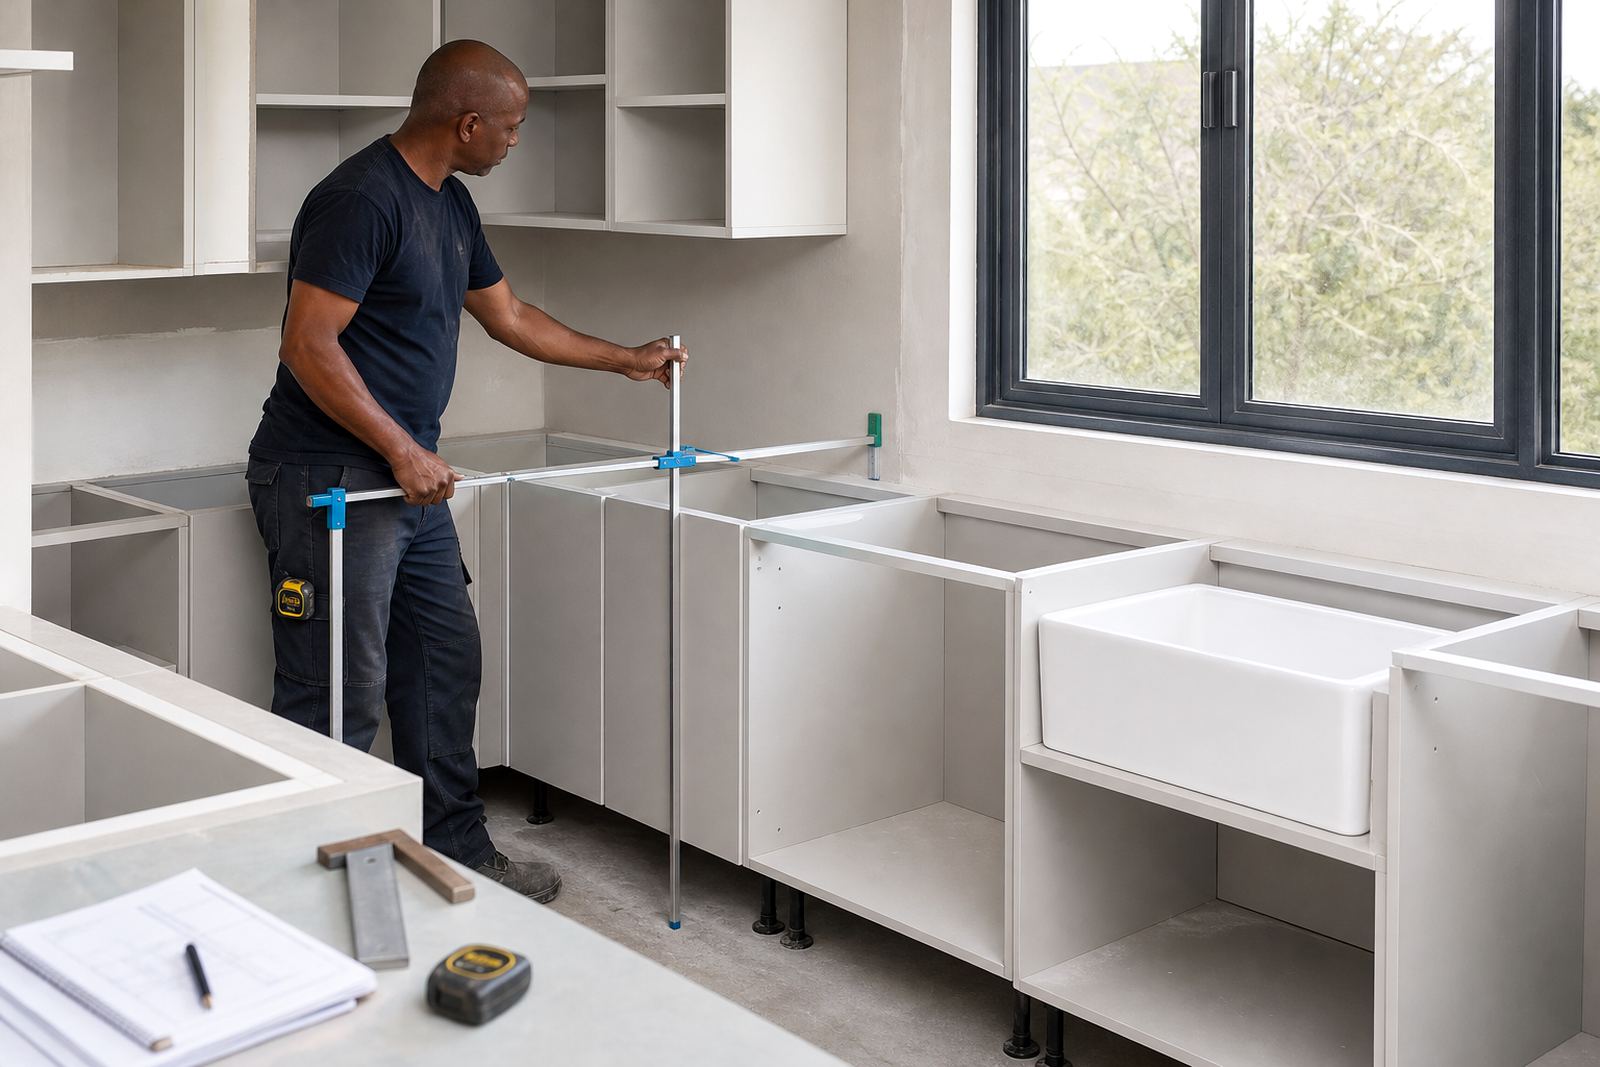
The templater records the real conditions in the room, not the ideal drawing. That means cabinet lines, corner angles, hob positions, sink centres, splashback heights, window reveals, wall bows and any change in floor level that can affect the finished top.
For engineered quartz and solid-surface work, a few millimetres matter. A template that follows the room properly helps the workshop plan seam positions, slab direction, cut-outs and edge details before cutting starts.
- Cabinet tops and support rails are checked for level and bearing points.
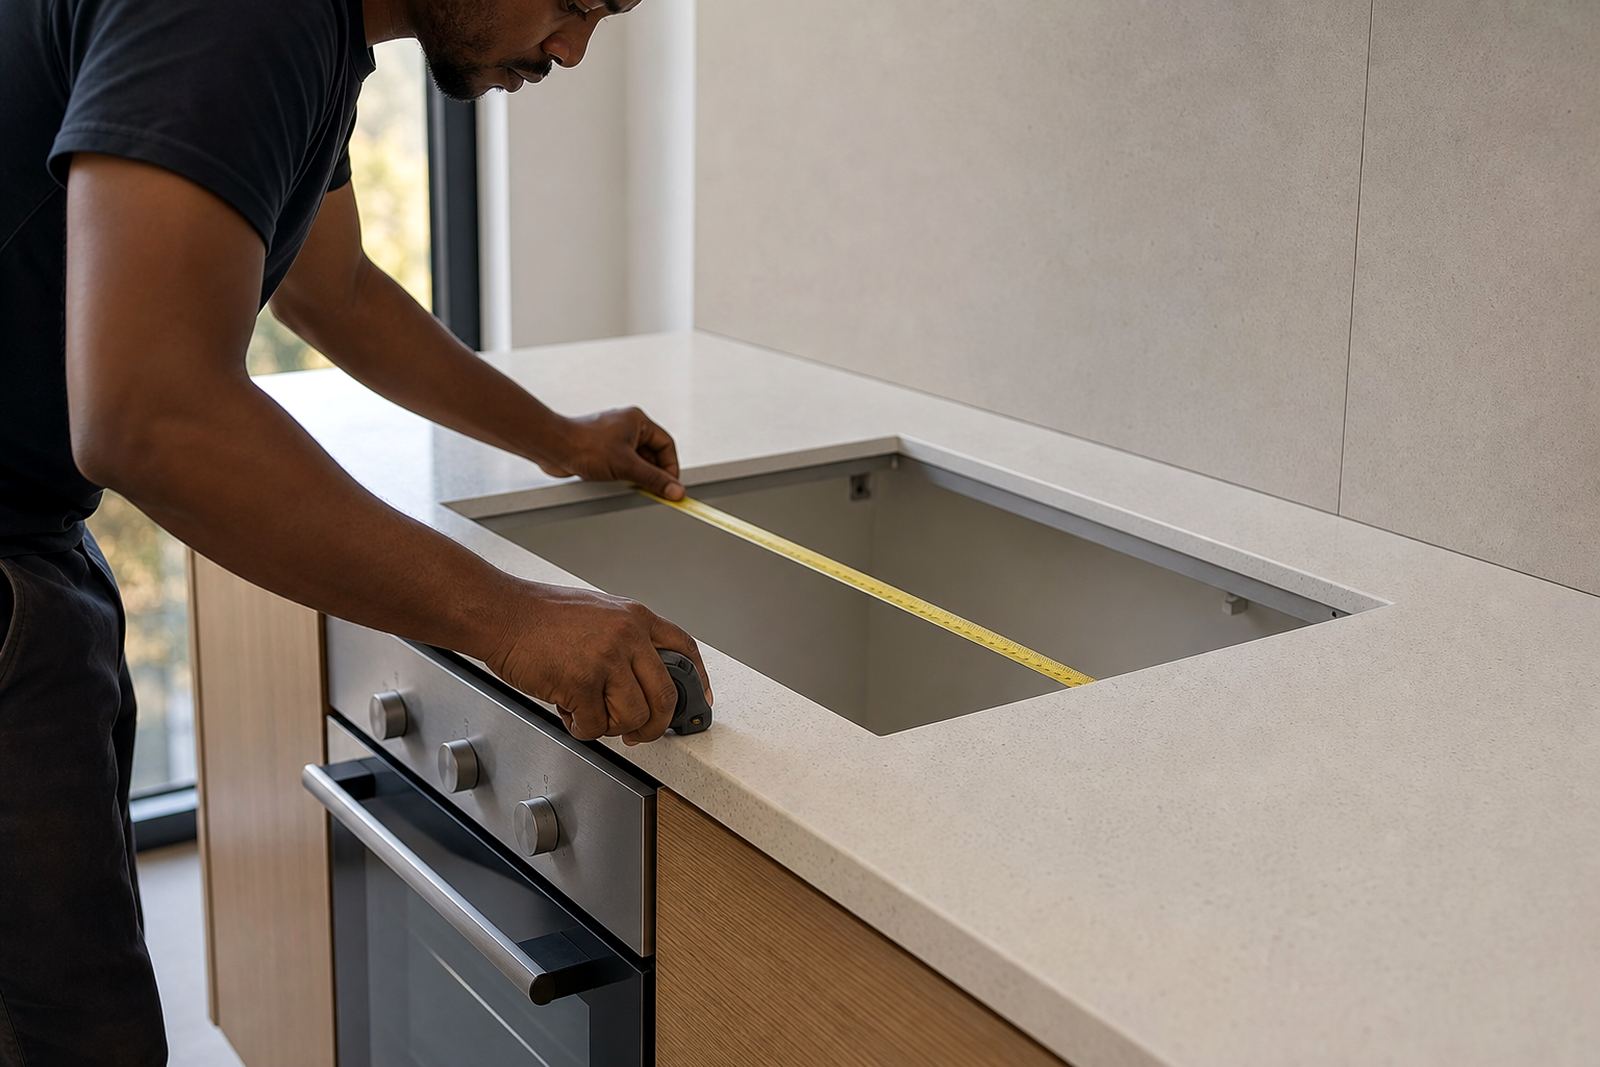
- Sink cut-outs and hob cut-outs are marked to the appliance spec.
- Seam lines are planned away from weak corners where possible.
- Wall conditions are noted where the splashback or upstand must fit tight.
How the templating sequence runs
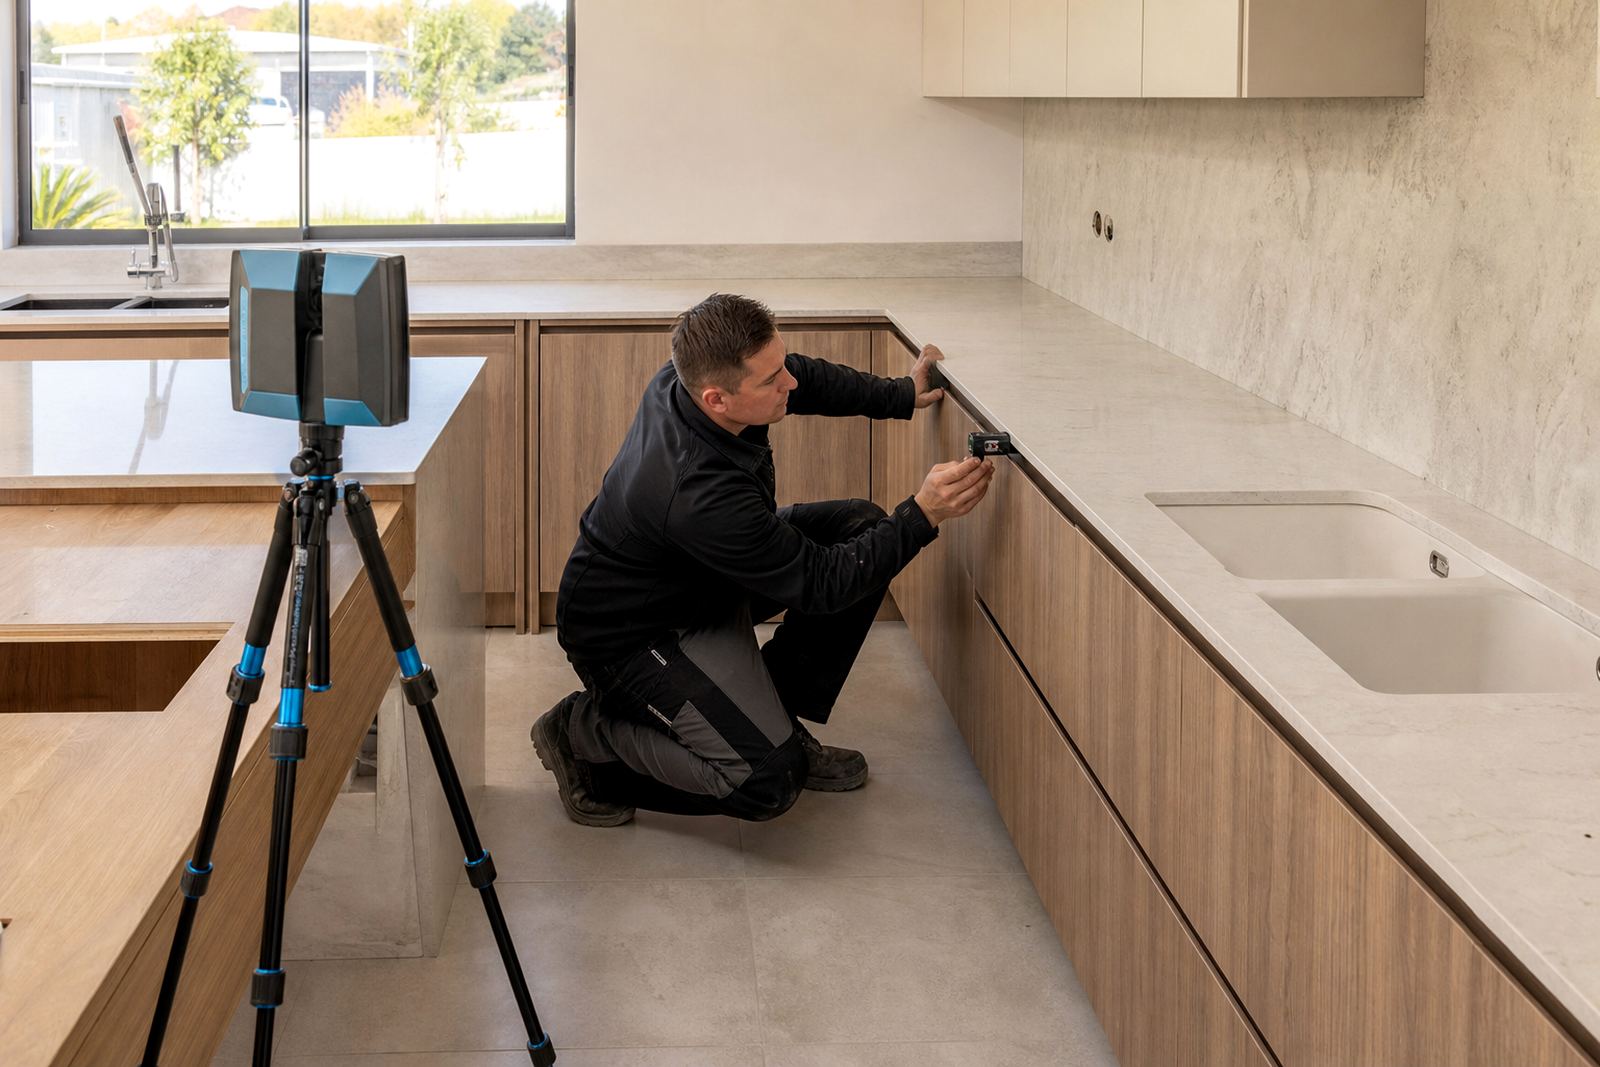
The visit starts with a walk-through of the work area and a check of the proposed layout. Measurements are then taken with digital equipment and verified by hand where a corner, return or stepped section needs closer attention.
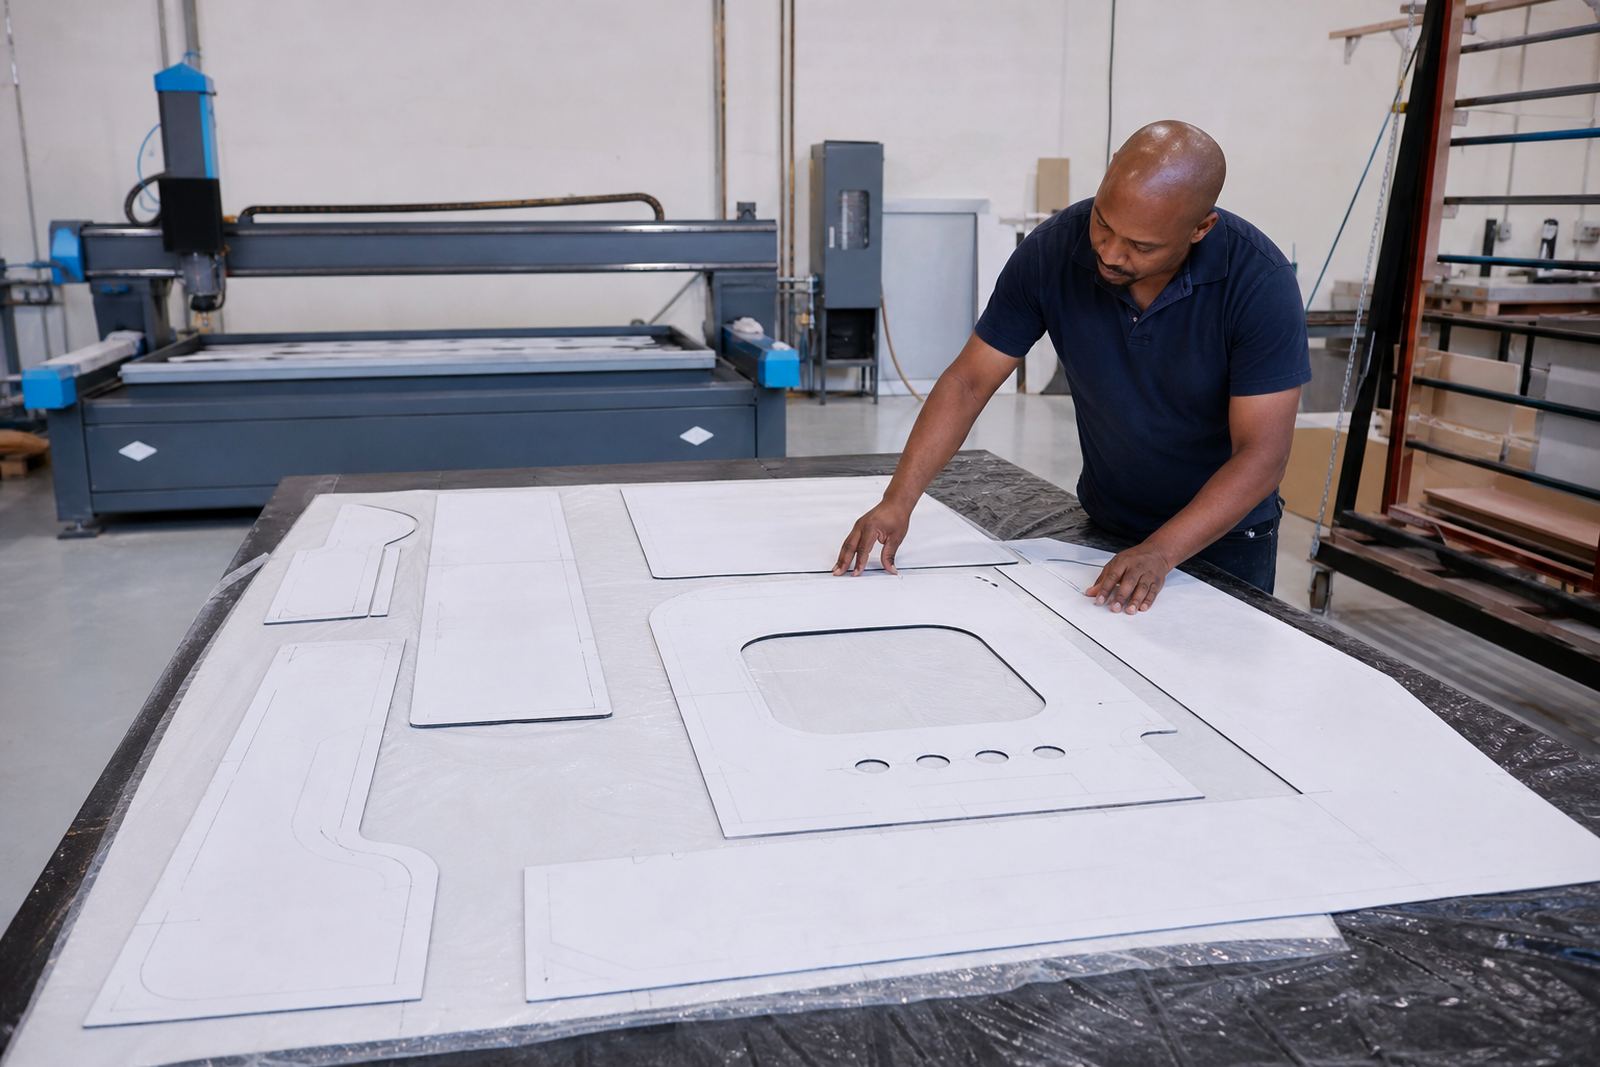
After that, the room is mapped for slab layout planning. This helps us place joints, grain or pattern movement and offcuts in a sensible way, especially on long runs, island tops and vanity sections with wrapped sides.
- Confirm the finished height and overhangs.
- Check appliance positions against the cabinetry.
- Mark splashback ends, mitres and exposed edges.
- Record access details for installation day, including lifts, stairs and tight passages.
Specs that shape a cleaner fit
We template for common engineered quartz and solid-surface thicknesses, usually 20 mm or 30 mm depending on the design and support. Edge profiles may be square, pencil round, bevelled or eased, and the chosen profile changes the way corners, mitres and front edges are measured.
Sink cut-outs need the bowl position, lip style and fixing method to be set out before fabrication. Hob openings are measured to suit the appliance body and any heat clearance required by the manufacturer guidance. Seams are planned where the slab can carry them safely and where they sit least awkwardly in the room.
- Overhangs and breakfast bar returns are measured with support in mind.
- Undermount, topmount and flush fit details are set out separately.
- Backsplash and splashback heights are taken from the finished surface line.
- Any visible edge gets measured for finish consistency across the run.
Turnaround on the workshop side
Once templating is complete, the measurements move to cutting, edge work and fabrication planning. That stage depends on slab availability, the number of cut-outs, the amount of seam work and whether the job includes vanity sections or full-height splashbacks.
Homes in Randburg, Sandton, Midrand, Fourways, Johannesburg and Pretoria often have different access conditions, so the templating stage also helps the install team plan lifts, carries and final positioning. A good template saves rework later, especially where a wall is not square or a cabinet run changes direction in the last section.
- Single vanity tops are usually simpler to template than long kitchen runs.
- Island tops and L-shaped layouts need more seam and corner planning.
- Splashbacks are checked for plug points, windows and wall irregularities.
- Commercial counters often need extra coordination with shopfitters and cabinet makers.
What the pricing covers
Pricing for site templating depends on run size, the number of pieces, travel into Gauteng areas and how detailed the job is. A straight vanity is not priced the same as a kitchen with two sink cut-outs, hob openings, mitred edges and a matching splashback.
The quote usually reflects the measuring visit, the planning work, the fabrication inputs and the installation scope where required. If the room needs extra marking for uneven walls, stepped sections or non-standard returns, that is carried in the job detail so the workshop can plan properly. No two rooms take the same amount of handling, even when the colour choice is similar.
- Measured area and total linear metres.
- Number of cut-outs, seams and edge finishes.
- Site access and installation complexity.
- Whether we are templating for a home, office or retail fit-out.
Aftercare after the template becomes a finished top
After installation, engineered quartz and solid-surface tops need sensible daily care rather than harsh treatment. Warm water, a mild cleaner and a soft cloth are usually enough for most marks. Hot pots, sharp blades and heavy abrasion can damage the finish, so the advice is practical rather than fussy.
If a seam, sink edge or splashback joint needs attention after settling in, aftercare advice covers what to check and what to avoid. In coastal air or in busy kitchens, a wipe-down after cooking and a dry finish around sink edges helps reduce staining and water marks. Solid-surface can often be restored more easily than many people expect, while quartz keeps its look best when treated with ordinary care.
- Use chopping boards and heat protection under cookware.
- Wipe spills from tea, wine, oil and citrus without leaving them.
- Do not scrub joints with rough pads or harsh powders.
- Keep standing water off seams and around sink cut-outs.
Key facts
| Service area | Strijdom Park, Randburg and across Gauteng |
|---|---|
| Materials templated | Engineered quartz and solid-surface |
| Typical slab thickness | 20 mm or 30 mm |
| Common detail checks | Cabinet lines, wall conditions, support points |
| Cut-outs covered | Sink, hob and tap positions |
| Related work | Slab layout planning, seam joining, installation |