Measured walls, socket positions and panel lines
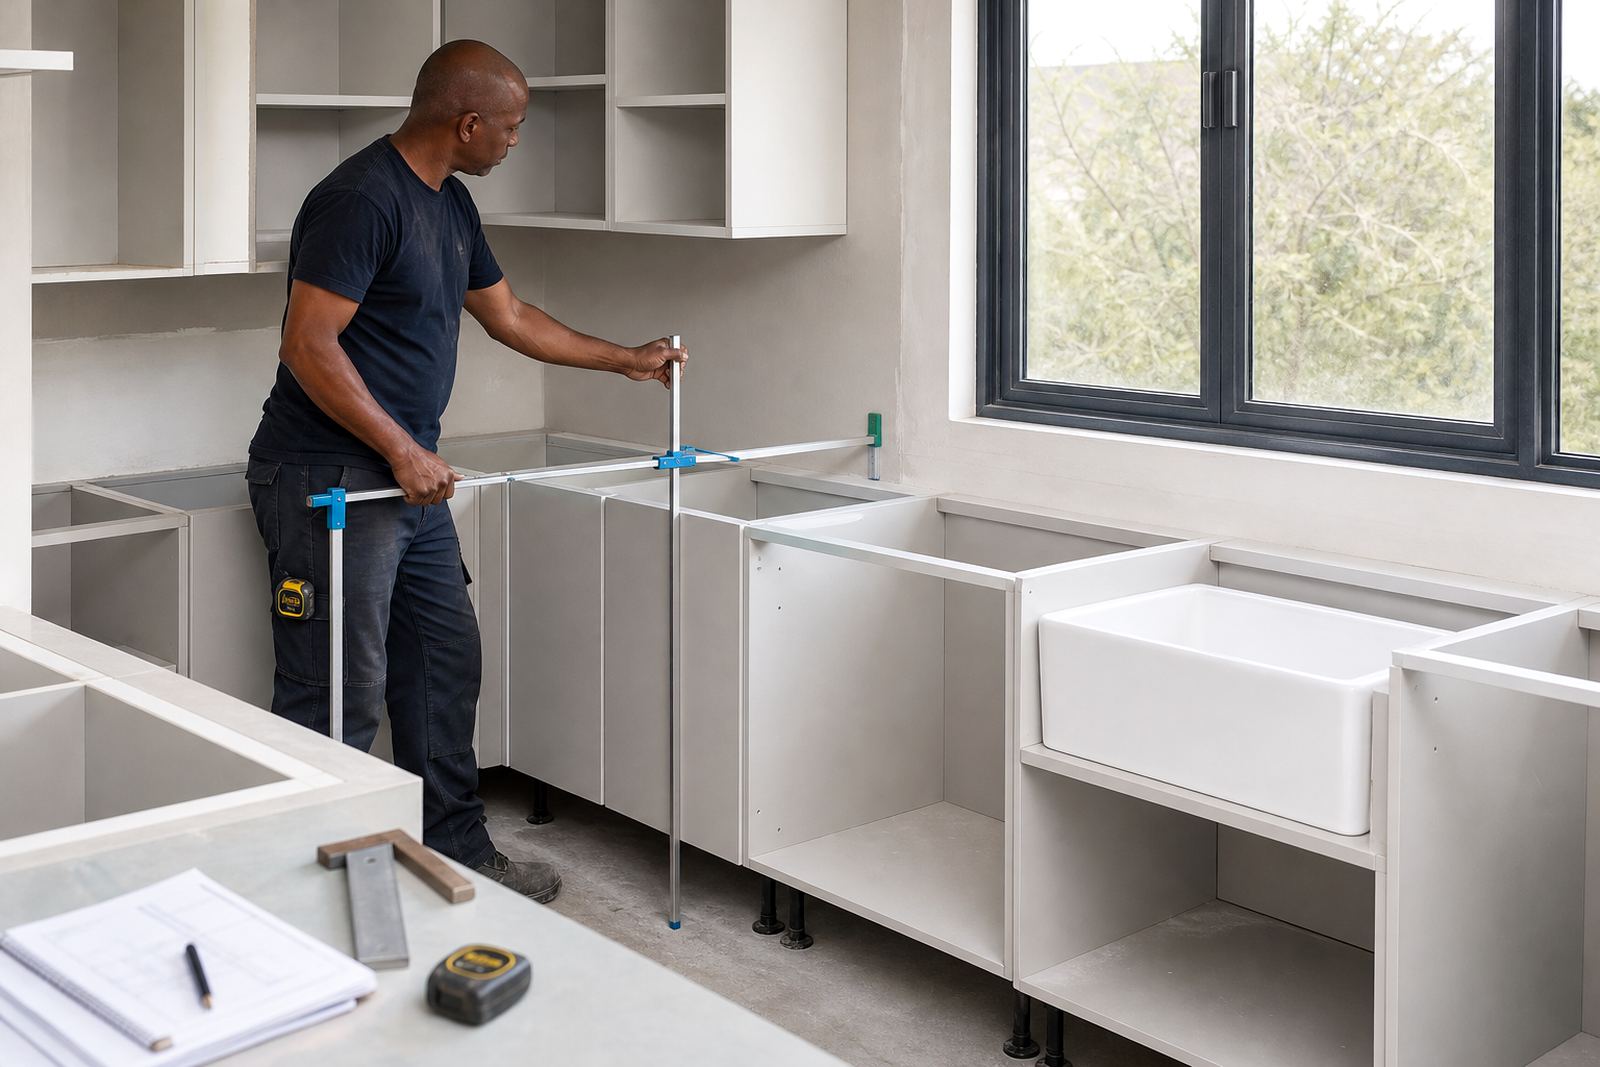
Splashback work starts with the wall itself. We check the finished surface, note any movement in the plaster or tiles, and confirm where power points, taps and window reveals sit before any panel is cut. That helps keep the finished lines clean, especially where the splashback meets a hob run or stops under a cupboard rail.
Engineered quartz splashbacks are usually cut from slab material in thicknesses suited to the job, often 12 mm or 20 mm depending on the design and edge treatment. Solid-surface panels can be formed in similar thicknesses, with softer joints where the client wants a cleaner wall-to-top transition. We plan the layout so the grain, fleck or colour movement makes sense across the room, not just on one wall.
- Site checks for level, squareness and wall finish
- Marking for plugs, switches, taps and rail fixings
- Panel sizing to suit the exposed wall area
- Layout planning for full sheets and visible joins
What the fitting covers in practice
The fitting service covers supply preparation, cutting, edge finishing, fixing and the final seal at the wall. Where the panel meets a countertop, we allow for a neat joint line and a consistent reveal. If the splashback turns a corner, we look at the run in one line where possible, though some rooms need a discreet join because of slab sizes or access into the space.
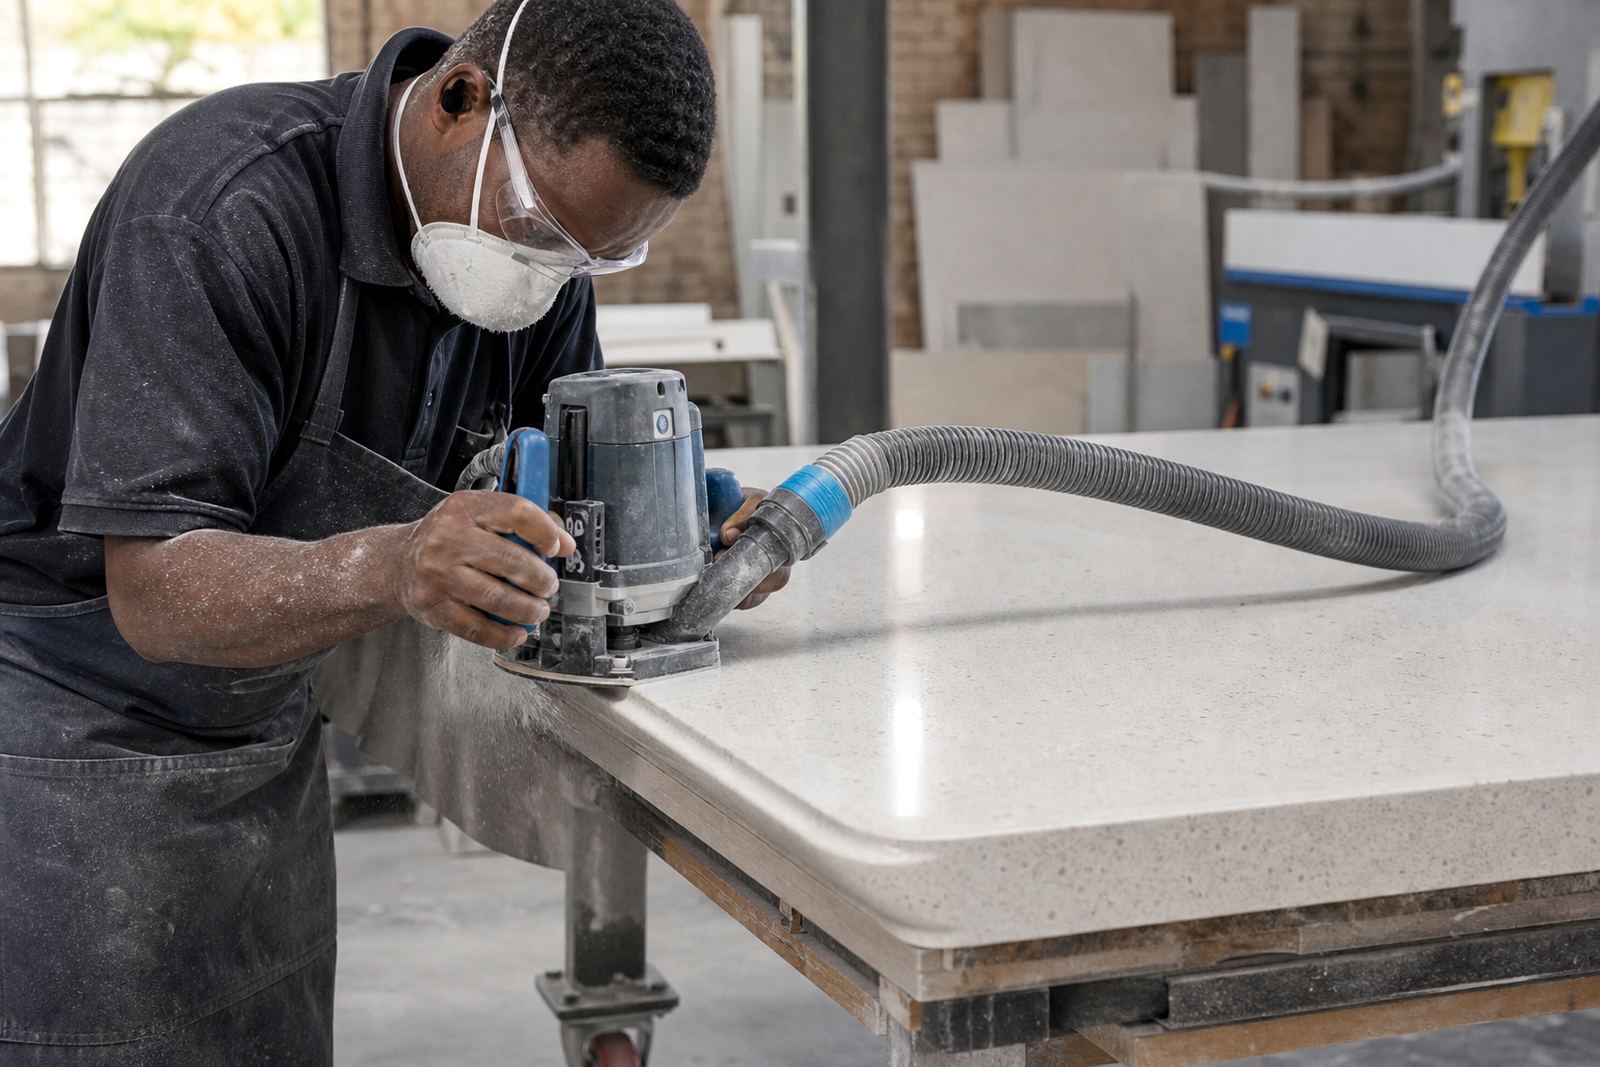
We work with plain square edges, pencil edges and other shaped profiles depending on the selected material and the room’s look. Around sink zones, the cut-outs and silicone detailing need to be tight so water does not sit in a rough gap. In busy kitchens, the surface choice matters as much as the fit because heat marks and staining are easier to avoid when the wall finish is selected with care.
- Cut-outs for sockets, switches and service points
- Edge profiling to match the top and room style
- Seam joining where panel lengths require it
- Final sealing along the wall and worktop line
The sequence from templating to final seal
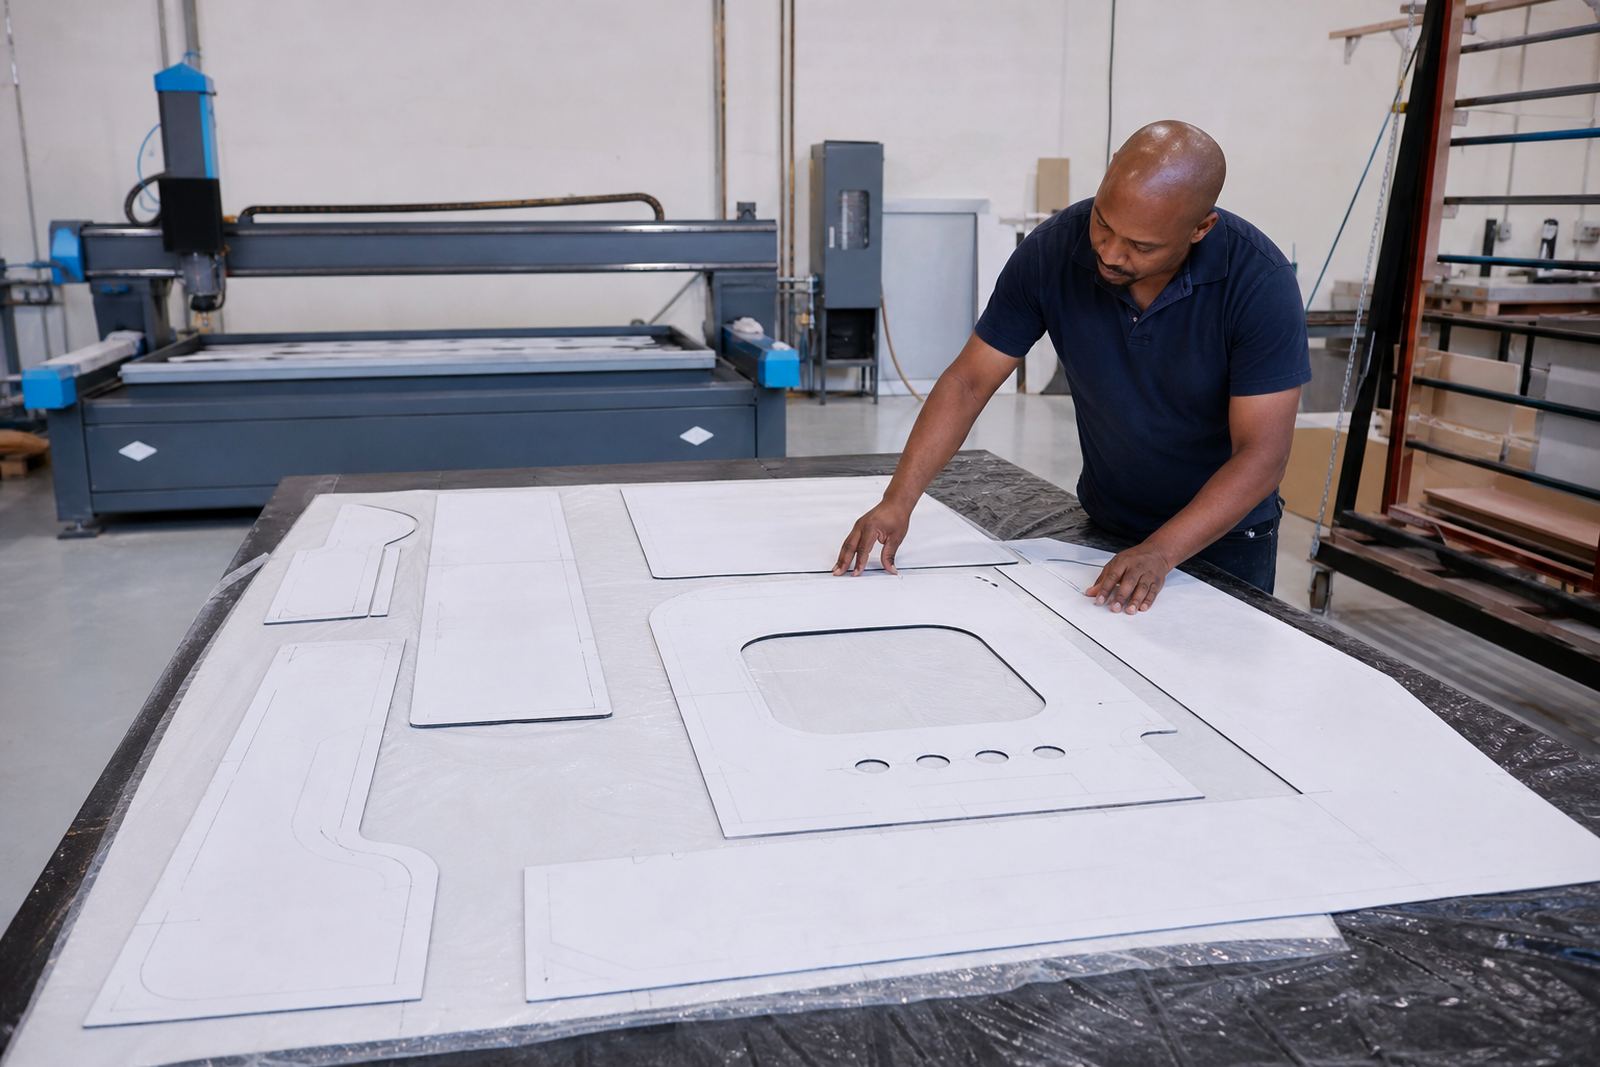
After the site measure, the job moves into digital measuring or templating, then slab layout planning and cutting in the workshop. That step is where material use is settled, seams are positioned and cut-outs are checked against the measured sheet. The workshop stage matters when a wall runs out of square or when a splashback must line up with a vanity or countertop below it.
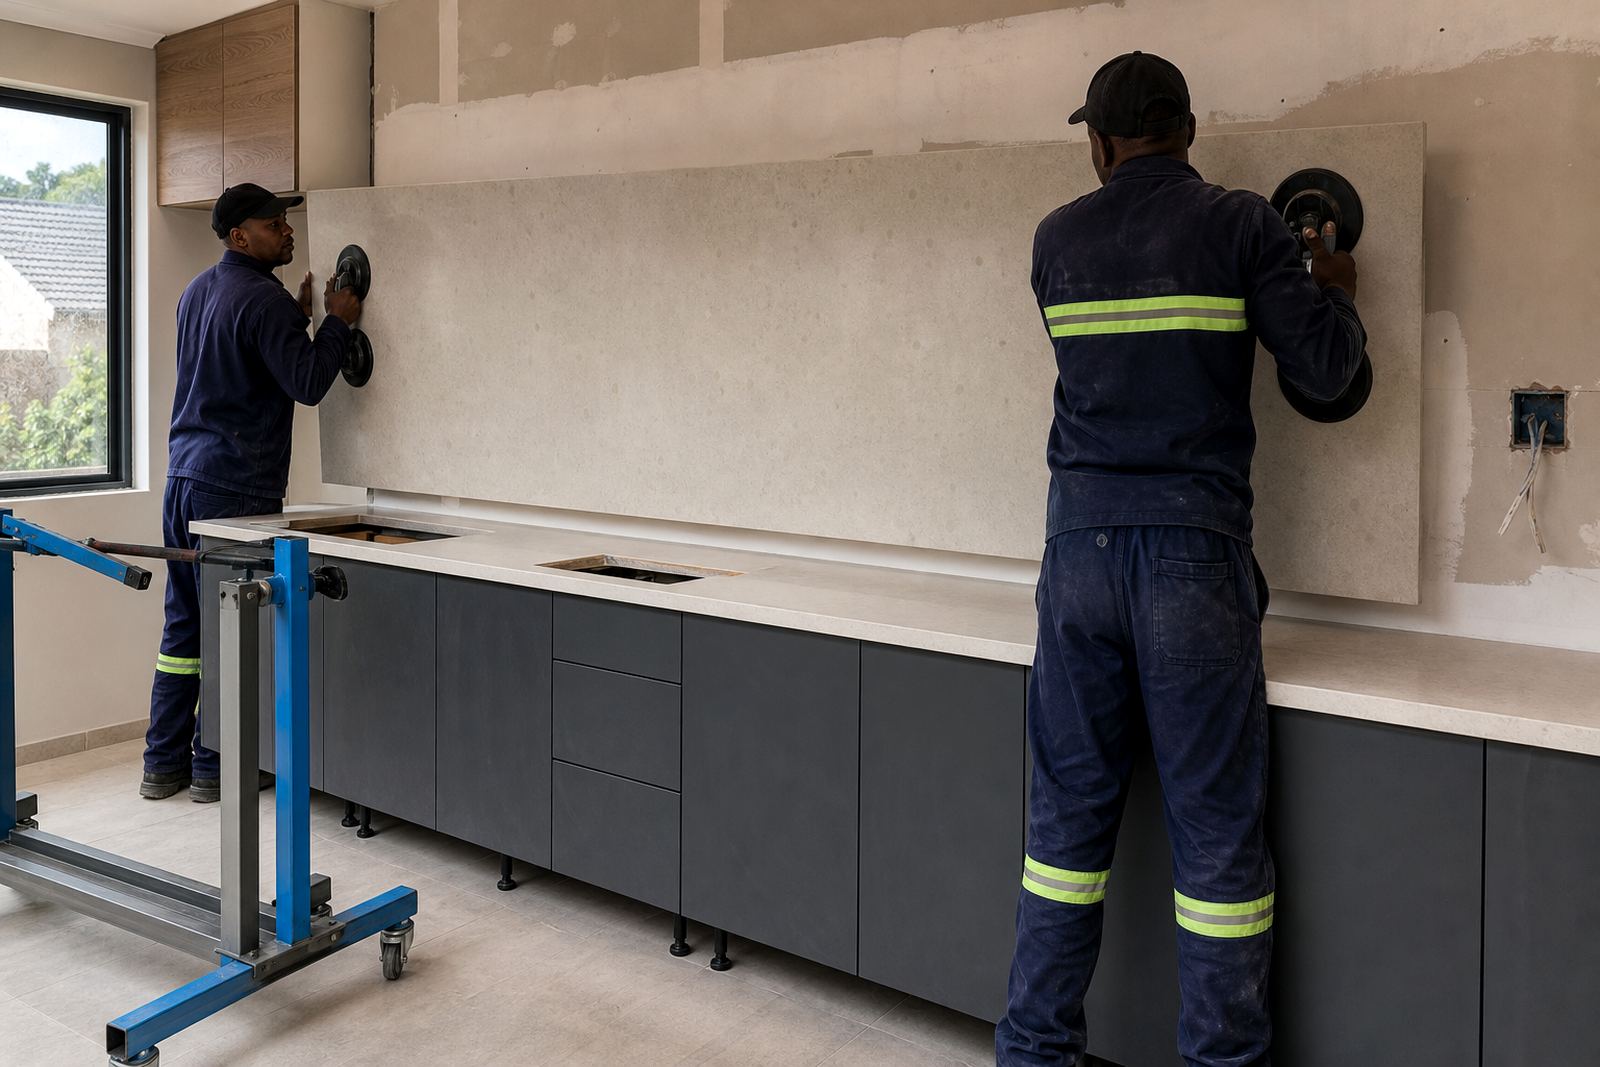
Once the panels are prepared, our installations team fits them with the wall checked again on site. Adhesive, trims and sealant are selected to suit the material and the wall condition. The finish should read as one continuous surface, with the joins kept deliberate rather than awkward.
- Site measure and templating
- Workshop cutting and edge finishing
- Dry fit check on the wall line
- Fixing, sealing and site clean-up
Kitchen heat, sink zones and stain care
Engineered quartz works well as a splashback behind preparation areas because it gives a hard, non-porous wall surface that wipes down easily. It still needs sensible care near heat sources, and it should not be placed where direct flame or extreme heat can damage the resin content. Solid-surface splashbacks are practical in vanity areas and light-use kitchens, though harsh heat and abrasive pads should still be avoided.
For daily care, a soft cloth, mild cleaner and warm water are usually enough. Spills should be wiped before they dry, especially tea, coffee, sauces and oil that can leave a mark on lighter colours. Where a splashback runs behind a sink, the seal line needs to stay intact so water does not work into the wall over time.
- Use non-abrasive cloths and mild cleaners
- Avoid direct flame or very hot pans near the wall surface
- Wipe stains sooner rather than later
- Check sealant around sink and tap openings
Lead times, room access and pricing approach
Lead time depends on the wall size, the material selected, the cut-outs needed and whether the job is a straight run or a room with several returns. A plain kitchen splashback can move through the workshop faster than a set of mixed panels for a vanity wall and utility space. Access also matters: narrow staircases, tight lifts and occupied offices all add planning around delivery and fitting.
Our pricing approach is built from the measured area, the slab thickness, the amount of cutting, the edge profile and the number of openings. A plain square run costs differently to a feature wall with multiple socket cut-outs and return pieces. We keep the estimate tied to the actual room, not a loose guess from the drawing.
- Material selection and slab thickness
- Panel size, joins and corner details
- Cut-outs for sockets, taps and rails
- Site access and installation complexity
Aftercare once the wall is fitted
Aftercare advice is part of the job because a splashback sits in a working room and not a showroom wall. We show clients how to clean the surface, what to avoid near heat and where to keep an eye on sealant lines after regular use. In homes, offices and shopfit spaces, the habits are much the same: keep the wall clean, dry and free from heavy impact.
If a splashback is installed behind a vanity, the main issue is water at the seal line and around the basin edge. In kitchens, grease build-up and impact from pans or appliance cables are more common. A good fitted panel should remain easy to wipe, with clean corners and joins that do not trap dirt.
- Soft cloth cleaning and mild detergent
- Do not scour the surface with harsh pads
- Inspect seal lines around water points
- Keep hot cookware clear of the wall finish
Key facts
| Material options | Engineered quartz and solid-surface panels |
|---|---|
| Common thicknesses | 12 mm and 20 mm, depending on design and support |
| Edge profiles | Square, pencil and shaped finishing options |
| Cut-outs | Sockets, switches, taps and hob-adjacent openings |
| Finish scope | Templating, cutting, fitting, sealing and aftercare advice |
| Service area | Strijdom Park, Randburg and across Gauteng |